
Easter Egg Painting

We love experimenting and finding new ways to dye our eggs. It is almost an annual challenge for us to come up with something different. We’ve dyed our eggs using the shaving cream method, the old school dye tabs and vinegar cups, the dinosaur paper dolls creatively nestling the egg as the ancient creature’s body, the galatic metallic kit, and even the glitter ones. One year, we learned how to make frosted sugar cookies and colored our eggs with the different frostings. This year, we decided to paint our eggs with baking soda. We liked the control we had in placing the colors and the tie-dye effect the patterns took on when submerged in the vinegar.
Materials
18 hard-boiled eggs
A 12-cup muffin tin
12 Tbs baking soda
Food coloring (The gels turn out more vibrantly.)
A spray bottle of water
Individual cups (We used our silicone baking cups.)
12 paint brushes
2 cups or jars that can submerge an egg
1.5 quarts white vinegar
2 spoons or a pair of tongs


Lessons We Learned the Hard Way
The more you clump the baking soda on the egg, the more vibrant the colors will be. The clumps will fall on the table. We laid down parchment paper, which contained most of the mess. Overall, though, you’ll have to embrace the mess with this project. (We did notice the dyed baking soda wiped up easily - probably because it hadn’t reacted with the vinegar, just a guess).
It works better to designate a paint brush for each color rather than using a water cup to switch colors with the same brush.
Fill the submersion cups with vinegar first. If you pour the vinegar on top of the egg, the baking soda washes away too quickly before it has a chance to react.
You can reuse the same vinegar a few times, but you’ll want to use new vinegar if you have an egg with all lighter shades of colors (orange, pink, yellow) or if you have a detailed pattern you’re trying to remain defined.
The boys liked the effect of the eggs with the darker, more vibrant paints when submerged in a vinegar cup that had already been used. However, after 3 or 4 eggs, it was time to dump the vinegar and refill for a fresh batch.


The Process
Begin with 1 Tbs of baking soda in each of the muffin tin cups.
Decide which food colors you will use and add a generous amount to each cup.
Spray a small amount of water into each cup on top of the food coloring and baking soda. I did about 10 sprays with a fine mist bottle.
Using a spoon (or I used a frosting spatula), stir the food coloring and baking soda until you get a paste consistency. I ended up adding about 6 - 9 more sprays to mine to get the paste loose enough to paint with a brush.
Designate a paint brush for each color.
Lay down parchment paper (or whatever protective medium you prefer) and get everyone seated.
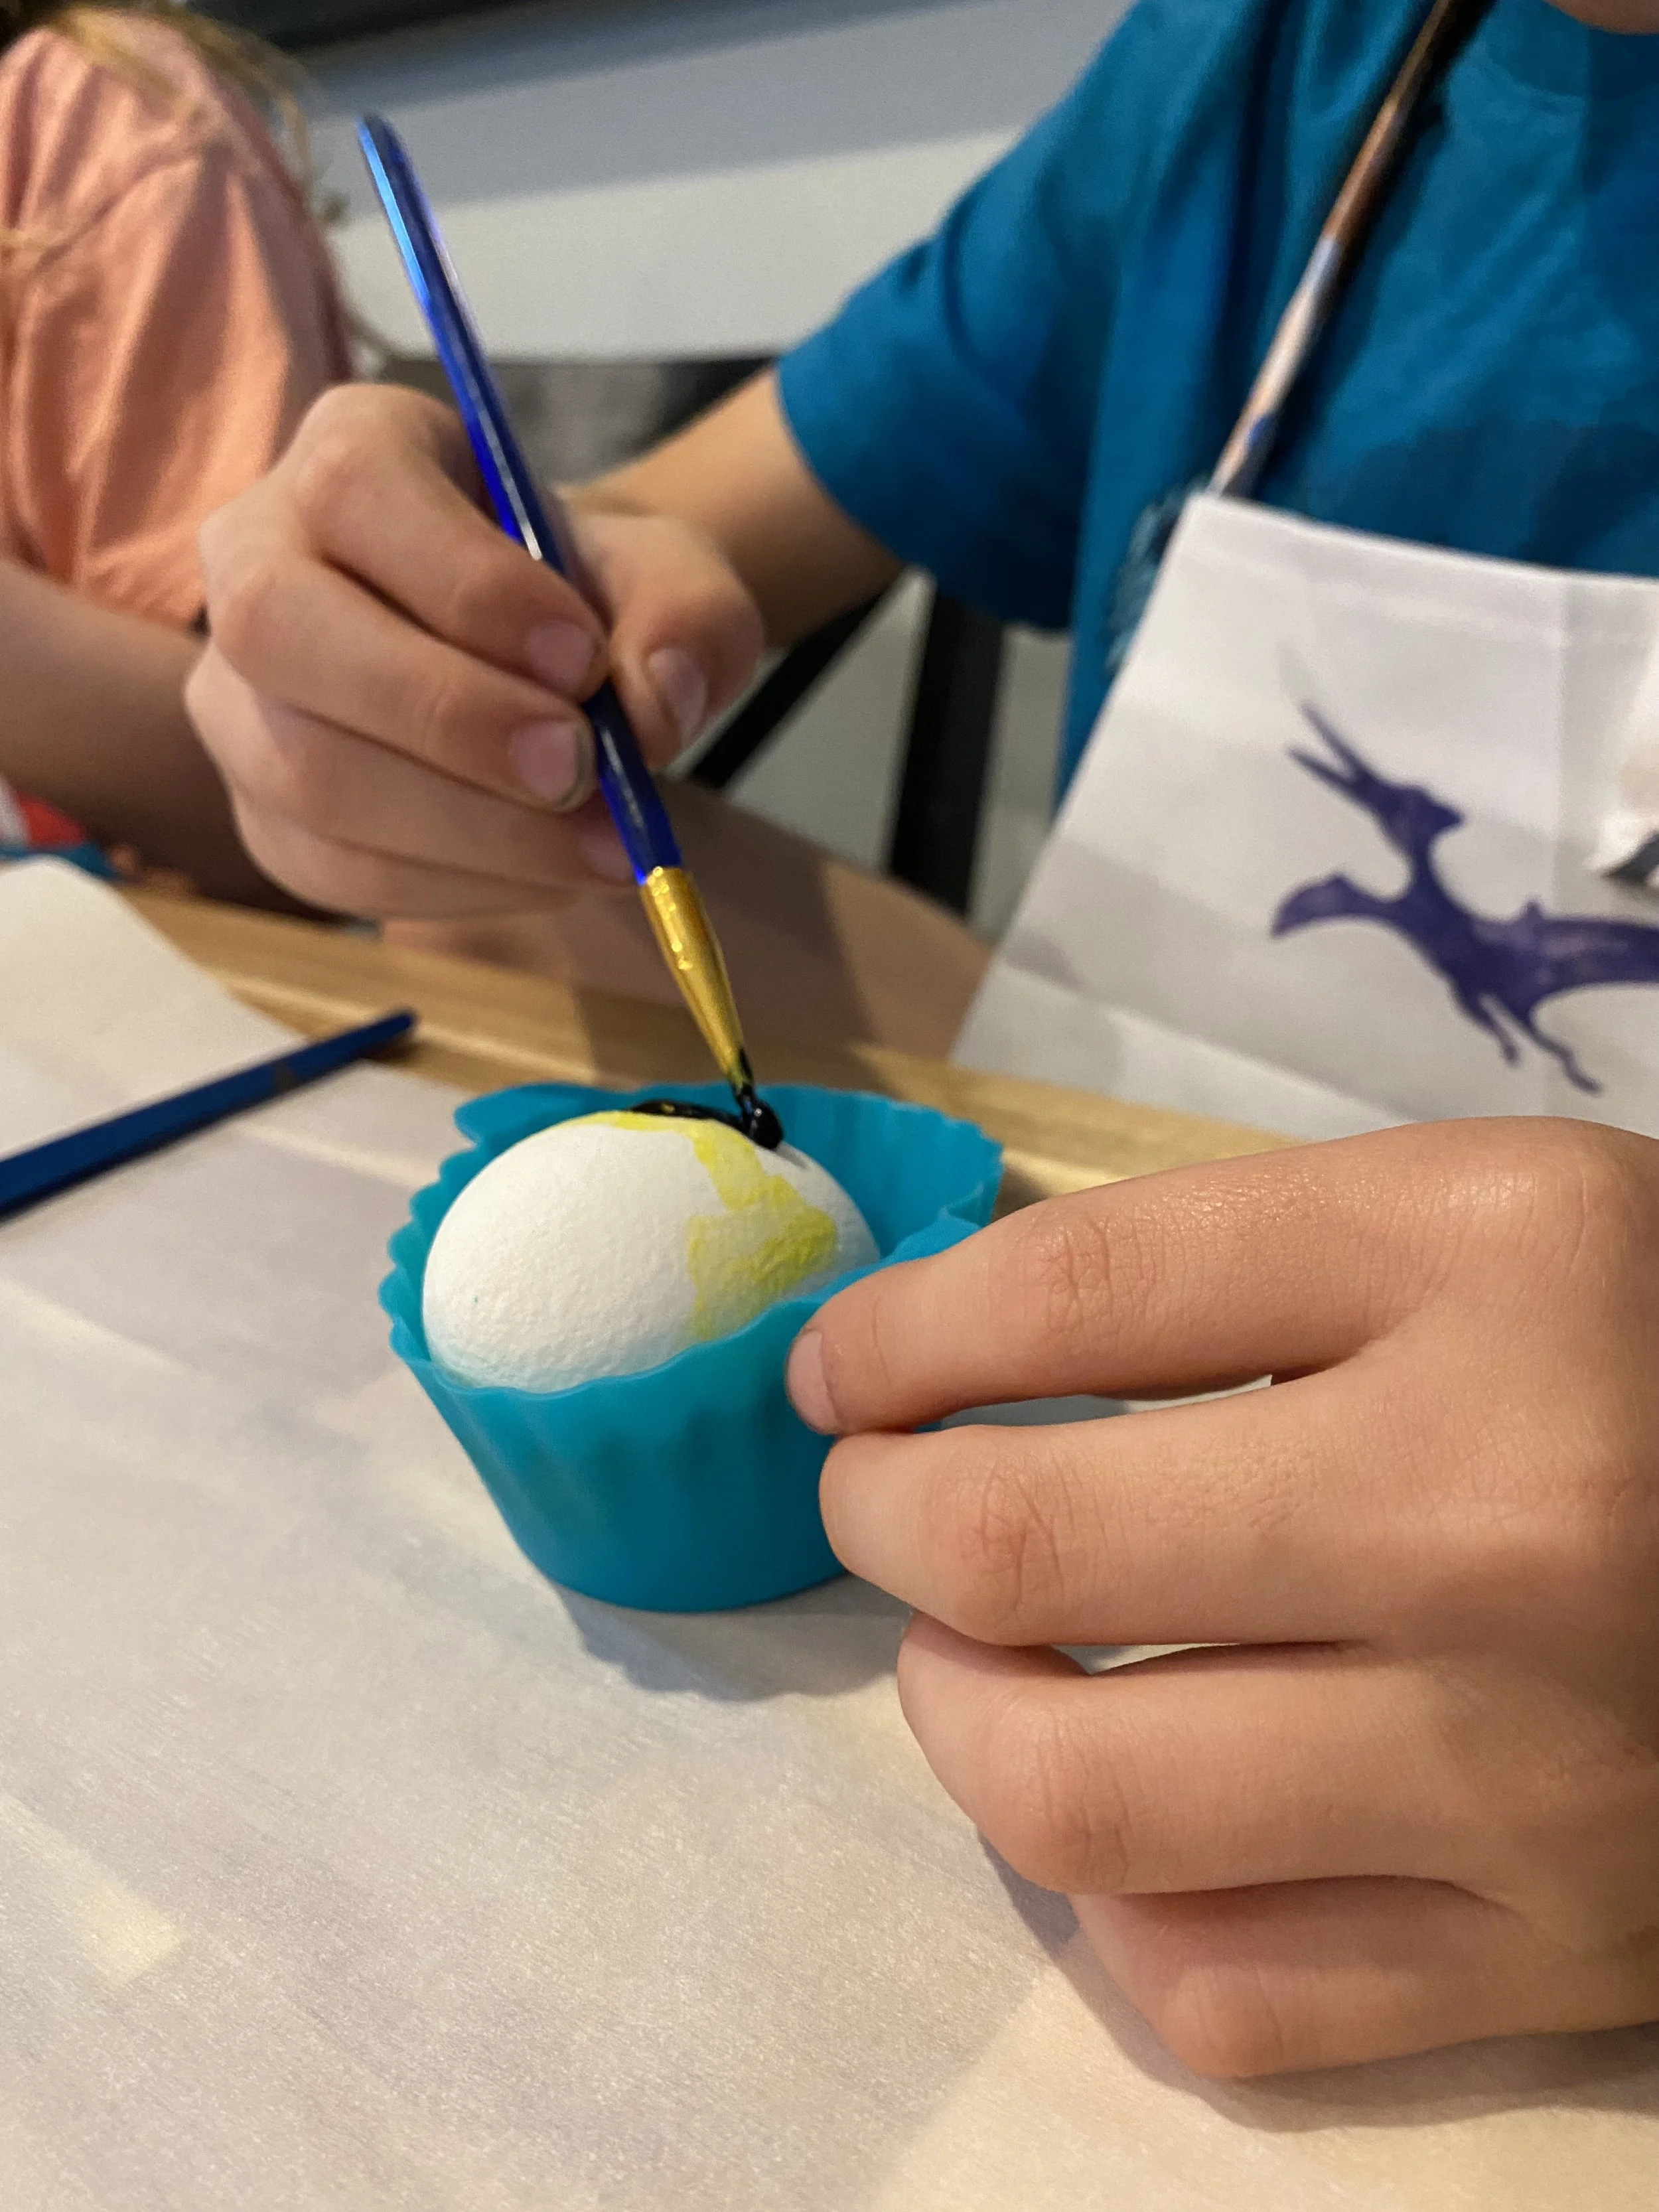
Take turns applying the colors to the eggs. We used individual silicone cups to keep the eggs from rolling away and to catch some of the baking soda clumps.
When the egg is coated, use the two spoons or tongs to place the egg in the vinegar.
Wait until the vinegar stops foaming.
Remove the egg and place it in the egg container to dry.
We hope you enjoyed the process and got creative. We’d love to see how your eggs turned out. Will you please share a picture of your eggs with us on Facebook?


