
Making an Operation Game Costume
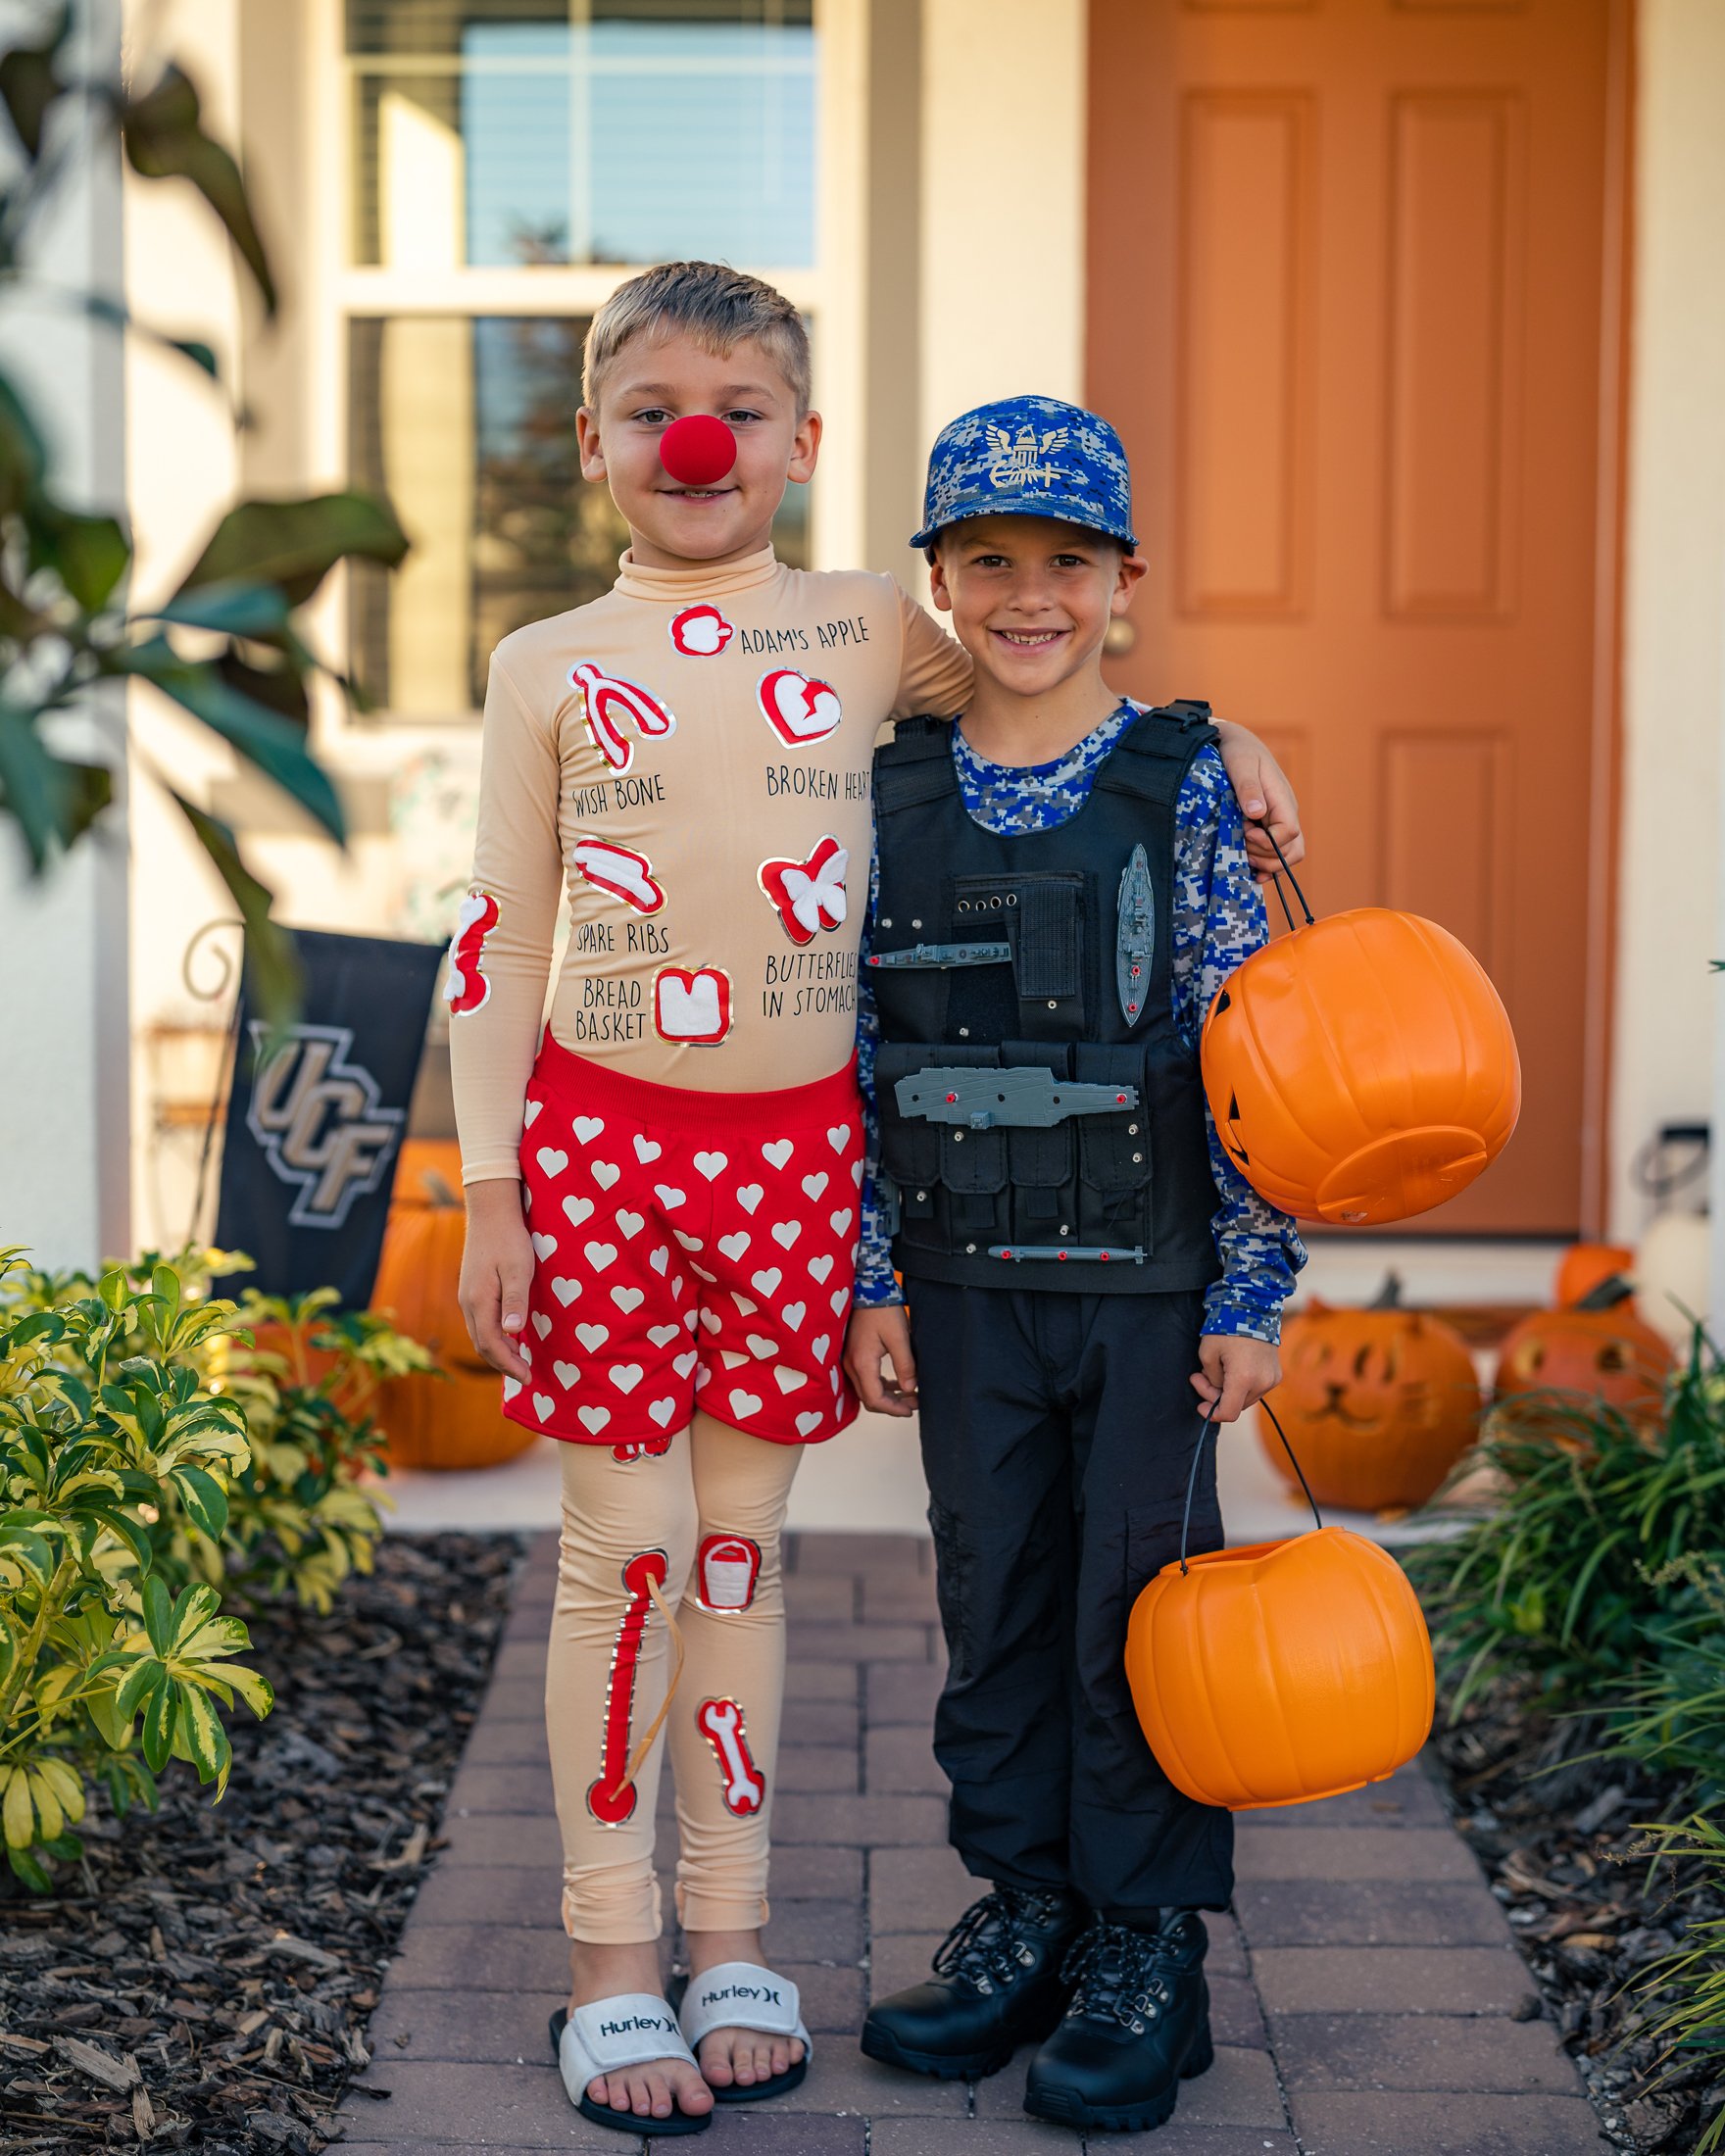
When we decided our group Halloween costume for 2022 was going to be Family Game Night, Jacob was the first to know which game he wanted to dress up as, Operation.
Materials
Cricut (or other craft cutting machine) and cutting mats
Washi tape (to assist with placing HTV)

Nude Body Suit
Jacob currently wears a medium (8) in shirts and size 8 in pants. We ordered him a size large body suit from Amazon.
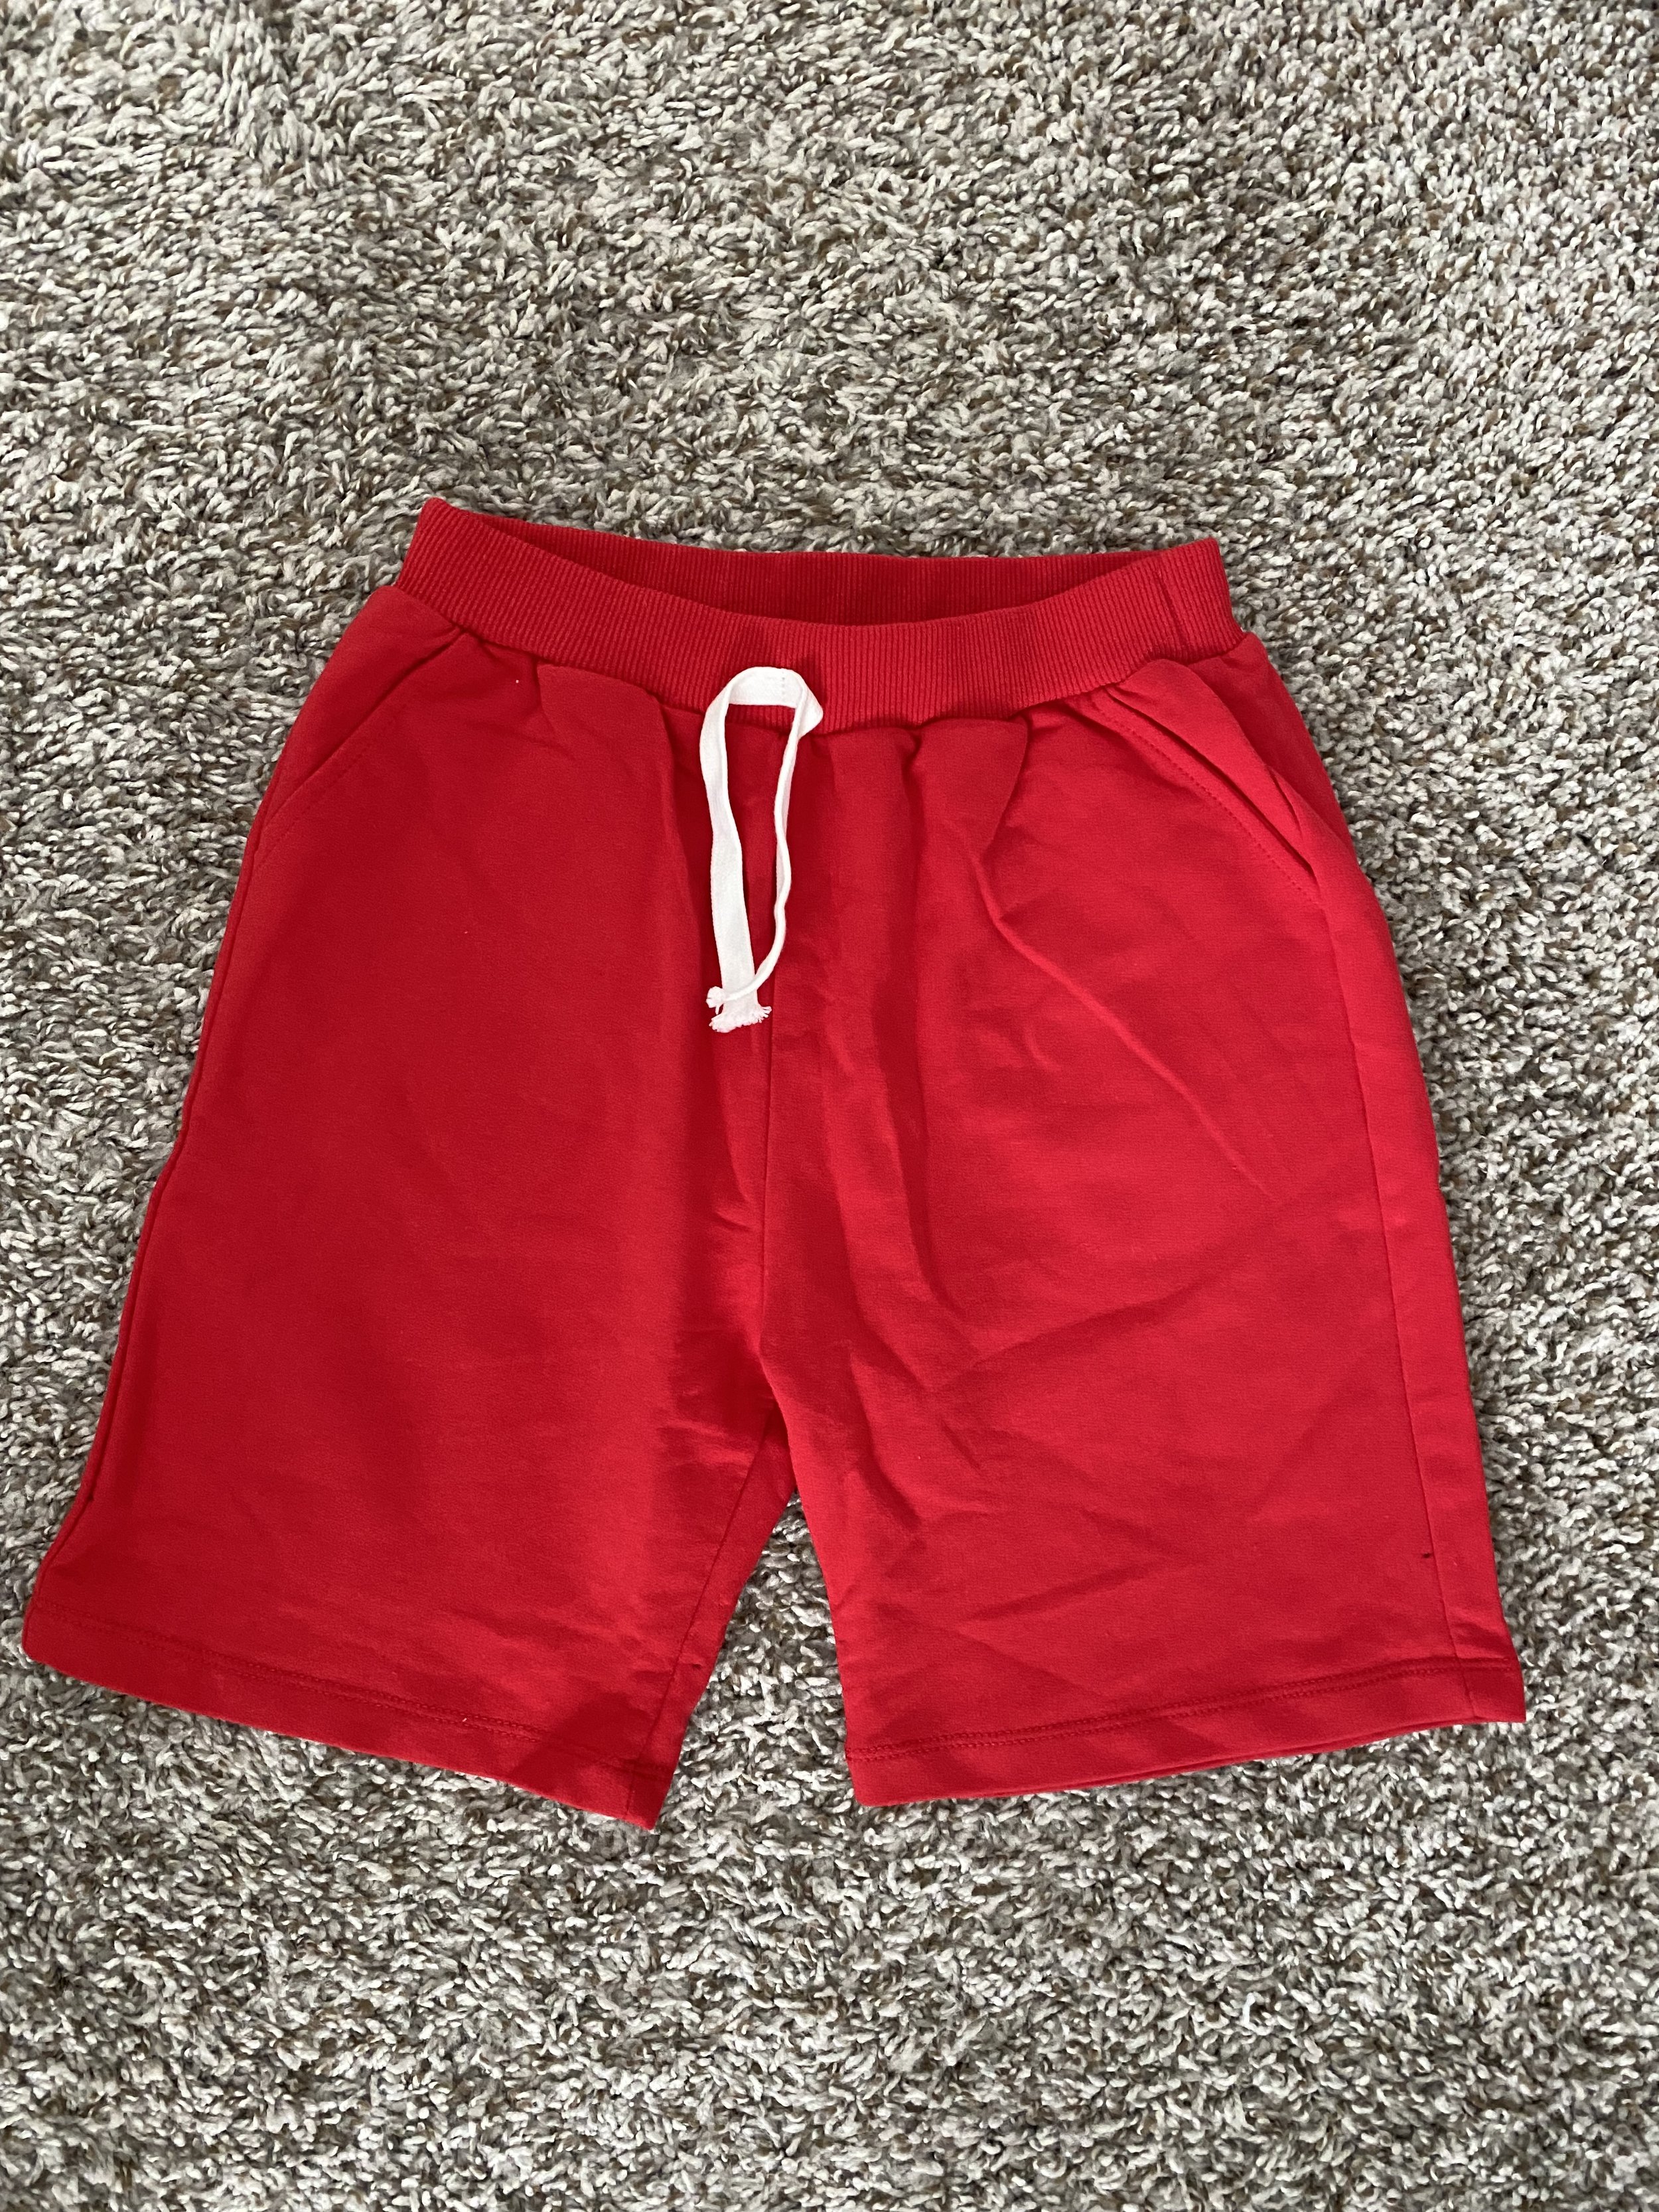
Shorts
I began searching for a pair of boys red boxers with white hearts, but Jacob expressed being uncomfortable wearing underwear outside the house, so we opted for a pair of shorts made to look like boxers. This made for additional steps in making his costume, but I was happy to accommodate his modesty. These also came from Amazon.
Vinyl
I prefer Siser Easyweed Heat Transfer Vinyl, but any HTV will work for this project. I like to keep the cost for my HTV around $2 / foot, so I typically buy the larger rolls (since I know it’ll get used). For this project, I had the red, white, and black vinyl leftover so I only needed to purchase the metallic silver, which we picked up from Michaels.
Designing the Costume on the Computer
I’ve never shared my Cricut designs before, but here’s an attempt: https://design.cricut.com/landing/project-detail/633a26d6d702f5e40df54ee7.

Just in case the link above doesn’t work, here are the steps I took to design the costume in Cricut’s Design Space…
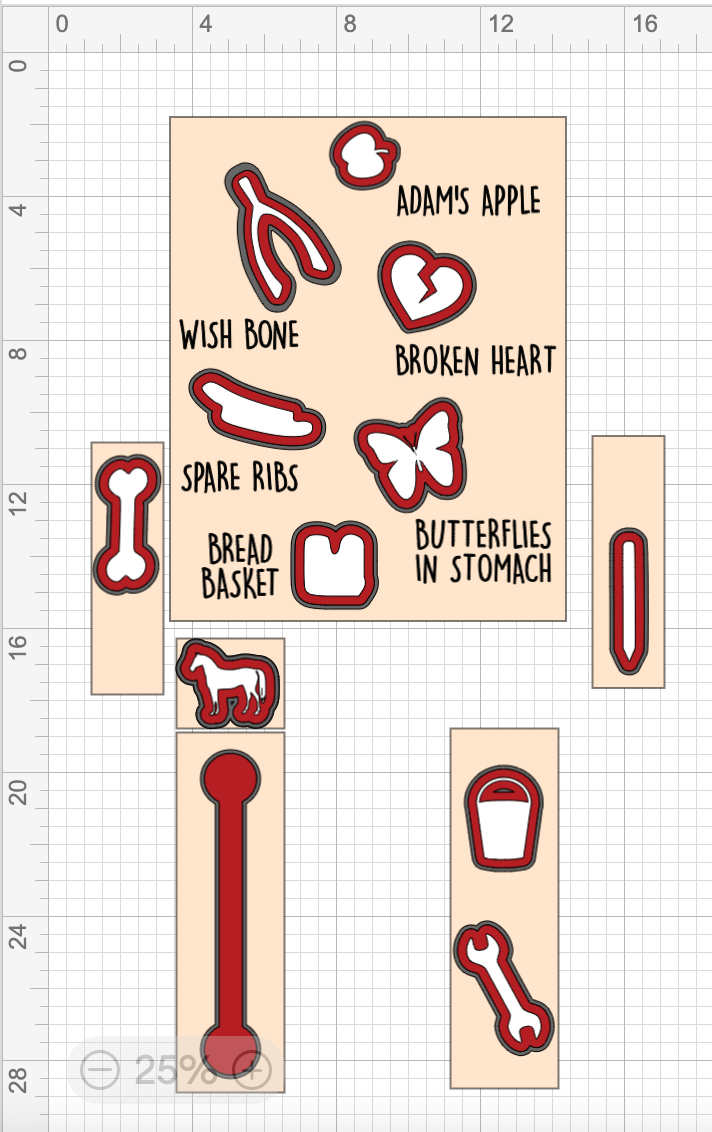
Measure the costume areas on the body suit and create a tan rectangle in Design Space representing each section of the costume. We created a rectangle for the torso, 1 for each arm from the elbow to the wrists, 1 for the right thigh (space above knee and still visible below the shorts) and 1 for each shin (6 total).
For a size large body suit, your boxes will approximately:
Torso: 11” x 14”
Elbows to Wrists: 2” x 7”
Thigh: 3” x 2.5”
Shins: 3” x 10”
Find and upload icons representing each of the game pieces: Adam’s apple, wishbone, broken heart, spare ribs, bread basket, butterflies in stomach, funny bone, writer’s cramp, Charlie horse, wrenched ankle, and water on knee.
I searched for general icons clipart graphics representing each piece on Google Images rather than searching for specific game piece images.
[Cricut Youtube Tutorial for uploading and cutting images in Design Space]
We saved the rubber band connecting the ankle bone to the knee bone for later (this is what the raffia ribbon was used to create).
Once the images for the pieces were added to the Canvas, I sized them to fit in the corresponding boxes with enough room for the red and silver outlines and text. Since the original game writing is only on the torso, we opted to not include the text for the arms and legs. This way it would look like he came to life right out of the game.
To make the red and silver outlines, I used the Offset option. Click on an individual game piece and then click on the Offset icon on the top menu. I kept the offset with the rounded corners and used the default .25 in setting. This first offset became the red background. Repeat this step for each of the remaining game pieces.
[If you’ve never used the Offset, here is a helpful Youtube video from Cricut.]
After you have a red offset for each game piece, select 1 red offset and use the Offset feature again at the .125 in setting (also rounded corners). Before making these new offsets silver, the red outline needs to be removed from the middle. To do this, select both the red and new offset for that single piece. Then use the Slice function. This will result in 3 slice results. Keep the original red offset. Delete the middle of the sliced offset (most likely black or gray in color). Then change the 3rd slice result (outline) to silver. Repeat this step for each of the remaining red offsets.
Finally, add text and decide what font and size you want for each of the game pieces on the torso: Adam’s apple, wishbone, broken heart, spare ribs, bread basket, butterflies in stomach. I used the DK Yellow Lemon Sun font I downloaded for free off DaFont at a 58.17 font size.
[If you download this font mid-project, you will need to save your work and restart the program for the font to be visible in the dropdown options.]

Making the Game Pieces
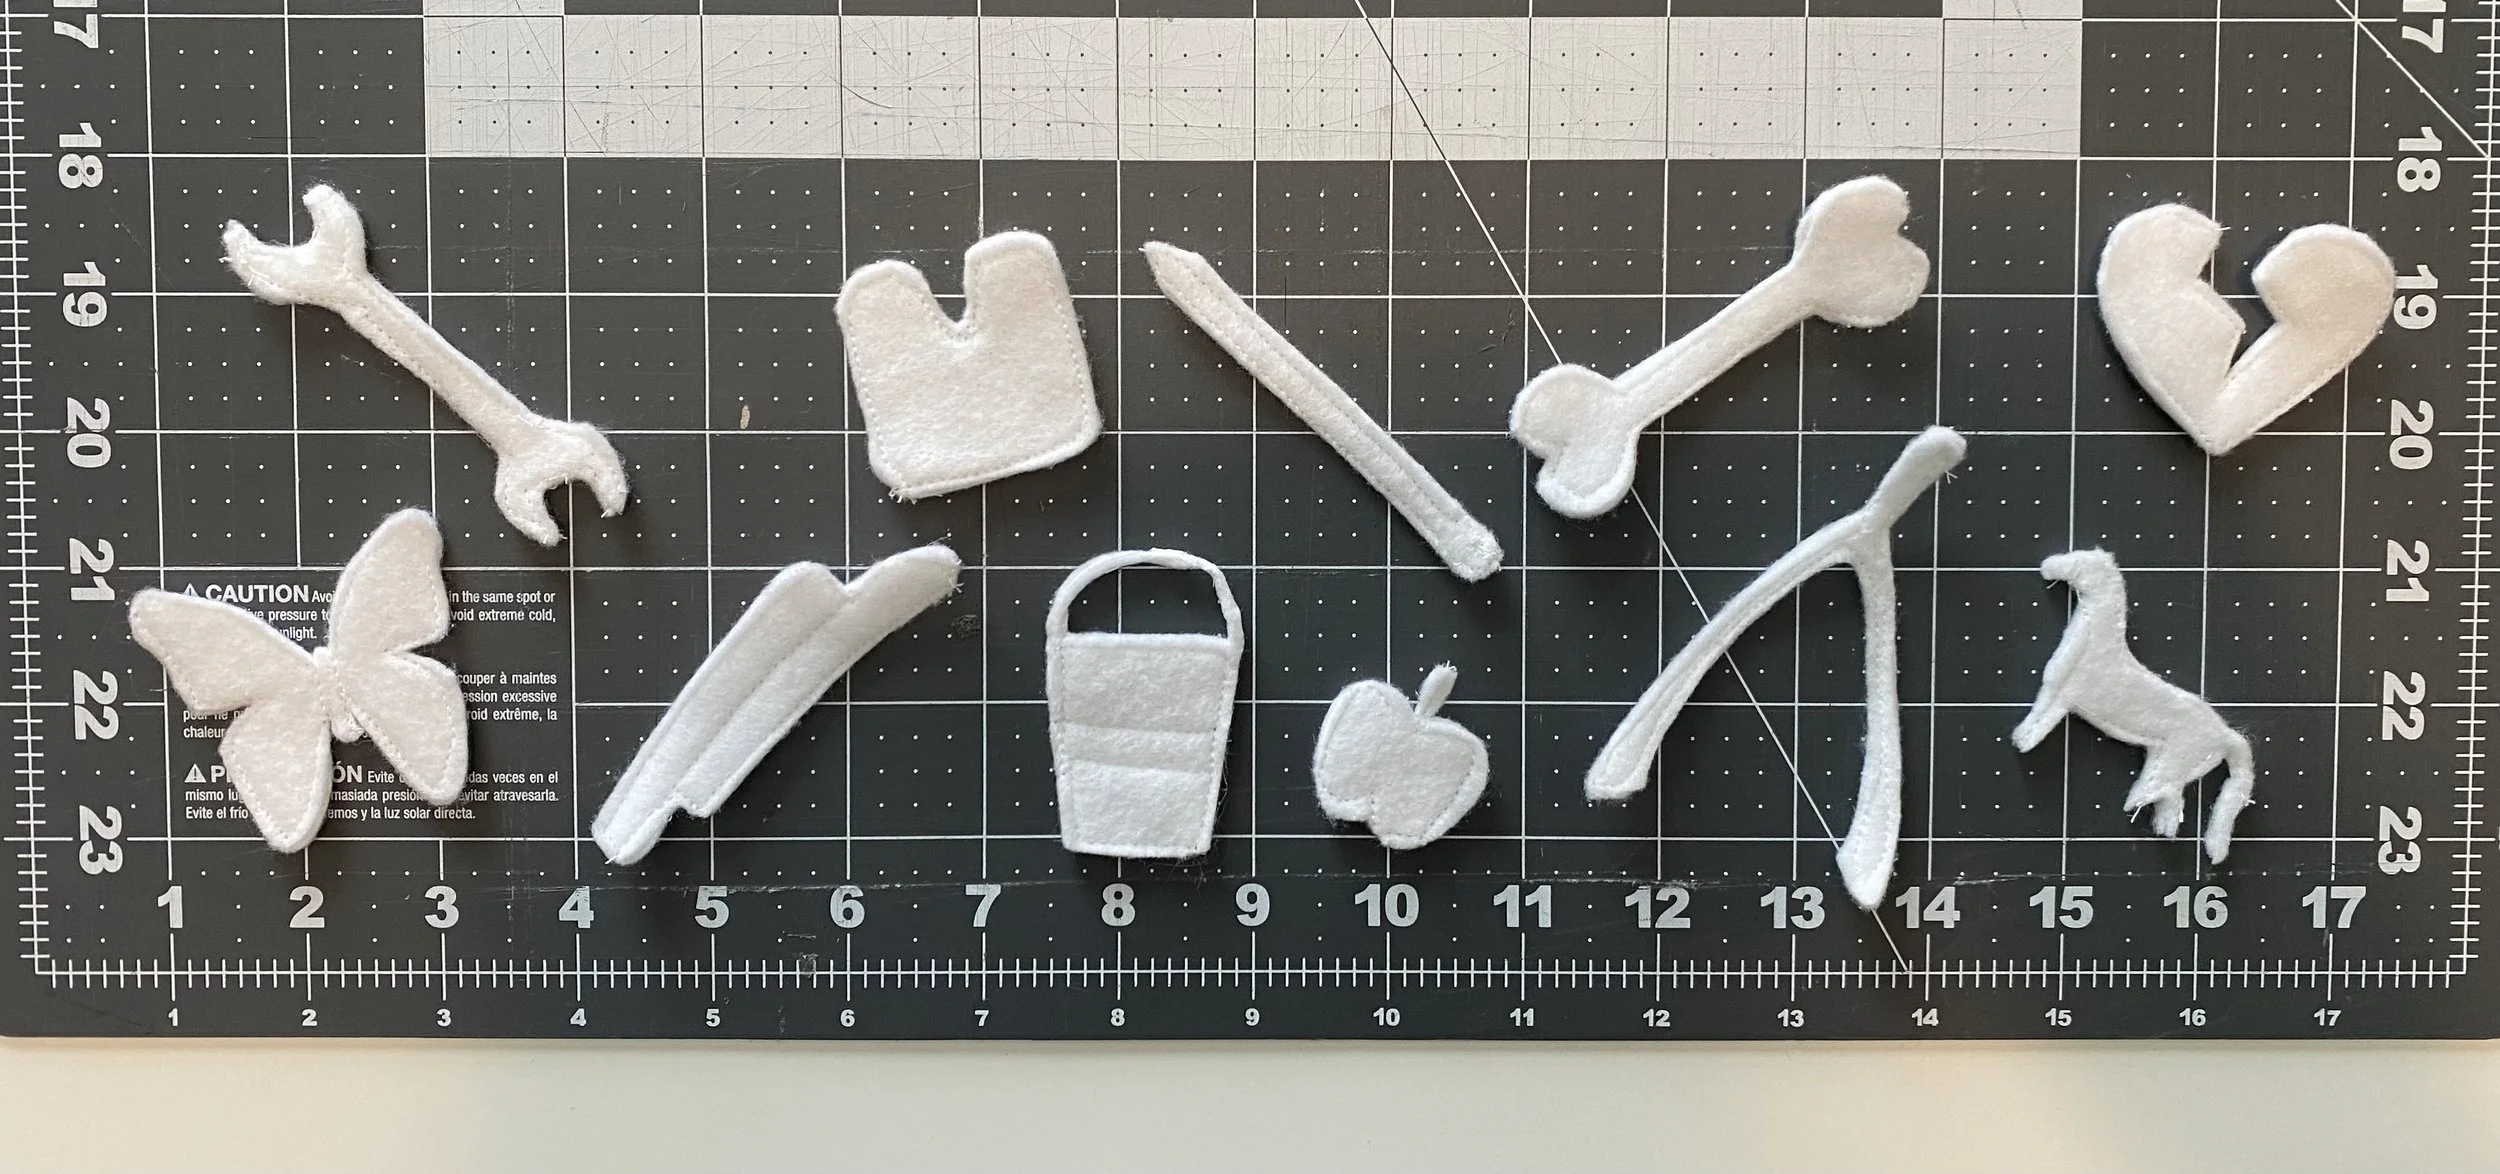
7. Place a sheet of the white craft felt on a Cricut mat and secure the edges with washi tape. Use the fabric setting with “more” pressure to cut out 2 sets of the game pieces.
8. Secure the game pieces together by spreading craft glue on the top of one felt game piece and stacking the 2nd identical piece on top. Help the glue bind the pieces together by gently squeezing the two layers together. Then set them aside to dry.
9. Set up your sewing machine with the white thread. Then, carefully sew the edges of each game piece together leaving a small space between the stitches and game-piece edges. Don’t forget to sew two horizontal lines on the water pail and the interior stitch separating the spare ribs.

Putting the Heat Transfer Vinyl on the Body Suit
10. Cut out the rest of the design from Cricut using the red, black and silver HTV. Don’t forget to mirror your design and place the shiny side down on the mat.
[Cricut Youtube Tutorials: (1) How to Work with Iron-On, (2) How to Weed Iron-On]
11. Once your offsets and text are weeded, lay out the torso pieces on the body suit and check your work.
12. Carefully secure 1 HTV piece and layer at a time using an iron. Pressure is just as important as heat when applying the heat transfer vinyl. Some HTVs brands are cold-peel and will not stay adhered when hot. Check your HTV packaging for more details on applying your HTV.
I found it helpful to secure the red background first and then iron on the metallic outline. HTV has a little give to its shape, so this was easier for me to make sure the shapes aligned seamlessly. I ironed on about half of the red and silver pieces before adhering any of the text.
Don’t forget to cover the already secured vinyl with transfer or teflon sheets. If the iron comes in contact with uncovered HTV, it will ruin it and most likely your iron.


13. After the torso pieces were all in place, I had my son try on the body suit. Then I used washi tape to mark the bottom of his elbow (his right side), top of his wrist (his left side), and the tops and bottoms of both knees. This way I would know exactly where to place the HTV for the arm and leg pieces.
14. Carefully secure the red backgrounds and silver outlines 1 piece at a time while protecting the HTV already adhered to the body suit.


Sewing the Game Pieces to the Body Suit
15. I hand sewed each game piece to the body suit using 2 points of contact for most of the pieces and 3 points for the broken heart and wishbone. We chose this approach because we wanted it to look like the pieces might be removable.
HTV will show holes so you will want to be sure before poking the needle through. I held the middle of the piece in place down with my thumb and found my way inside the body suit with my other hand. Once I was able to I pressed on the same center point with my pointer finger on the inside (i.e., pinching the piece to the body suit between my thumb and pointer finger). Then I used the needle and white thread to sew the contact points and secure the pieces to the body suit.
16. For the “rubber band” we used raffia ribbon we found on the wreath making aisle at Michaels in the tan (or Kraft) color. We decided where the middle points would be on the red background and then rolled out that much ribbon. I sewed the ribbon in a complete circle and then sewed the ends of the circle down to the midpoints. I hid the seam I made by making the circle first by pinching the ribbon in a pleated pattern and sewing that side down first.


Designing and Making the “Boxers”
17. To make the shorts look like boxers, I removed the fake white drawstrings by snipping the stitch holding it on. Then we noticed the shorts were too long and covered the Charlie horse. Using the sewing machine and red thread, we hemmed the shorts up about 3”.
18. Returning to Cricut Design Space, I created 1” x 0.88” hearts by copying and pasting the first one into a row of 5 and then copying that row into a second row mirroring the first one. I deleted the 5th heart in the 2nd row so the HTV sheets would fit on a single mat. Then I copied these 2 rows to make rows 3 and 4.
Then I grouped the 4 rows (36 total hearts) and copied and pasted the group to make 4 total groups (144 total hearts).
19. Then I place white vinyl shiny side down on the Cricut mat, mirrored the image and then cut the HTV hearts out.
20. Then I ironed one section of hearts onto the shorts at a time. I did end up having the cut the 2nd sheet down to smaller sections to maintain the pattern and compensate for the curvature and bunching by the waistband.
Repeat this same process with sheets 3 and 4 on the backside of the shorts.

Putting It All Together and Celebrating!
21. The last step was trying on the body suit, shorts, and foam nose all together. After a quick, high-pitched, “Look how cute you are!” we took the picture below and sent it to grandma so she could celebrate our hard work and creativity, too.
