
Creepin’ It Real for 100 Days
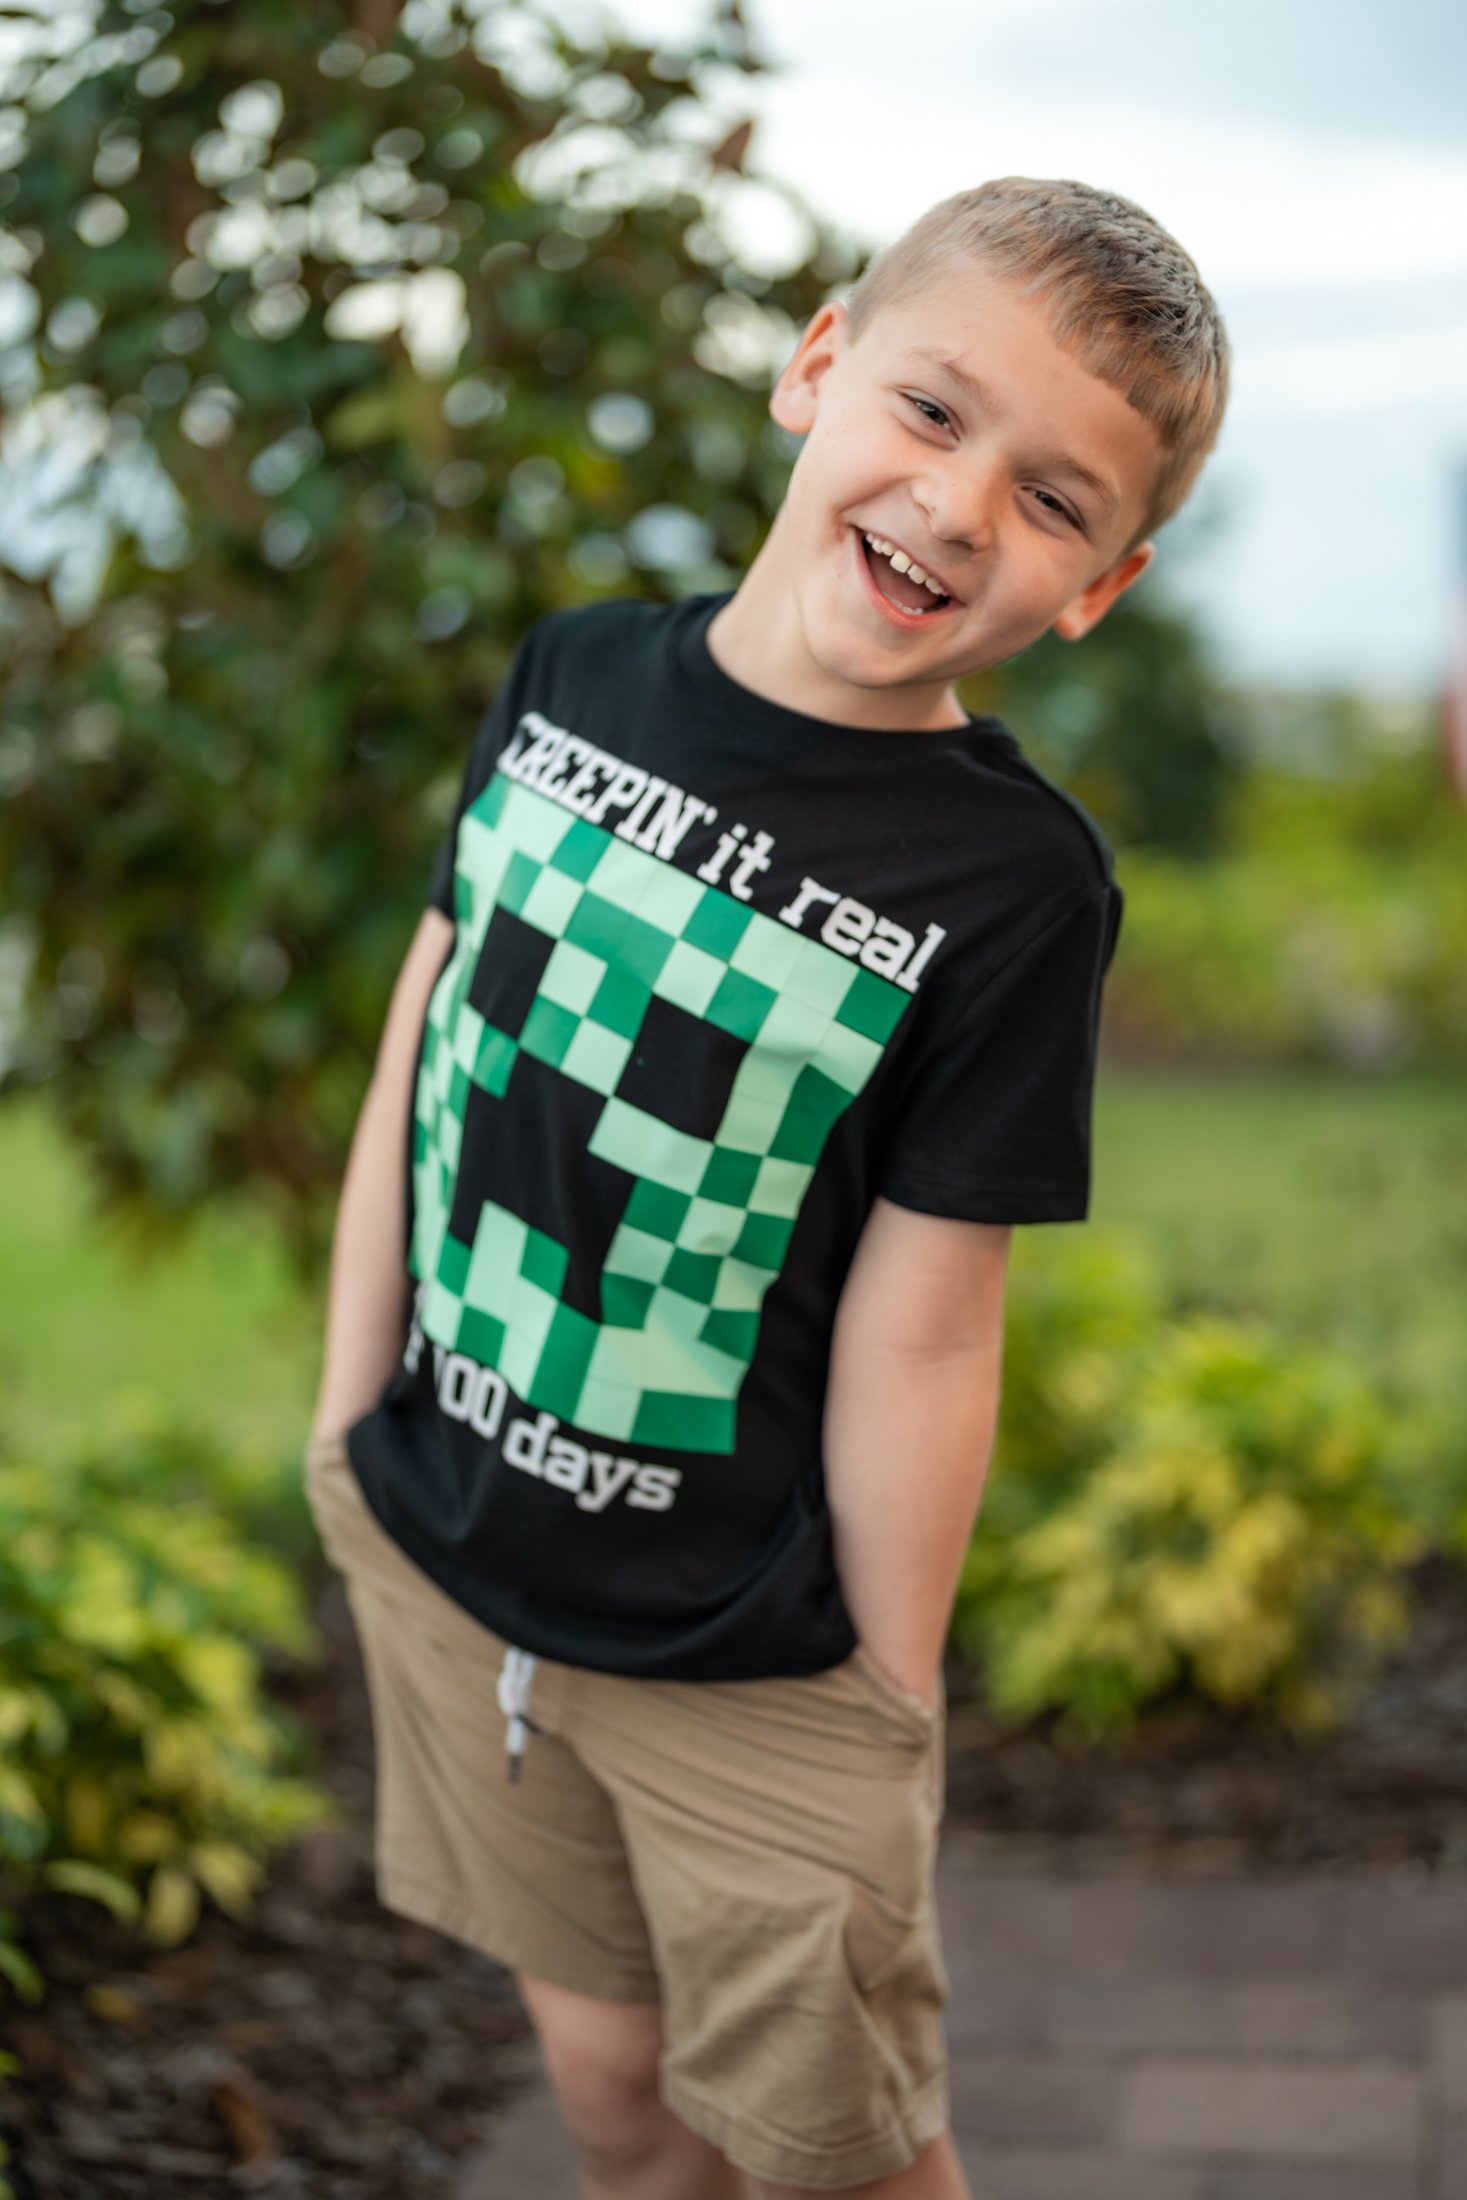
Like most boys their age, my sons are OBSESSED with Minecraft. They’ve even talked their dad into getting a Switch so the three of them can game together. They’ve built elaborate structures and explode with laughter any time they prank each other. Last week they flooded their father’s house with chickens and he retaliated by flooding their underground rooms. When I asked Jacob what he wanted on his 100 Days of School shirt, he knew right away that he wanted a Creeper on it. Here’s our take on Creepin’ It Real for 100 Days.
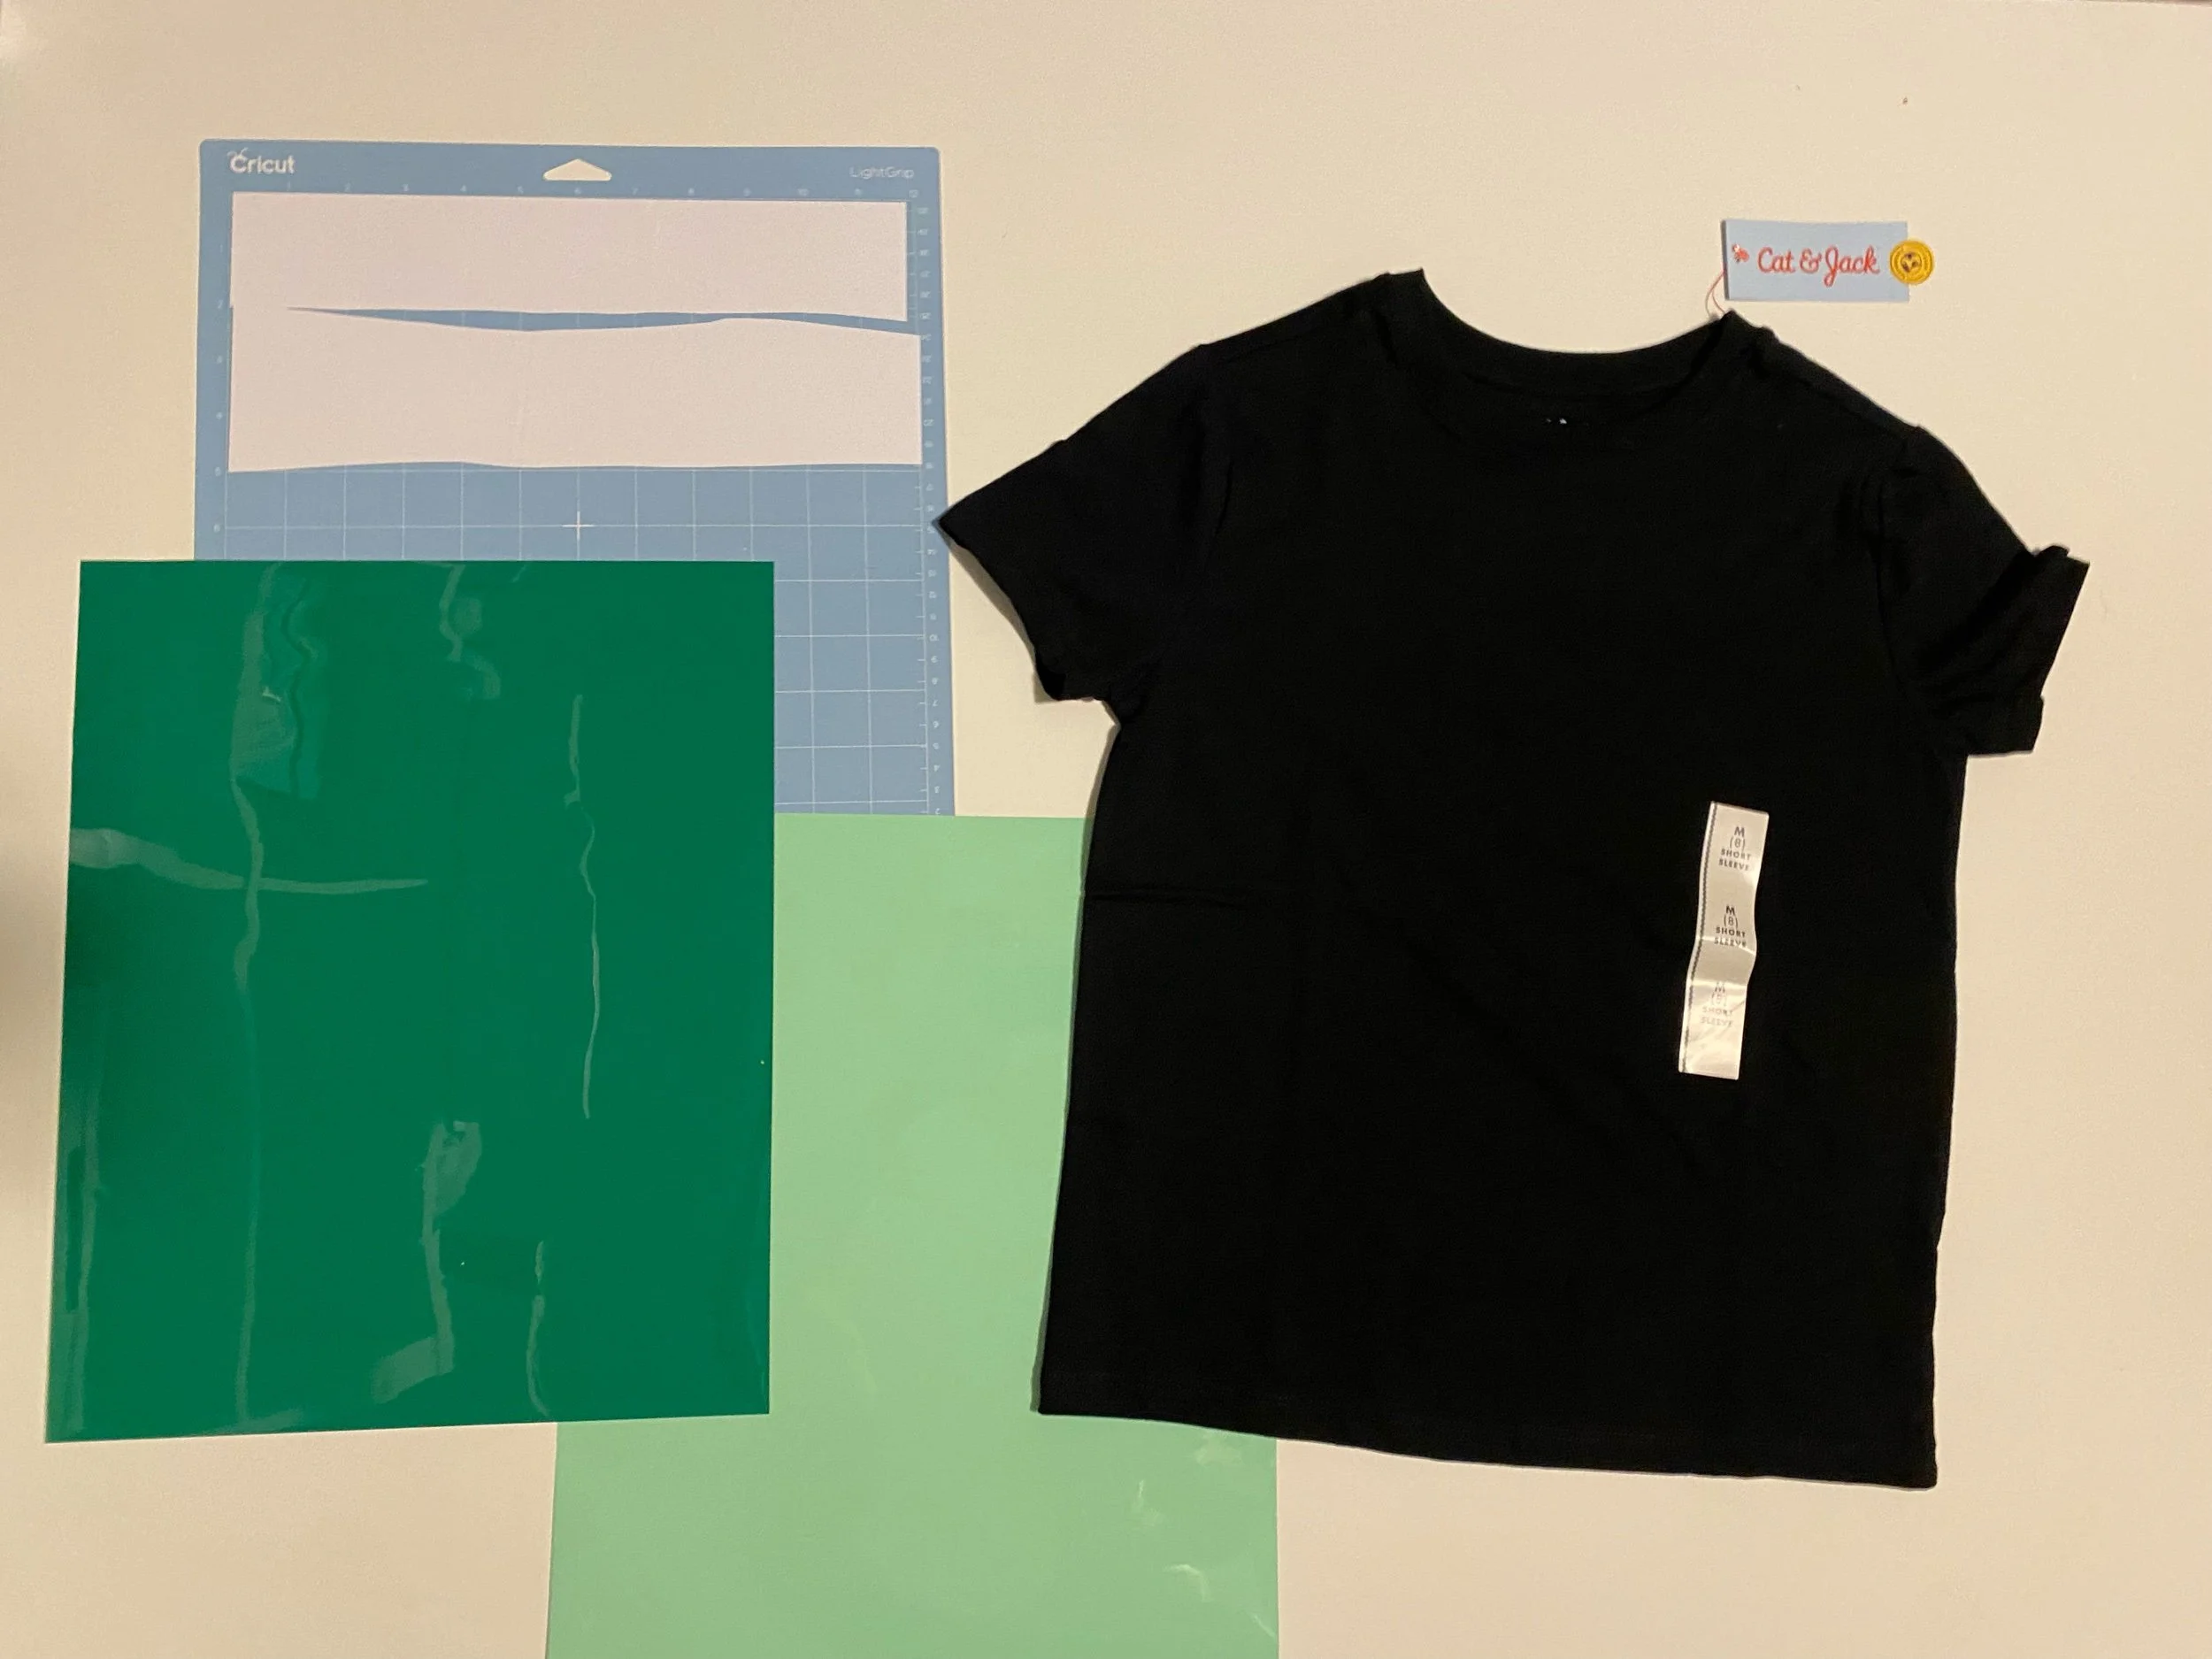
Materials
Boys shirt
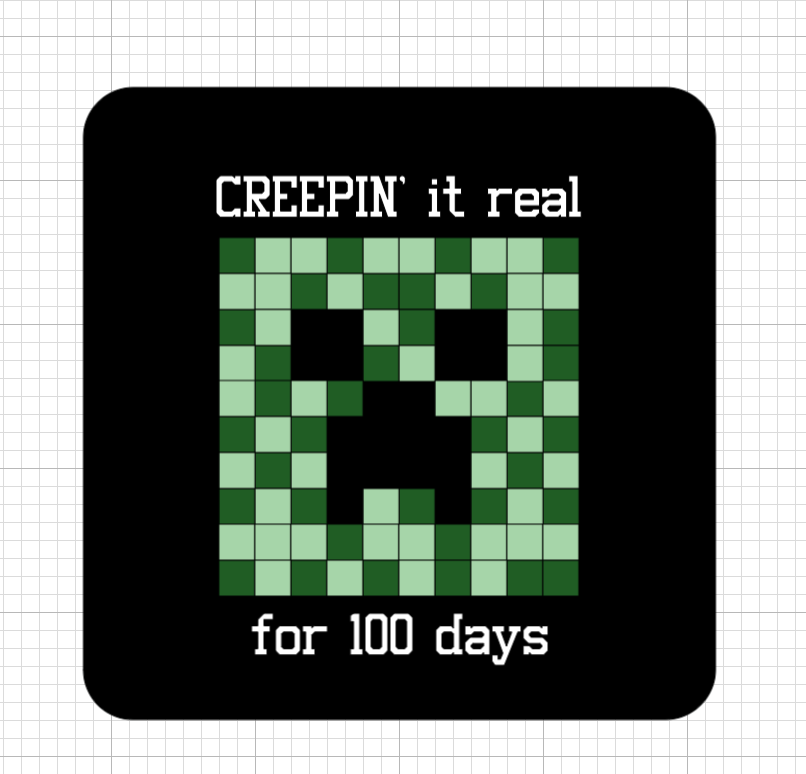
Step 1: Working in Cricut Design Space
Use this link to the Cricut Design Space project or follow these steps:
Creating a new project, add a 1” x 1” square from the shapes option. Then copy/paste an identical square next to the first one. Copy and paste these two and then those 4 until you have 8 squares. Then copy/paste 2 squares until you have a row of 10 squares.
Select all the sqaures in the first row and group them. Then copy/paste a second row under the first one. Copy/paste these two rows and then the four rows until you have 8 total rows. Then copy/paste the final two rows so you have 100 squares in a 10 x 10 configuration.
Since the shirt is black, I then deleted the squares that made up the eyes and mouth. Then select random squares and turn them green. Attach all of the green squares together and hide them (eye icon to the right of the group on the layers panel). Then select all of the remaining squares, attach these and make them a lighter green color.
Add text in a computer/graphic-like font and type out Creepin’ it real. Make this font box the same width as your Creeper (10 inches). Copy and paste the text box and change the second box text to read, for 100 days. Center the second text box under the face.


Step 2: Cutting the Heat Transfer Vinyl (HTV)
Make sure the settings for the cut include mirroring the images. Then, cut the vinyl sheets to the measurements shown on the screen. Weed the sheets by removing the background first and then any inner portions of vinyl not a part of the design.
Layer the weeded vinyl sheets on top of one another. Fold the transfer sheets so that the glossy, non-sticky sides are touching. This crease will be used to help make sure the design is centered on the shirt.


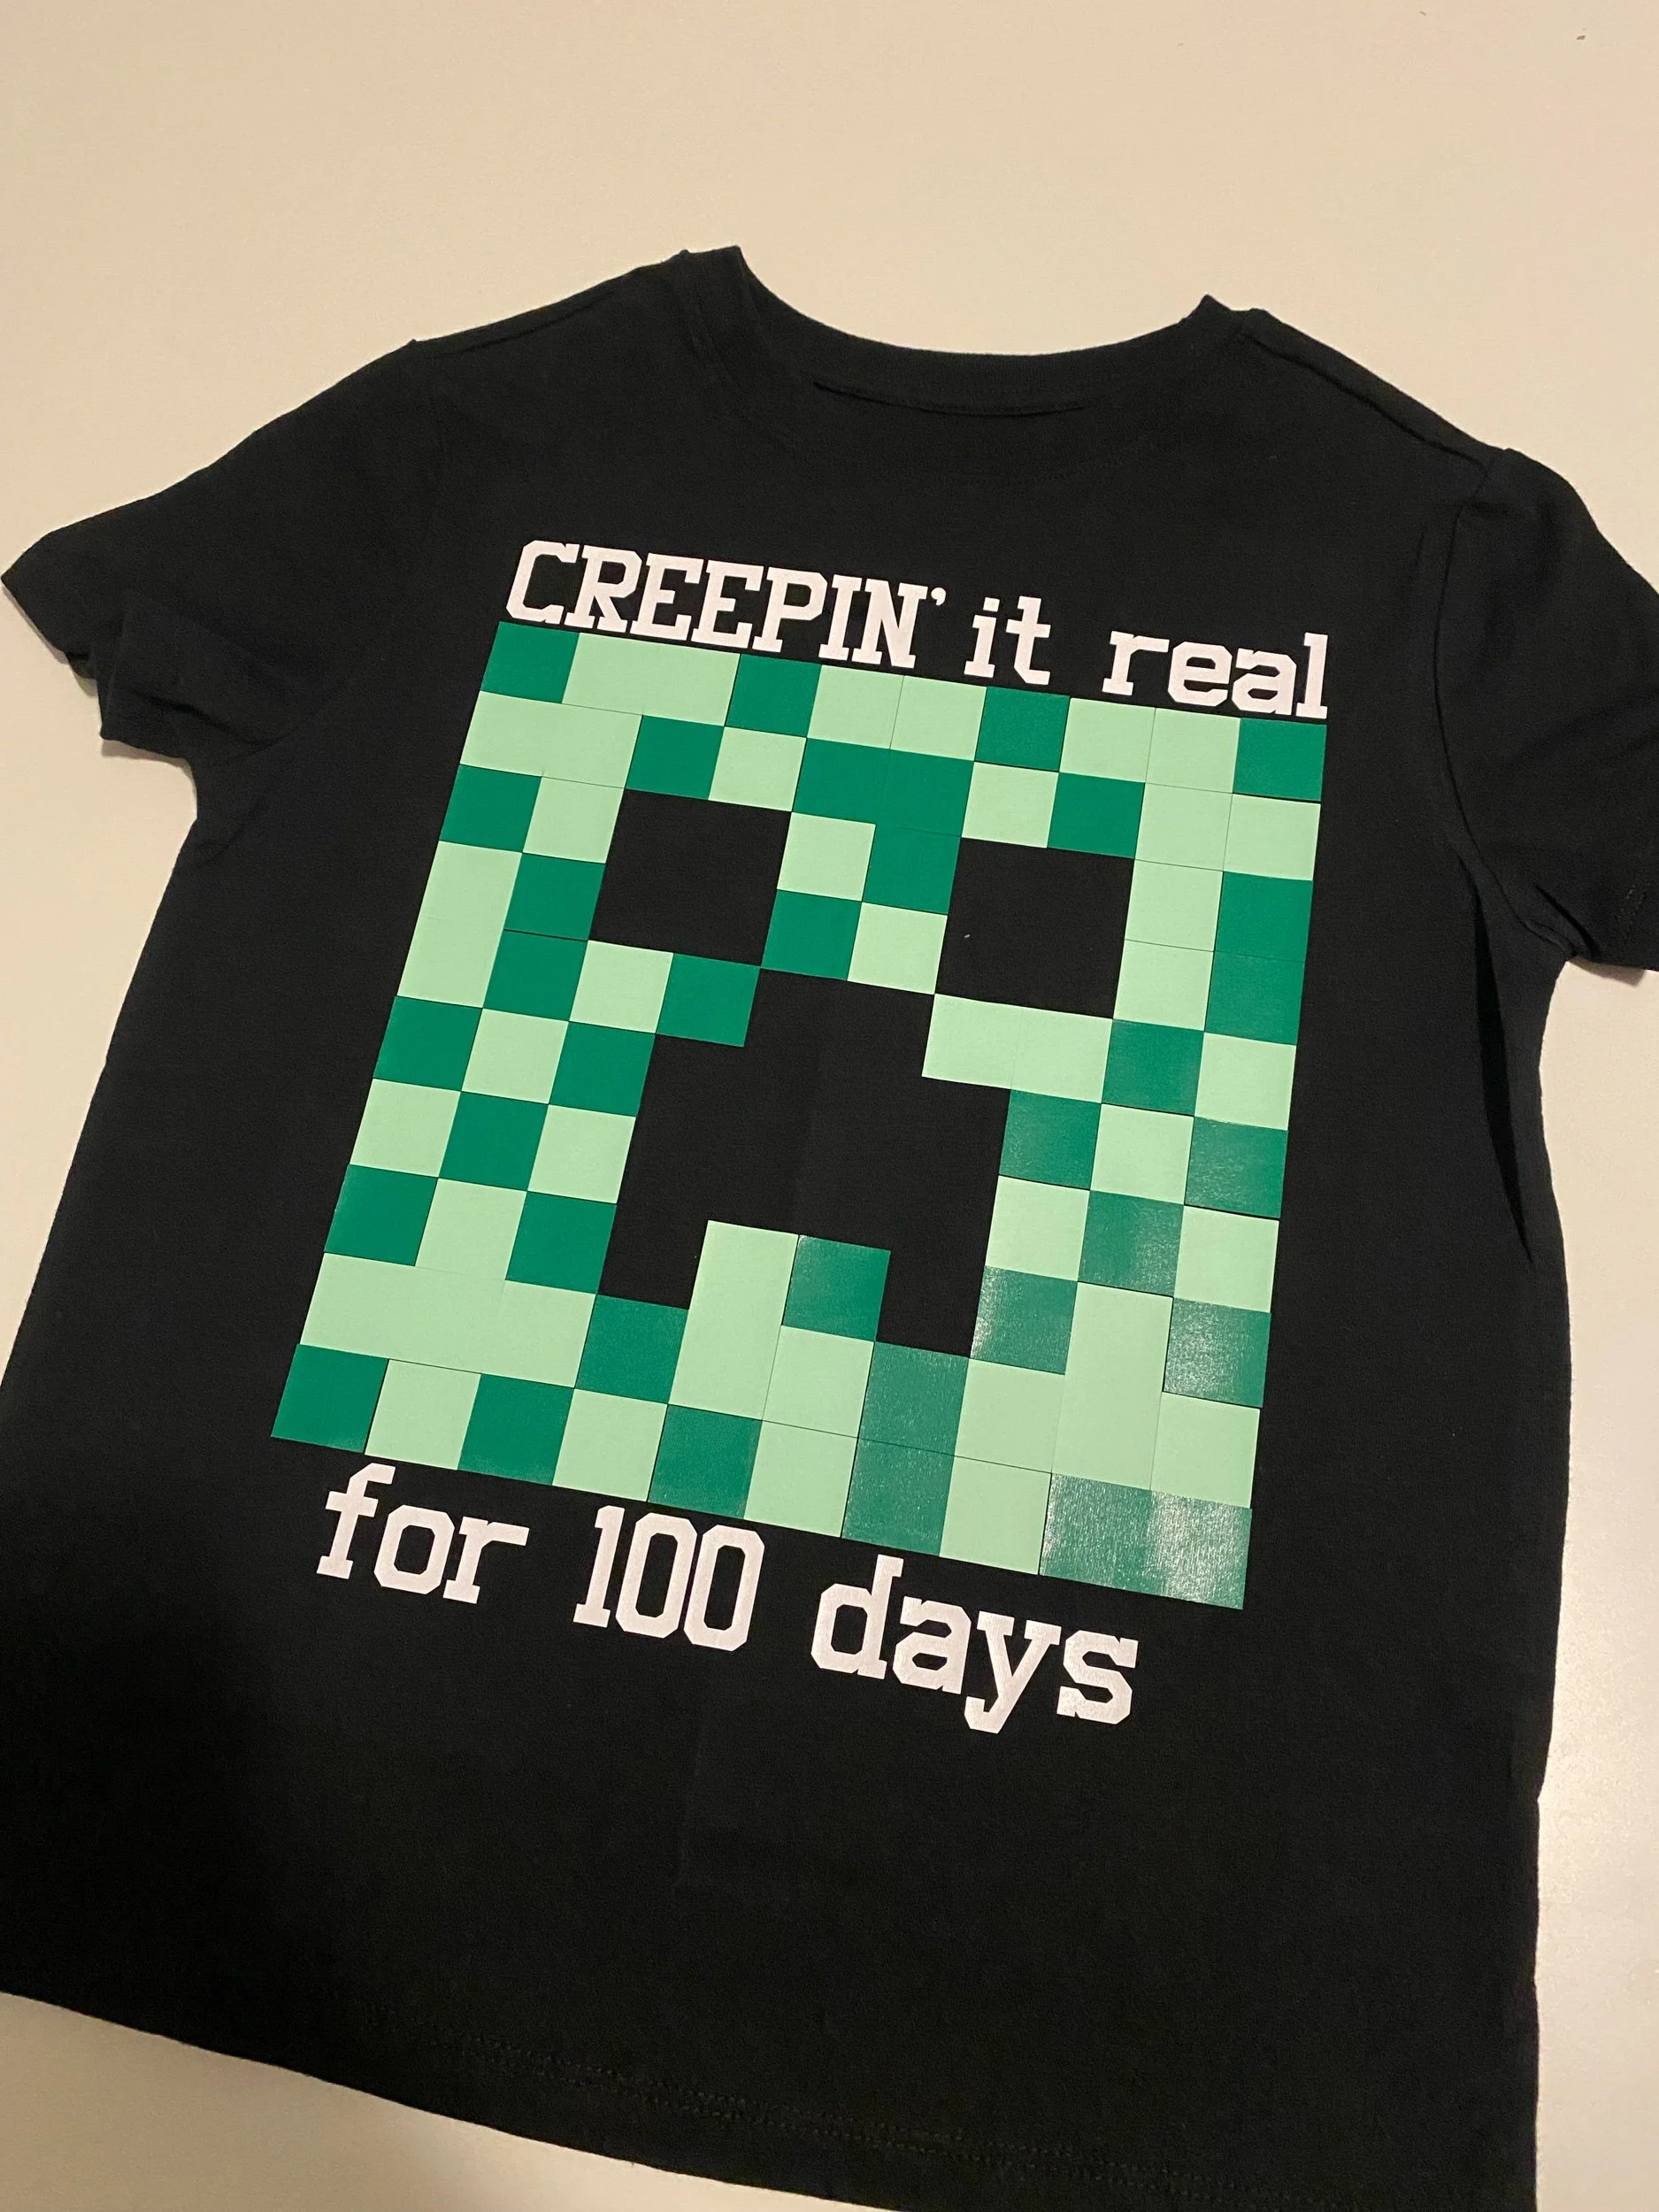
Step 3: Applying the Heat Transfer Vinyl
Preheat the heat press to 325 degrees Fahrenheit. Then, fold the shirt vertically in half and press for 5 seconds. Line up the crease on the transfer sheets with the crease you just pressed into the shirt, leaving about 4 inches between the top of the design and the bottom of the collar.
Remove all of the layers of vinyl except for the bottom layer. Press the vinyl for 15 - 20 seconds. Then, remove the transfer sheet carefully. Keep the transfer sheet to protect the adhered vinyl (or use a Teflon sheet).
Add the next layer of vinyl. Before pressing the next layer, make sure all of the previous layer is also protected. Keep repeating layers until the entire design has been applied.

Check out “100 Days of Mischief Managed” shirt.