
The Lightning Thief Watch Party

Last summer, we read all of the Harry Potter books and had a great time watching and comparing the movies. It was so much fun to read and then watch, we decided to do the same thing with “The Lightning Thief,” especially since Disney+ released it as a television series.
Here’s how we celebrated the title…
The Menu


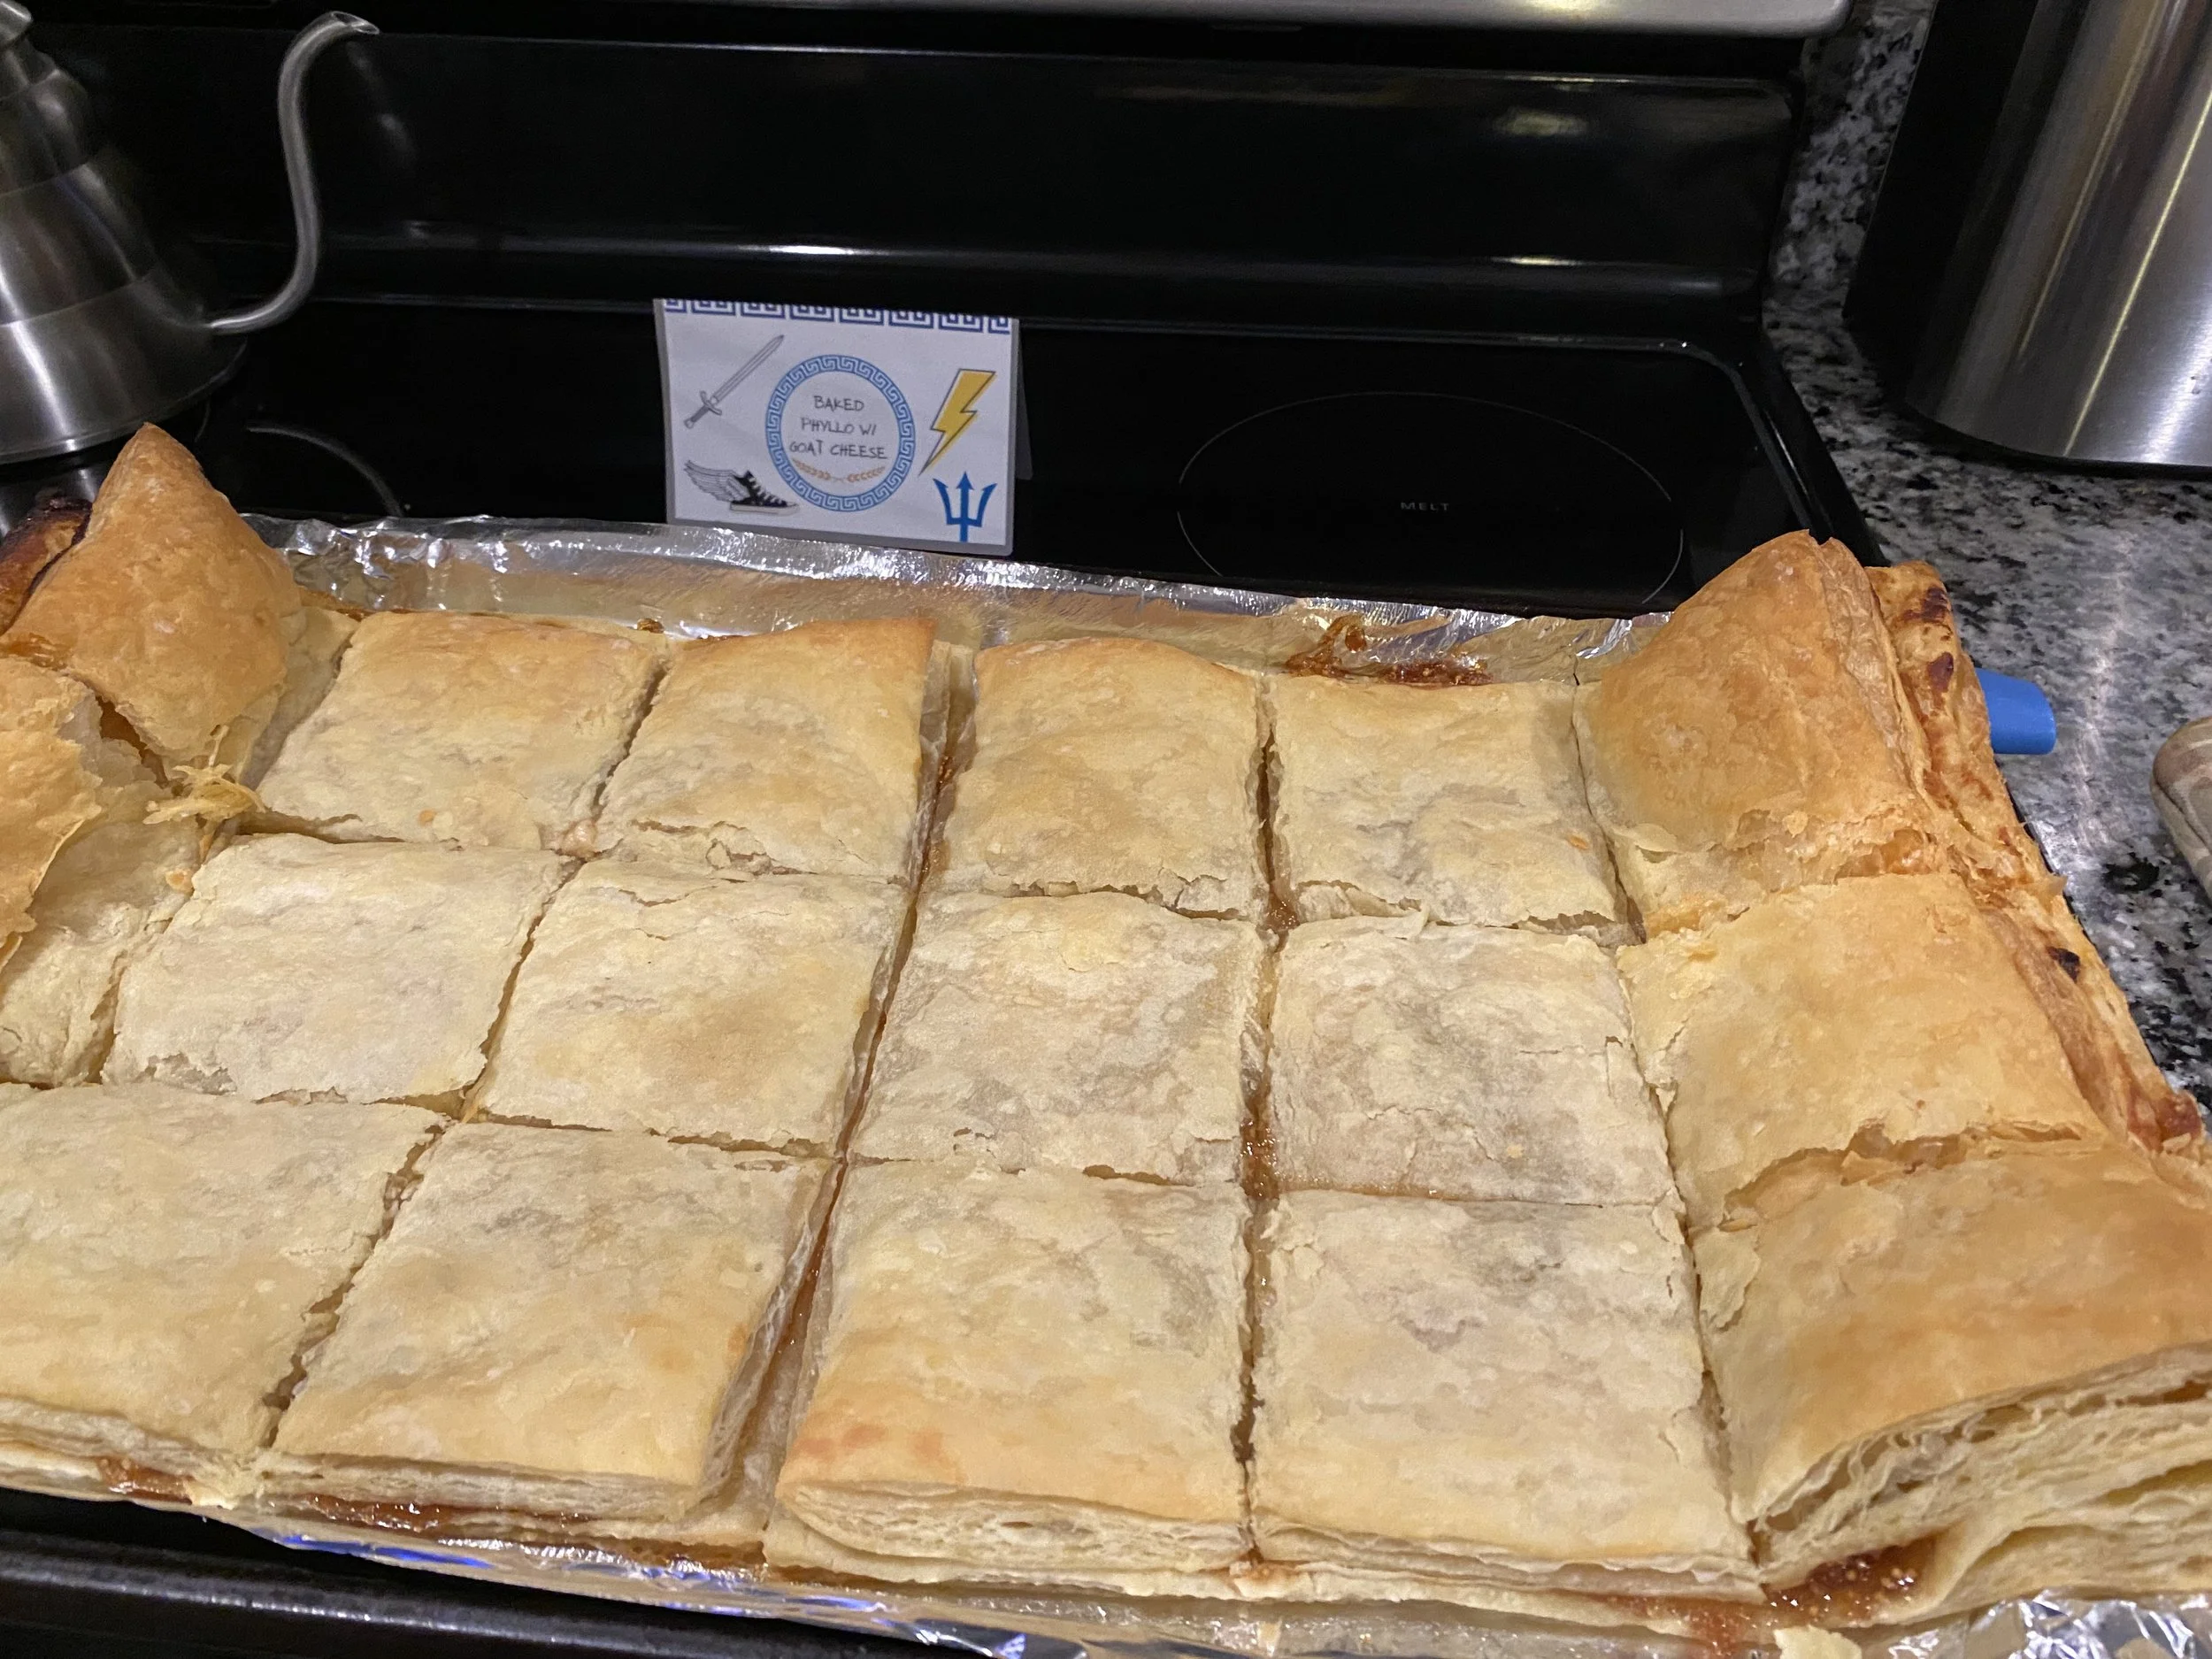


Since the book is centered around Greek mythology, it only made sense to have a Greek menu. Most of the items below were recommended on Rick Riordan’s website in his teacher guides. Many of the recipes were found on Pinterest. The only one we made prior to this party were the Greek meatballs, which are a regular dinner for us.
Nectar (juice): Blue Hawaiian and lemonade mix
Pita bread bites with hummus
Poseidon Popcorn bar
The roasted eggplant dip with red peppers, meatballs, and baklava were the crowd favorites. Of course, the kids loved the nectar and popcorn bar. If we were to do this again, I’d probably skip the olive tapenade. I also forgot about the marinated feta until right before the party. They were still good, but I bet they’d be even before if left in the fridge overnight.
The Decorations
Menu Cards
I designed the menu cards in Canva and then imported the images into Design Space (one at a time). Here is the template link to update the cards with your own menu items. I used the offset feature for silver cardstock, which provided both structure and a pop of color. It also tied in the pewter paper plates. Here is the link to the project in Design Space, if you’d like to use the same menu.
I ended up using the Print & Cut feature for the menu design imported from Canva, but printed it on a printable sticker sheet to make securing it to the cardstock easier. The trick to putting these together was making sure the space on the edges was as equal as possible so the design on the center fold lined up nicely.


Neon Sign
We’ve been really into things with lightning bolt symbols (Harry Potter, the Tamba Bay Lightning hockey team, and Percy Jackson), so I had no qualms about purchasing a lightning bolt lamp that we would have around for a while. The boys also only have the ceiling lights in their playroom, so it actually became a super practical purchase. I was surprised at how bright the light shines. Here is the link to this neon sign from Amazon.


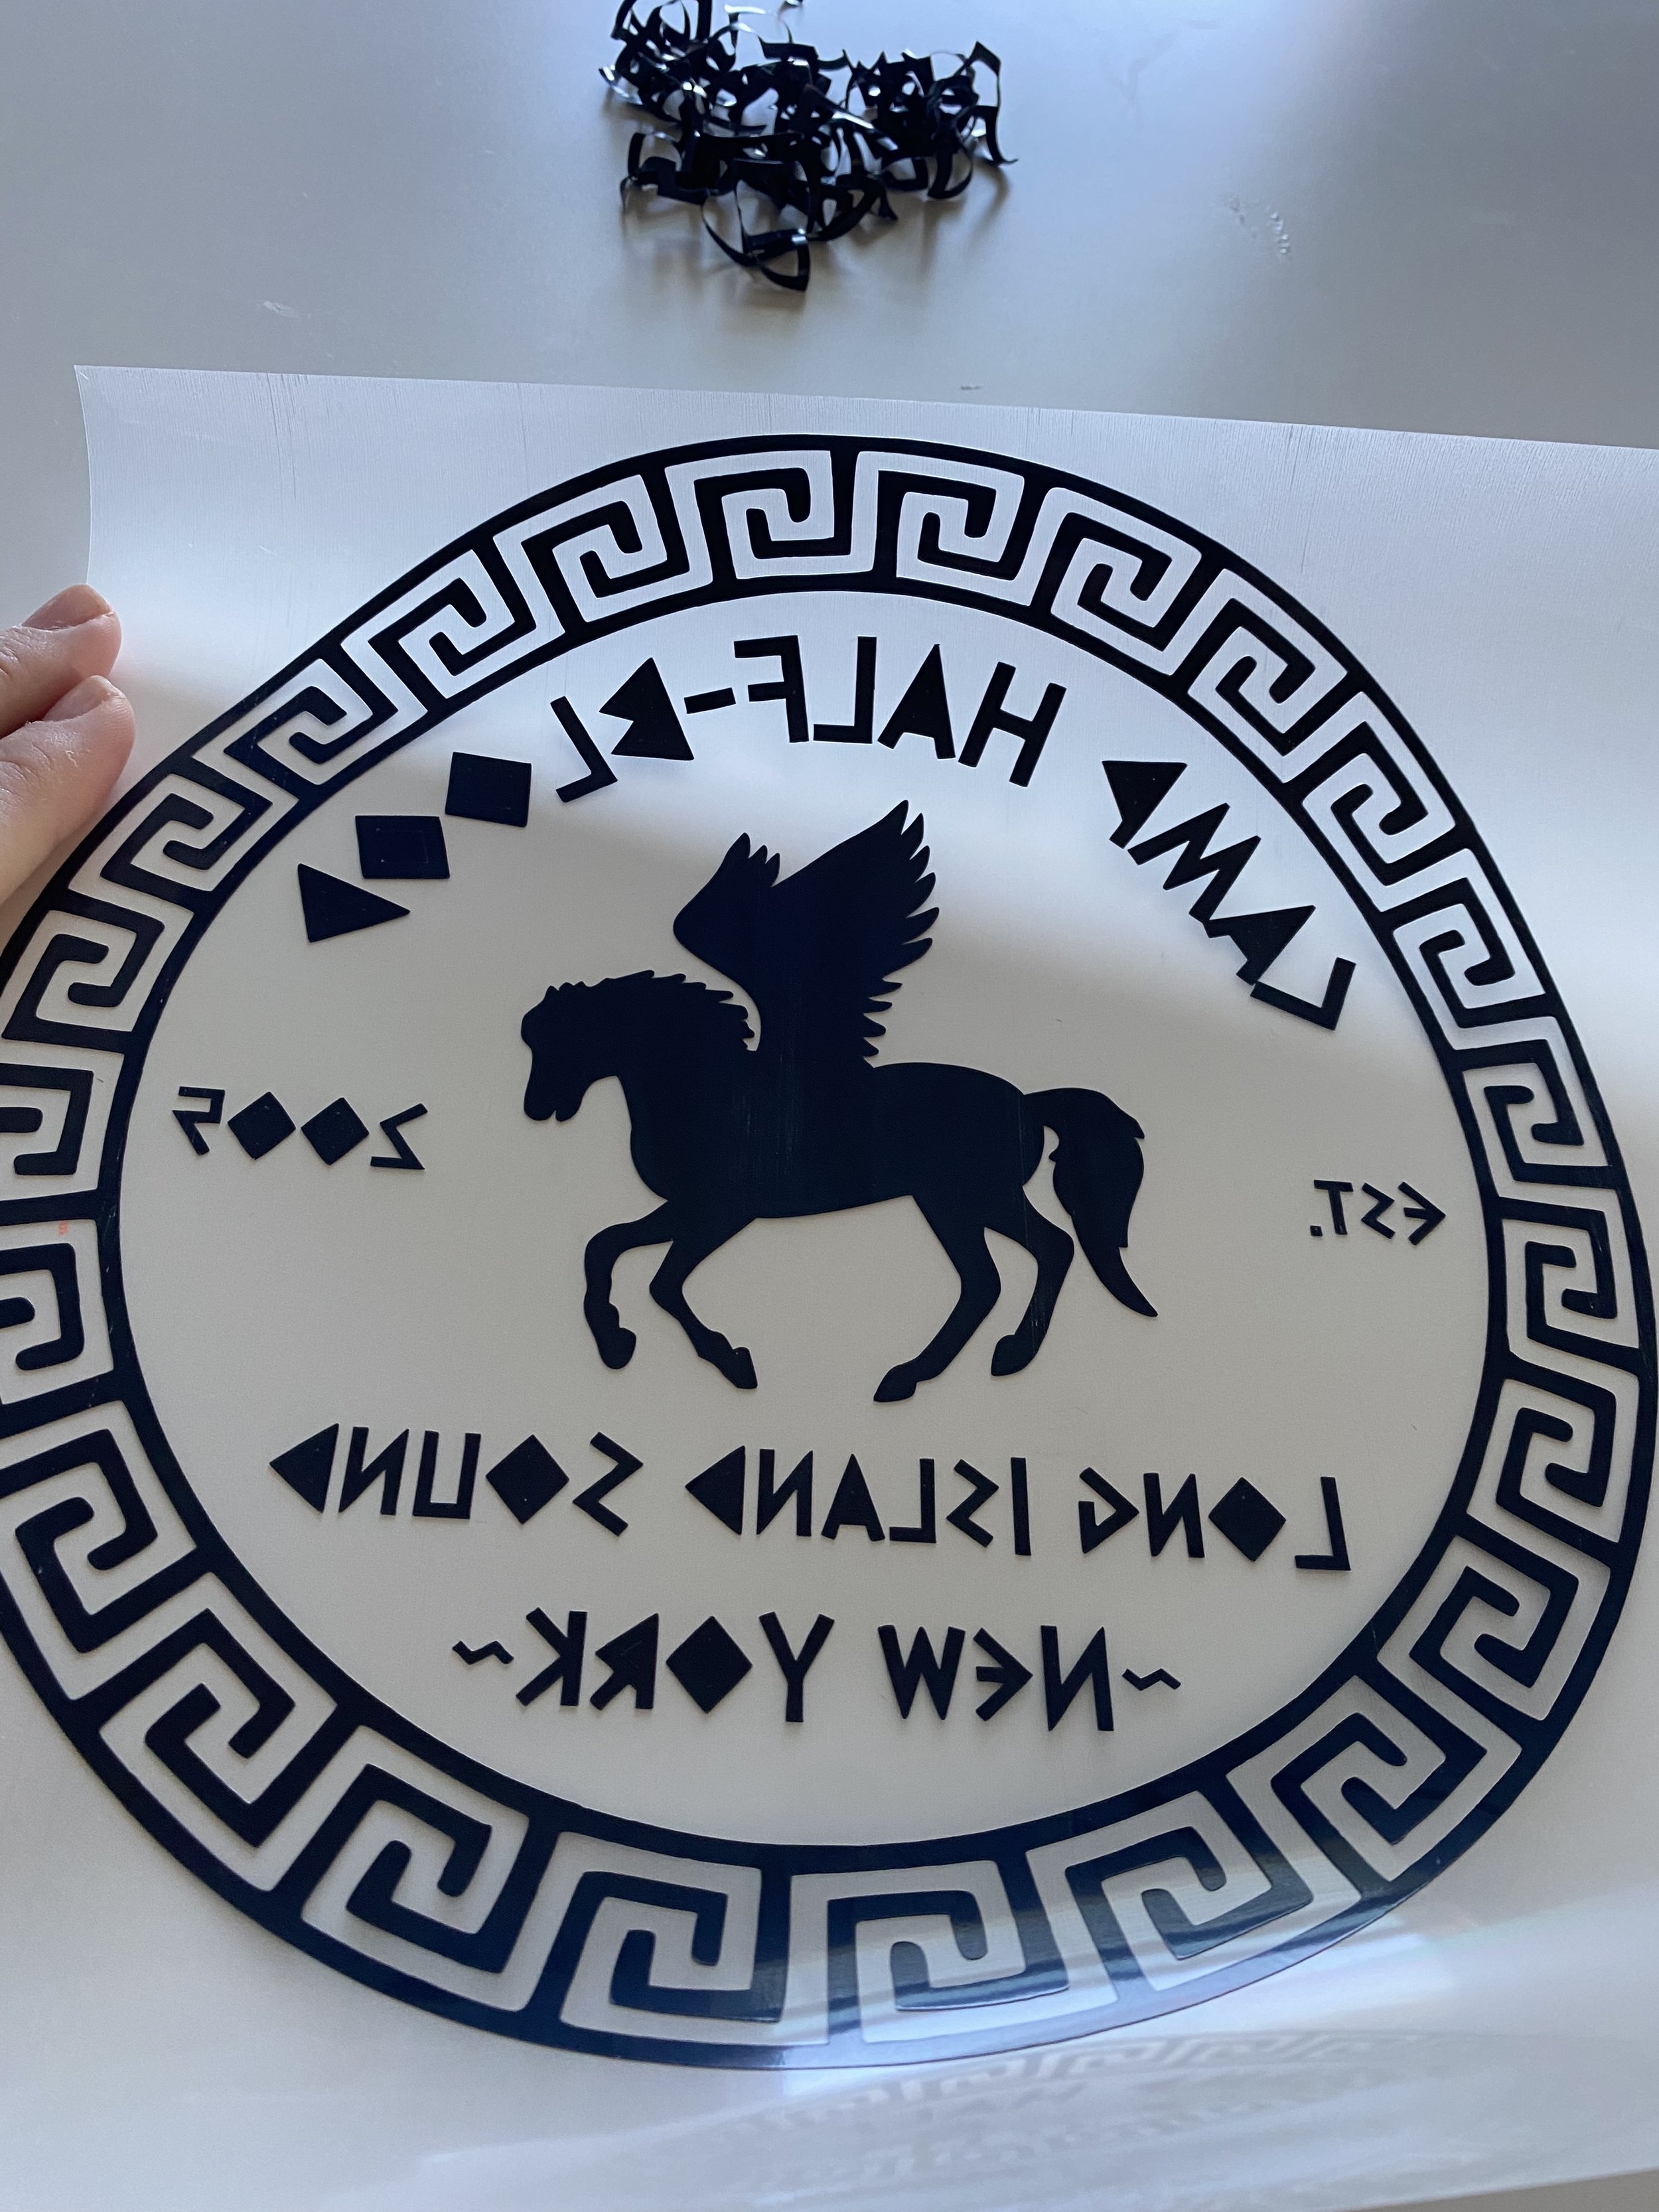
Camp Half-Blood Banner
To make the banner, I started off by downloading a font with Greek letters. I ended up using Gelio from DaFont.com. After restarting the program, I typed out the phrase, made the text a Print then Cut layer, and used the feature to separate each letter as its own cut layer.
I added a hexagon to the mat from the shapes option and made it white.
Then, I used the Offset feature to make a slightly larger hexagon to be used as the background for both structure and a cute pop of color around the border. I made this layer gold.
I grouped the two hexagons (white and gold) together and copied and pasted them. For each set, I ungrouped them and attached and flatten a letter to each.
To complete the design, I added a column design to each end and a pegasus to the middle.
Then, I resized the whole thing to fit the space and cut out the layers. I used a foil cardstock for the gold letter and this printable sticker paper for the Print Then Cut white hexagons with the Greek letters on them.
After the sticker sheets were cut, I removed each letter and carefully applied them to the foil cardstock.
Lastly, I hot glued the pieces to black 1/4 ribbon starting with the right side of the design. I placed each hexagon face down, drew a line of hot glue across the top, and held the ribbon tightly in both hands to place it neatly along the top edge. The first and last pieces also include a loop to be used for hanging the banner.
Here is the Cricut Design Space link for the banner.


The Centerpieces
The lightning bolt was an easy choice for a centerpiece icon. I selected the trident for Poseidon (Percy’s father), and Herme’s winged Converse shoes for the other icons. I also used the printable sticker paper to Print & Cut the colored icons. For the cardstock pieces, I used the offset at 0 and then welded additional shapes to make the stem and base. I used a circle shape and the slice feature to create space for the tissue paper. Here is the Design Space link.
Once the pieces were all cut, I glued together the pieces of cardstock (5 total) and applied the printed sticker decals. To make the tissue paper poms, I used 4 sheets of tissue paper and…
Cut the sheets into quarters.
Stacked the sheets into a uniform pile and then fan folded 1/2” sections.
Then, I used hot glue to secure a small piece of ribbon around the middle of the folded tissue paper.
Next, I cut the ends of the folded tissue paper to create a scalloped effect.
The middle of the tissue paper was hot glued to the base of each icon.
Once the hot glue dried completely, I fan out the folds and began separating the individual layers.
In the past, I’ve had to secure the tissue paper edges to the cardstock base to hide the cardstock. However, this time cutting the tissue paper into quarters instead of halves, made the tissue layers thick enough to not need the concealment, nor the additional structure to remain upright.
The Musical


About a month before the tv show was released, a local high school did The Lightning Thief musical as their fall production. This sped up our reading a little bit, but it was fun to make these Camp Half-blood shirts, go out to eat, and catch the show.
Since the shirts were a last minute decision (literally, we had to leave in an hour when it was decided), we had to use what was on hand. In a happy accident we didn’t have enough regular black vinyl for all 3 shirts, so we were forced to experiment with the puff vinyl. We all agreed, this design looked great puffy. I’m finding with the puff vinyl, thinner details and more consistent patterns look best.
The Costumes Camp Half-blood Tees

We asked our friends to come in either a toga or as their favorite god/goddess/half-blood. However, since it was so close to Christmas and all the mamas were overwhelmed with holiday preparation, we changed our plans and went with these super cute, easy, and casual tees.
Since I made a few extras for our friends that were out of town when we went to the musical, I learned a couple of things for making the puff vinyl easier to use:
First, I added a new setting and titled it Puff Vinyl in the materials settings on my Cricut. I used a cut pressure of 190. This is about 60 more than the everyday HTV vinyl setting and it helped make weeding a lot easier.
Also, since the puff vinyl is a thicker material and requires a more aggressive cut setting, I secured all four edges of my vinyl with washi tape to hold it in place on the mat.


I like to weed the vinyl from the outside of the design first towards the center. This helps me know which areas to remove and for me, decreases the mistakes I make.
For the continuous pattern just inside the border, I pulled up the first bit of it and then broke it apart.
Then, I worked the one end all the way around to the starting point. Otherwise, you have to pay attention to both sides of the circle at the same time.
Next, I removed the transparent background around the letters and Pegasus.
Finally, I removed the inside pieces of the letters and numbers (i.e., inside the a, o, p, b, d, r and 0).


As I do with all the shirts I heatpress, I begin by…
folding the shirt in half vertically with the front of the shirt on the outside. I doublecheck that the collar, shoulder and sleeve stitches align and then press for 10 seconds to create a seam down the middle of the shirt.
Then, I fold the transfer sheet in half with the non-sticky sides touching.
I unfold the shirt and lay it out on the heat press and then use the seam to line up the transfer sheet. I pay attention to the distance from the collar and the alignment with the arm pit of the shirt.
Finally, I press at 280 degrees Fahrenheit for 10 seconds, immediately removing the plastic sheet, and letting it cool before removing the shirt from the press.
Overall, we had a great time. The food and crafts were fun to make together and being able to share it all with friends is the best gift in the world.
