
Harry Potter Birthday Party
We’ve been reading the Harry Potter series together and then watching the movies for Family Movie Night when we complete each book. We’re currently on book three, Harry Potter and the Prisoner of Azkaban. This year’s party theme was an easy choice for Jonah. We believe the mischief was managed. Here’s how we put on his magical day…
The Invitations
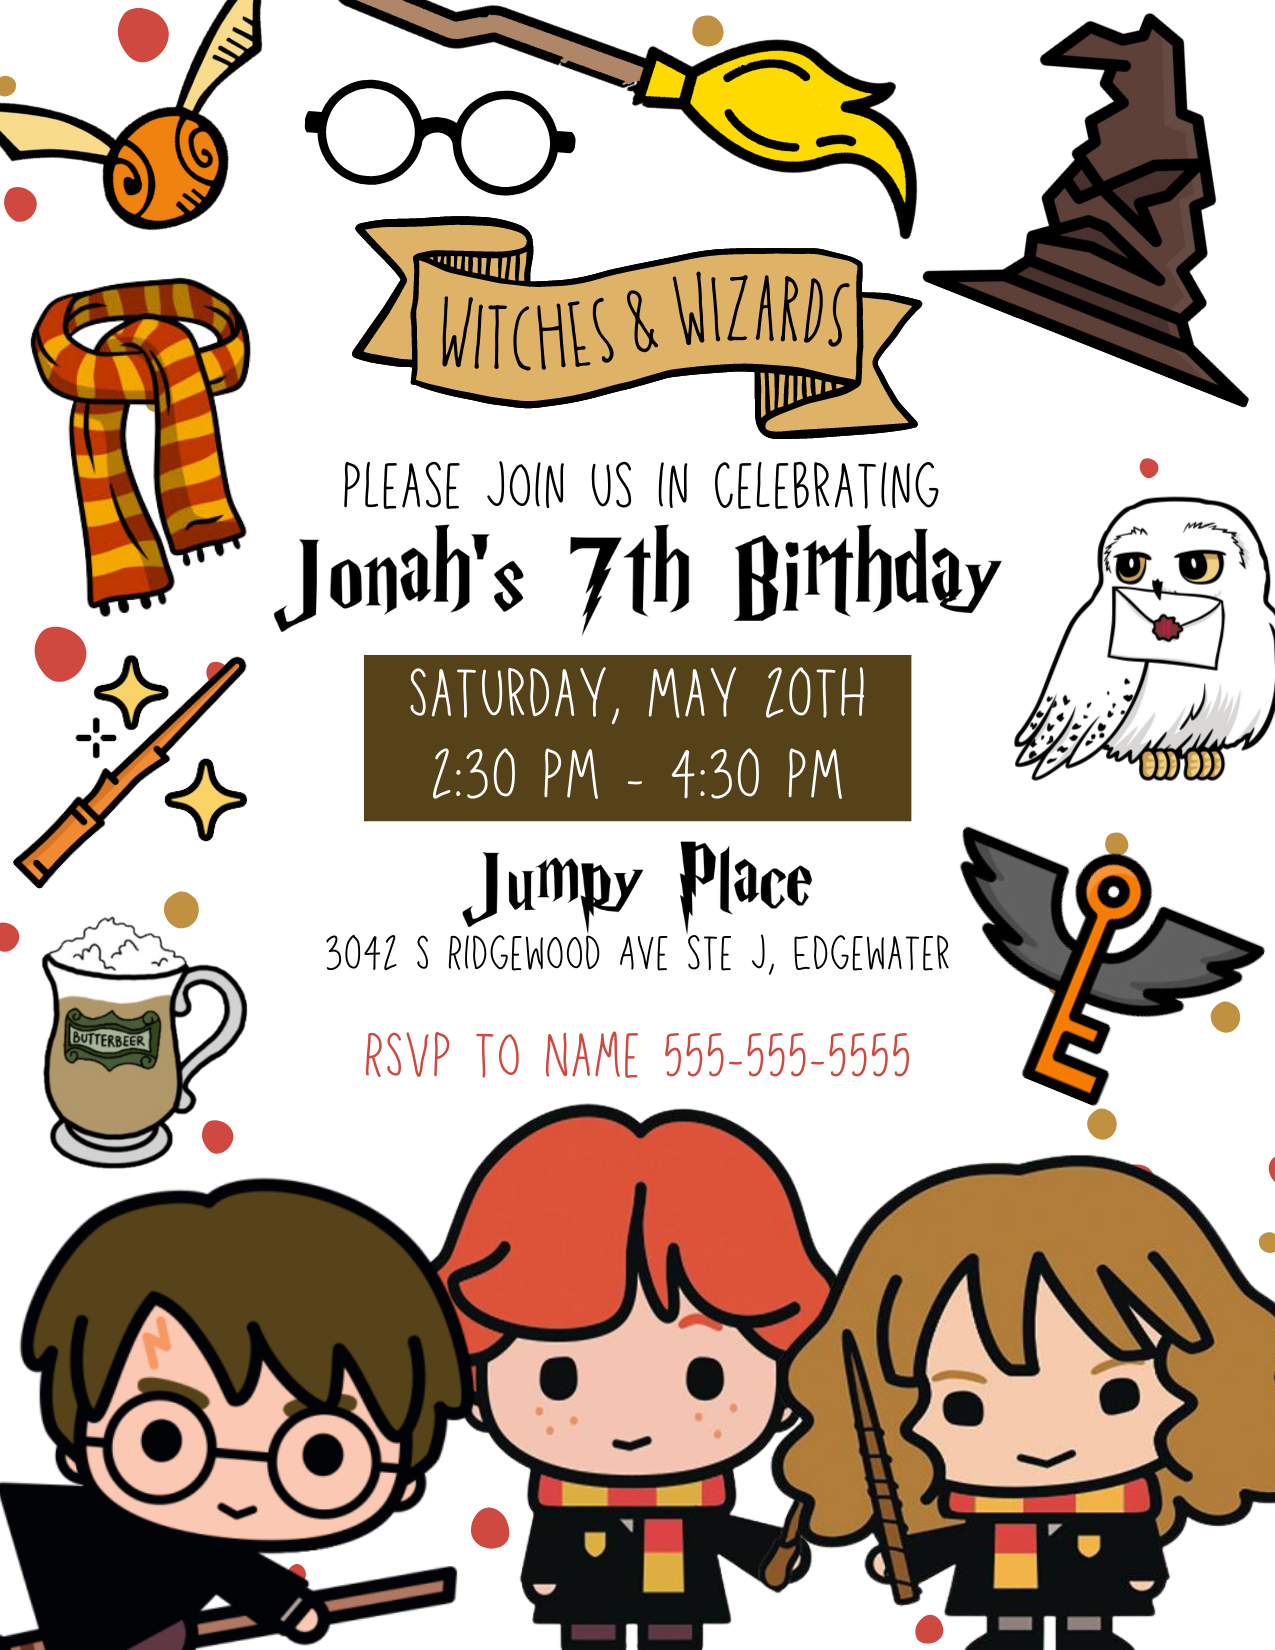
We used Canva to design this 4.25” x 5.5” invitation. We printed them on matte photo paper using Walmart’s photography department.
Here is the template link to update the fields for your own party.
To update the Harry Potter fonts, use this Text Generator.
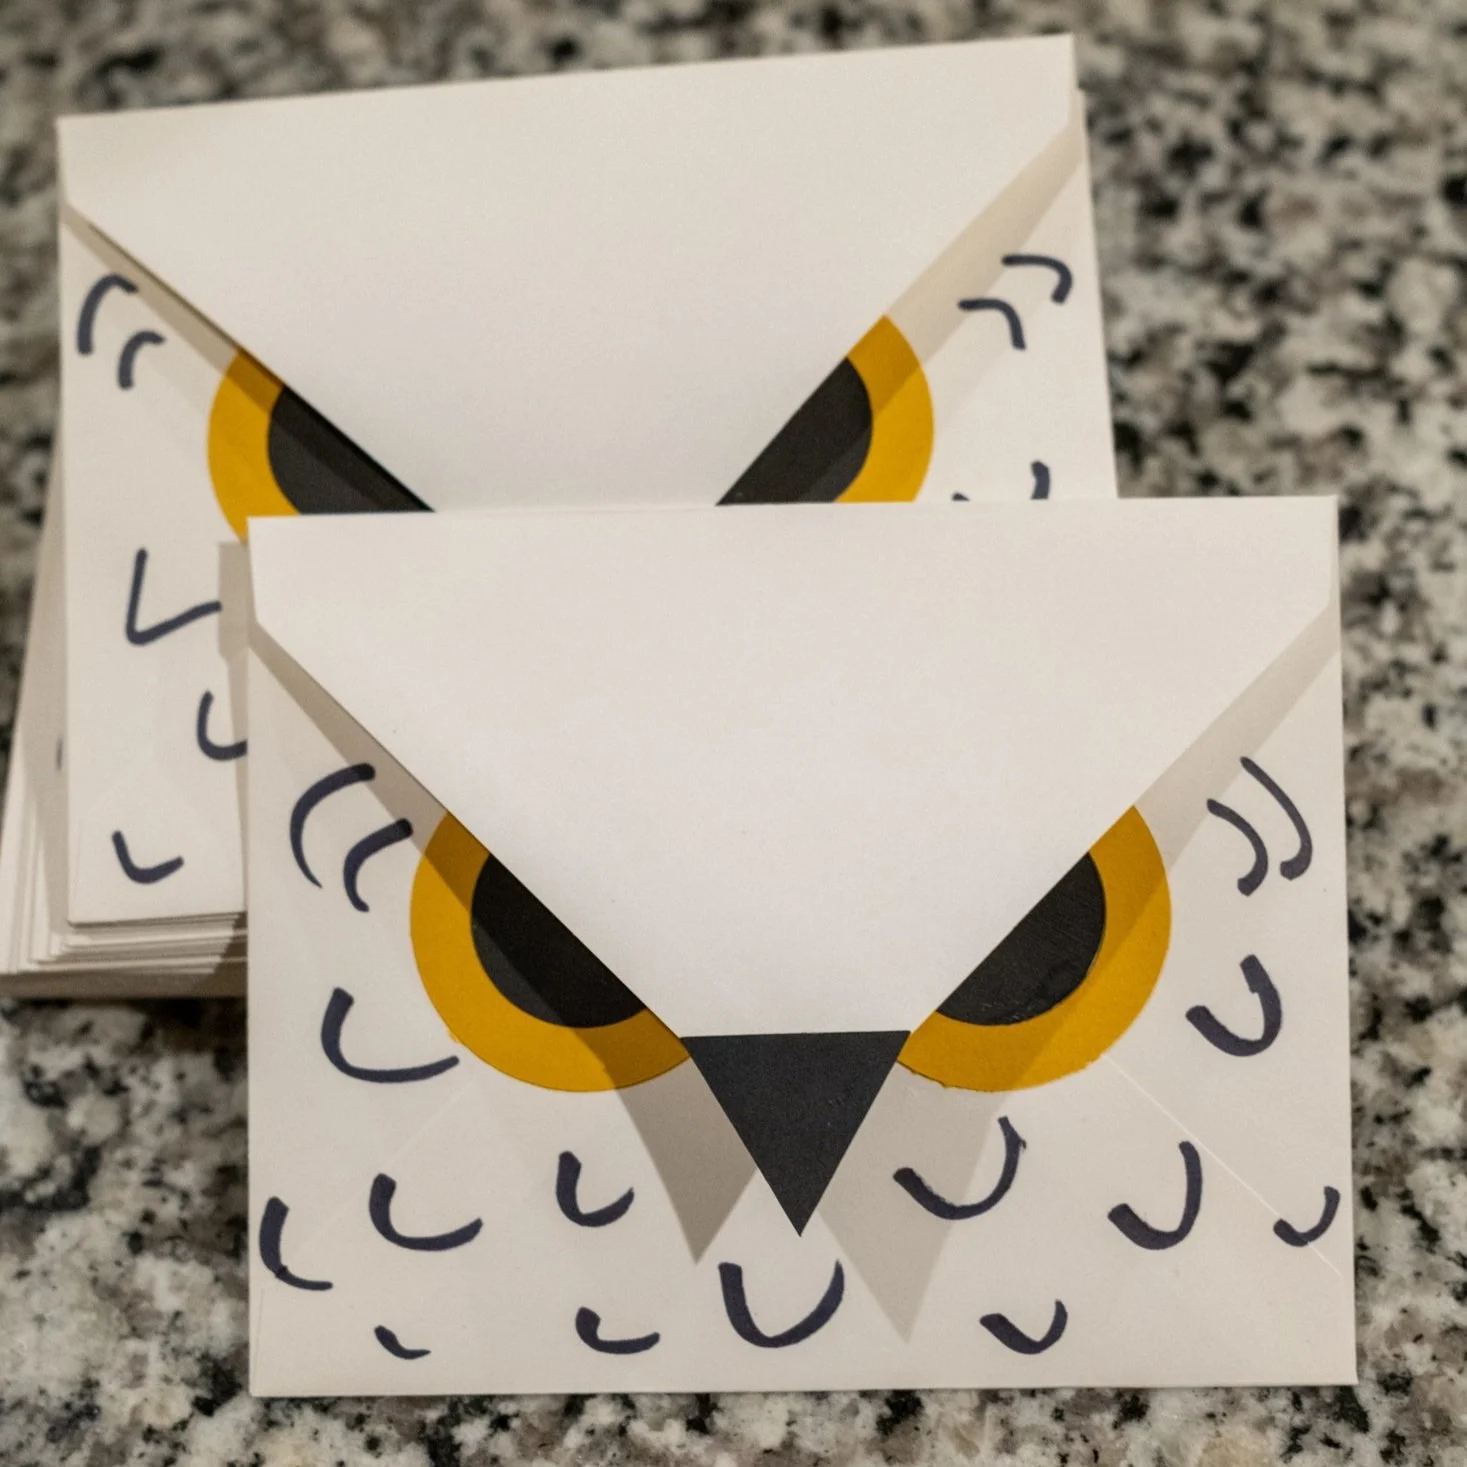
For the envelopes, we started with these ivory ones from Michaels. It was important to make sure the flap was pointed and not straight across. Then, we cut out and glued black triangles on the end of the flap to make the beak.
After they dried, yellow cardstock rings and black cardstock circles were glued under the flap for the eyes.
Finally, feathers were drawn on the backside of the envelope using a black marker.
Here is the Cricut Design Space link for the owl envelopes.
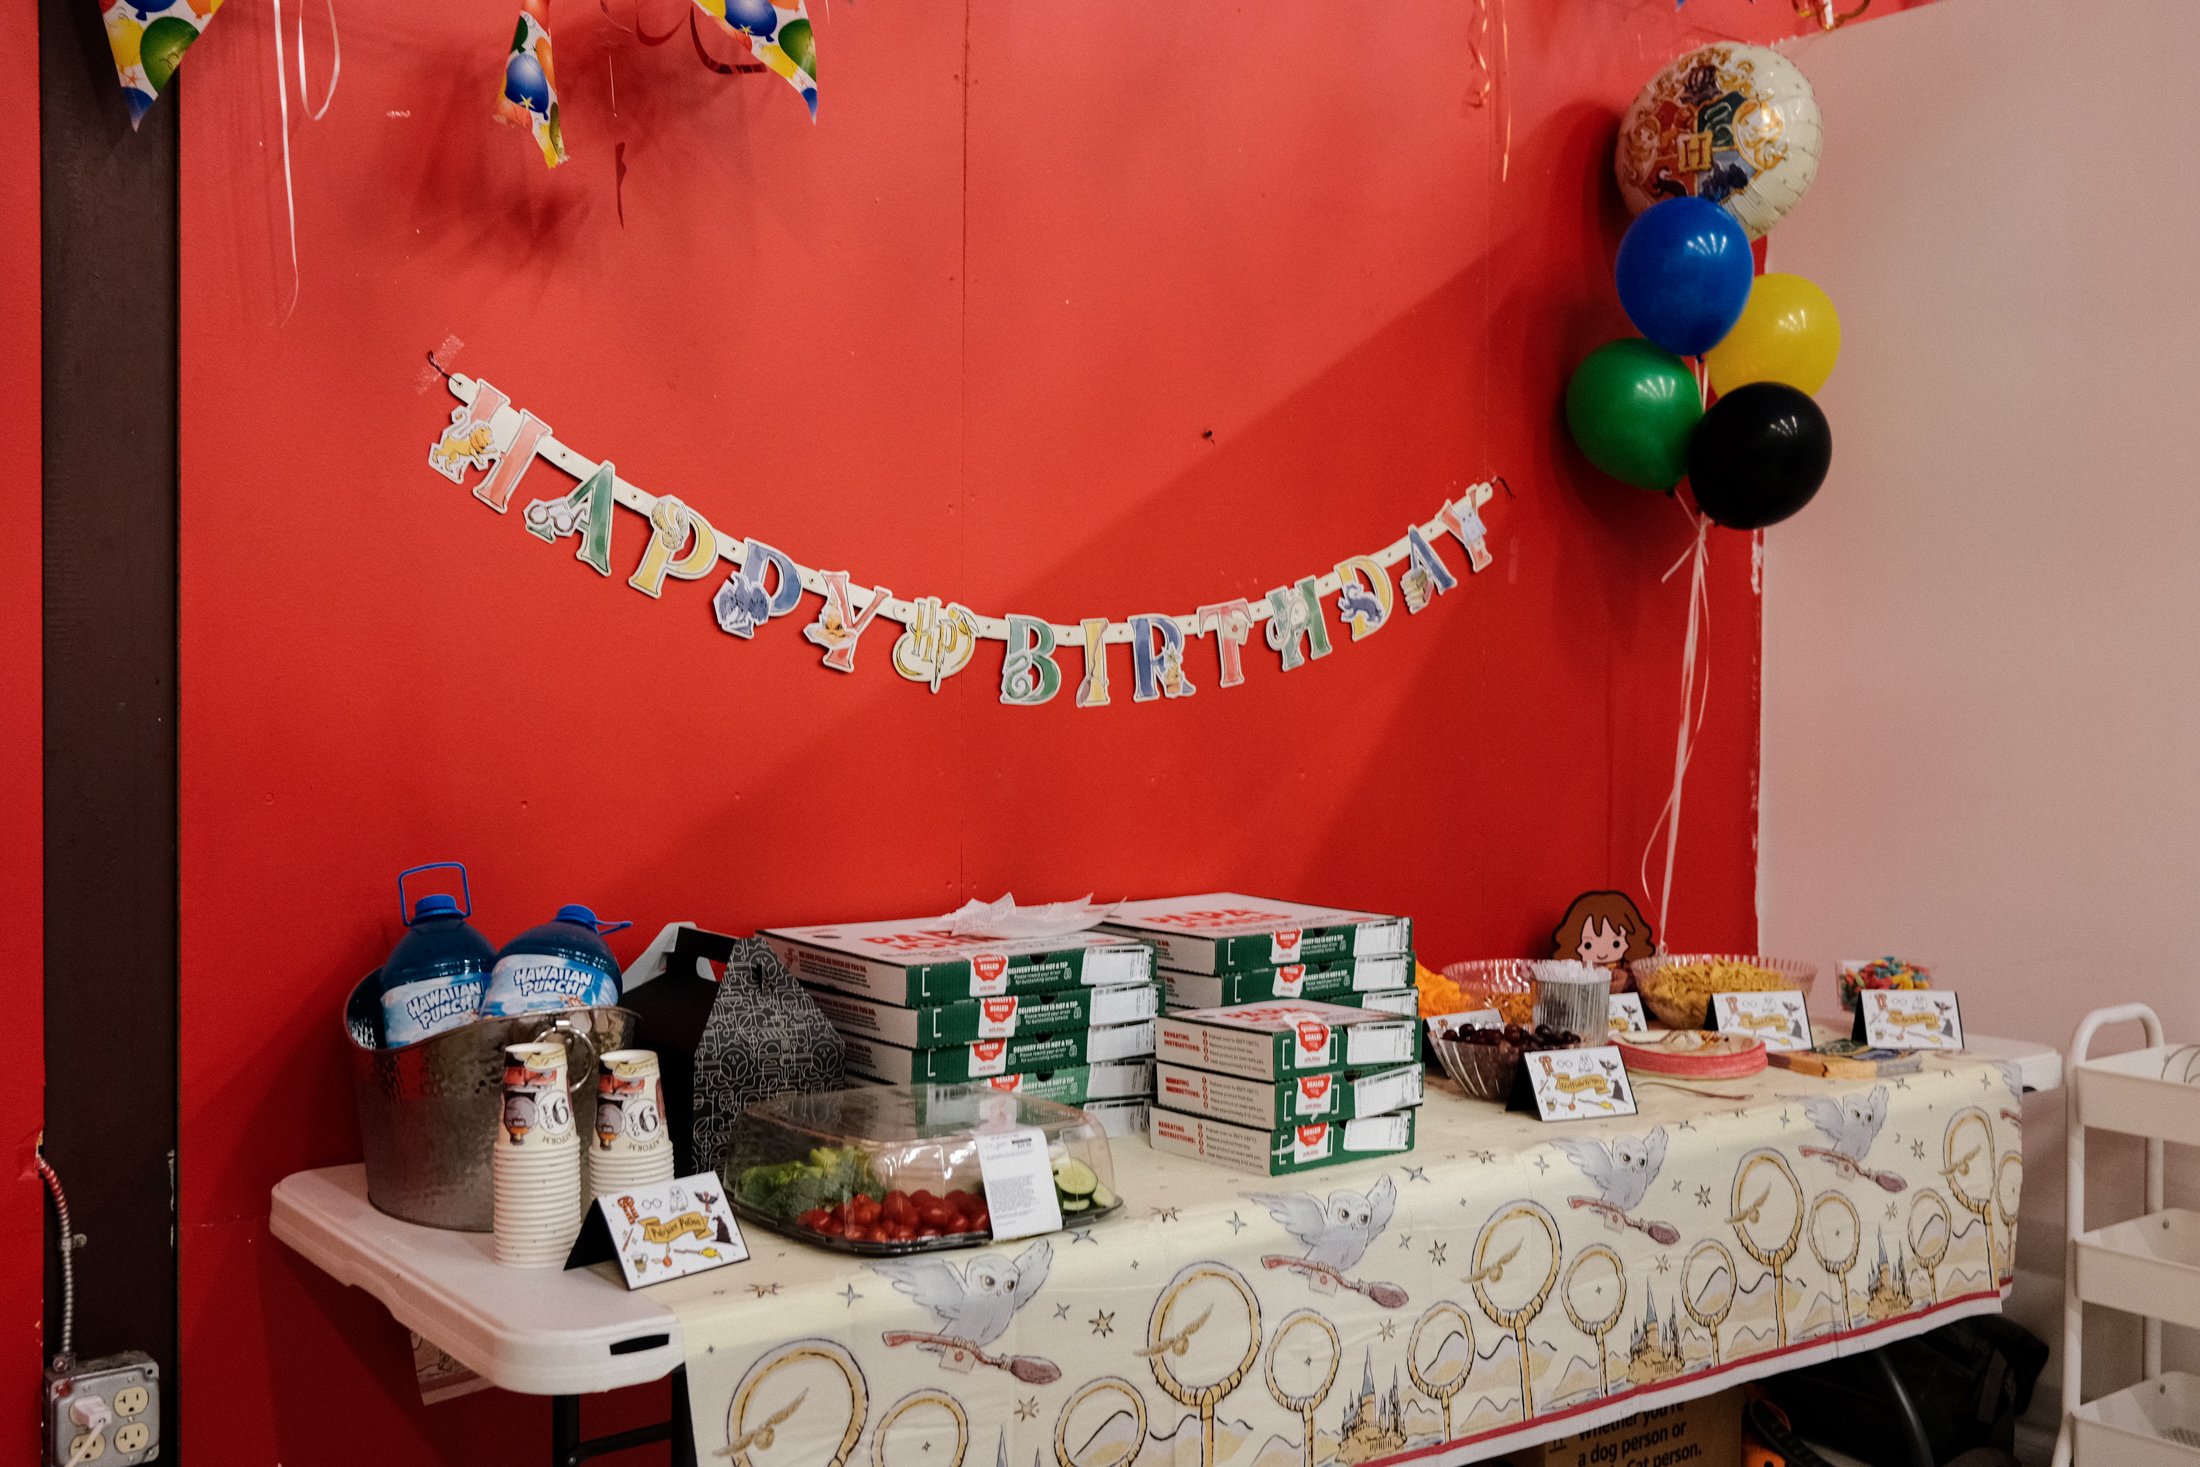
The Decorations
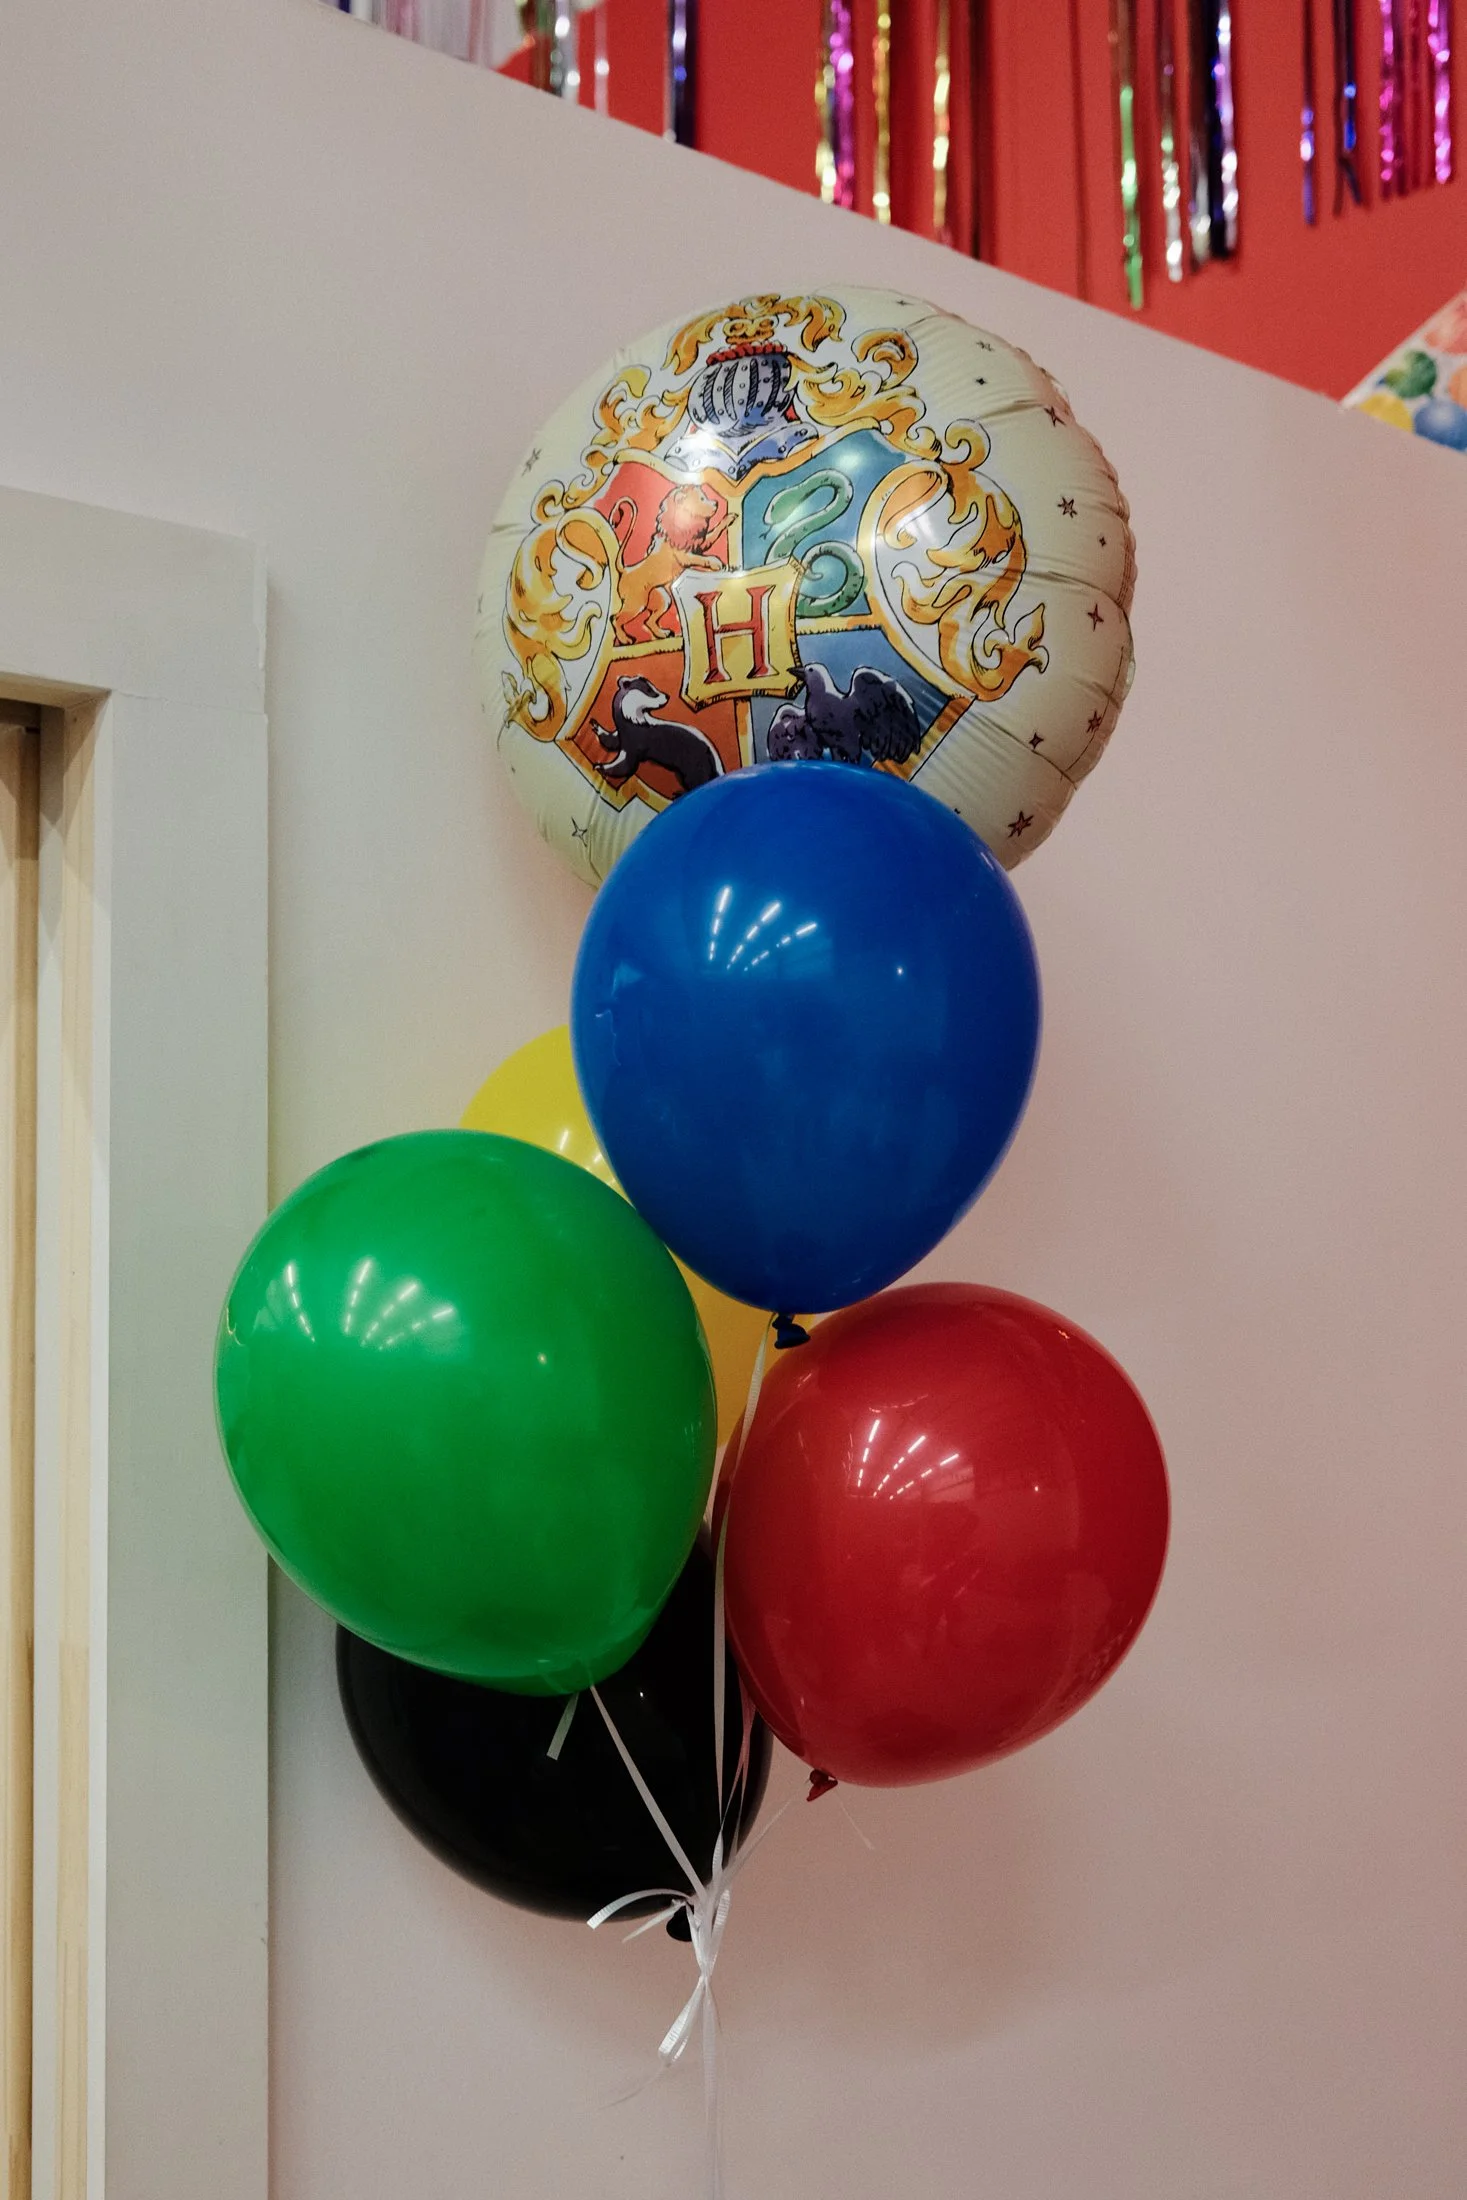
Here are the decorations I purchased from Amazon:
Since we were already committed to the cartoon Harry Potter theme and I couldn’t find centerpieces nor a banner with the characters on them, I decided to make them.
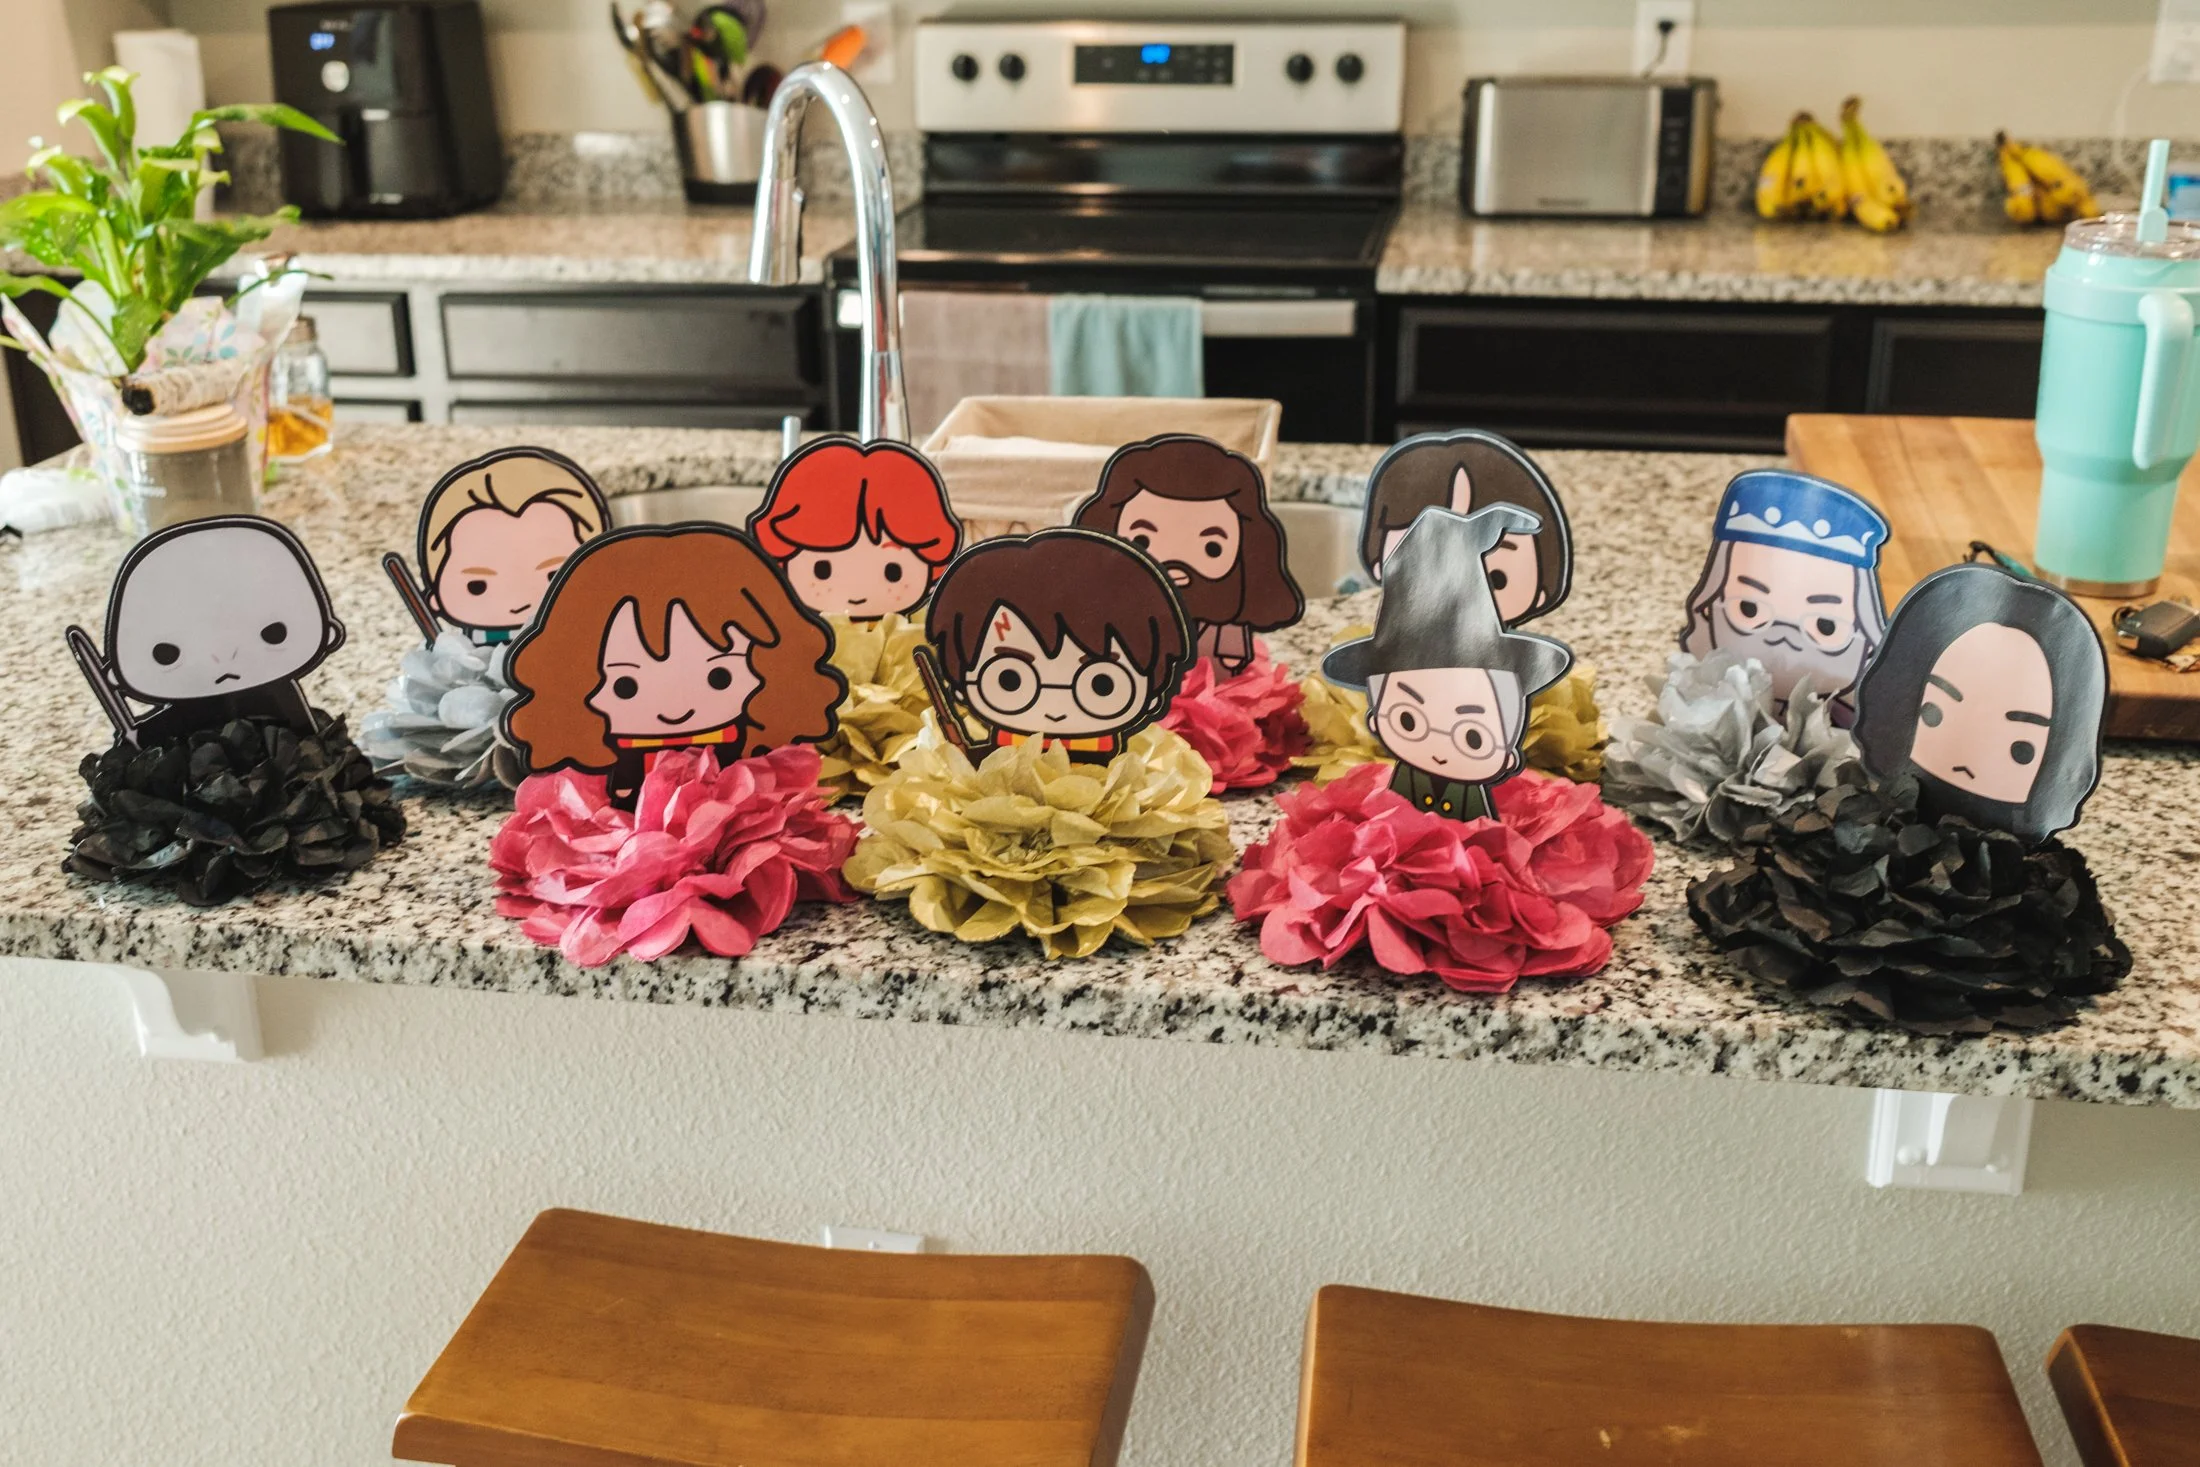
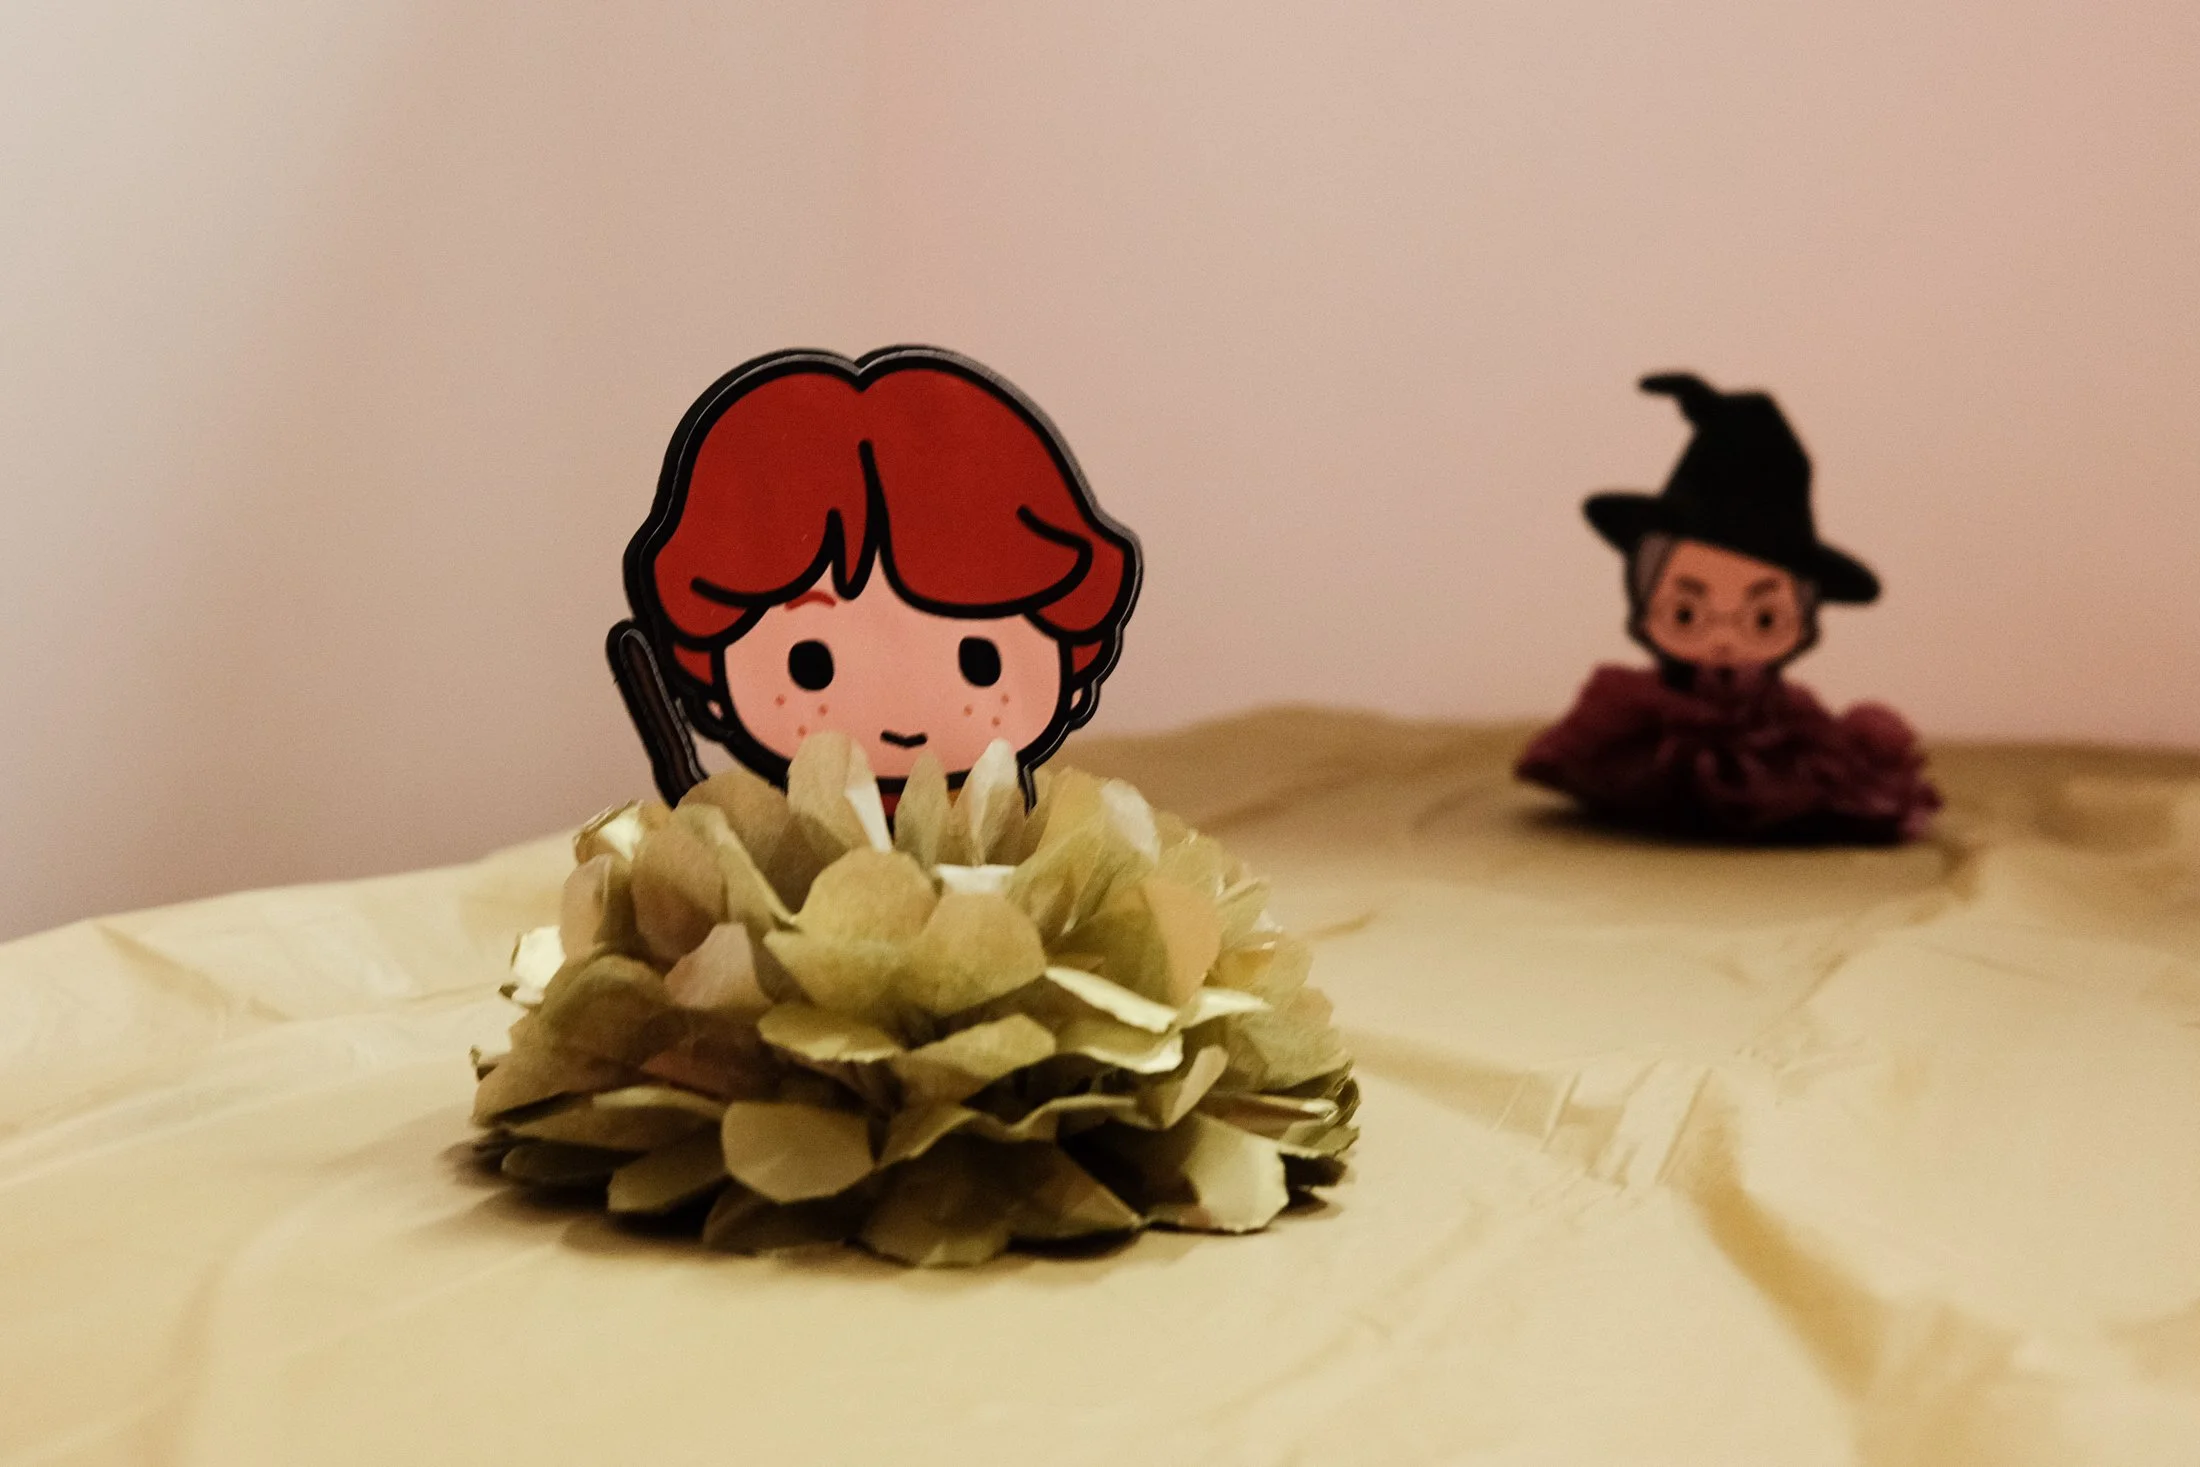
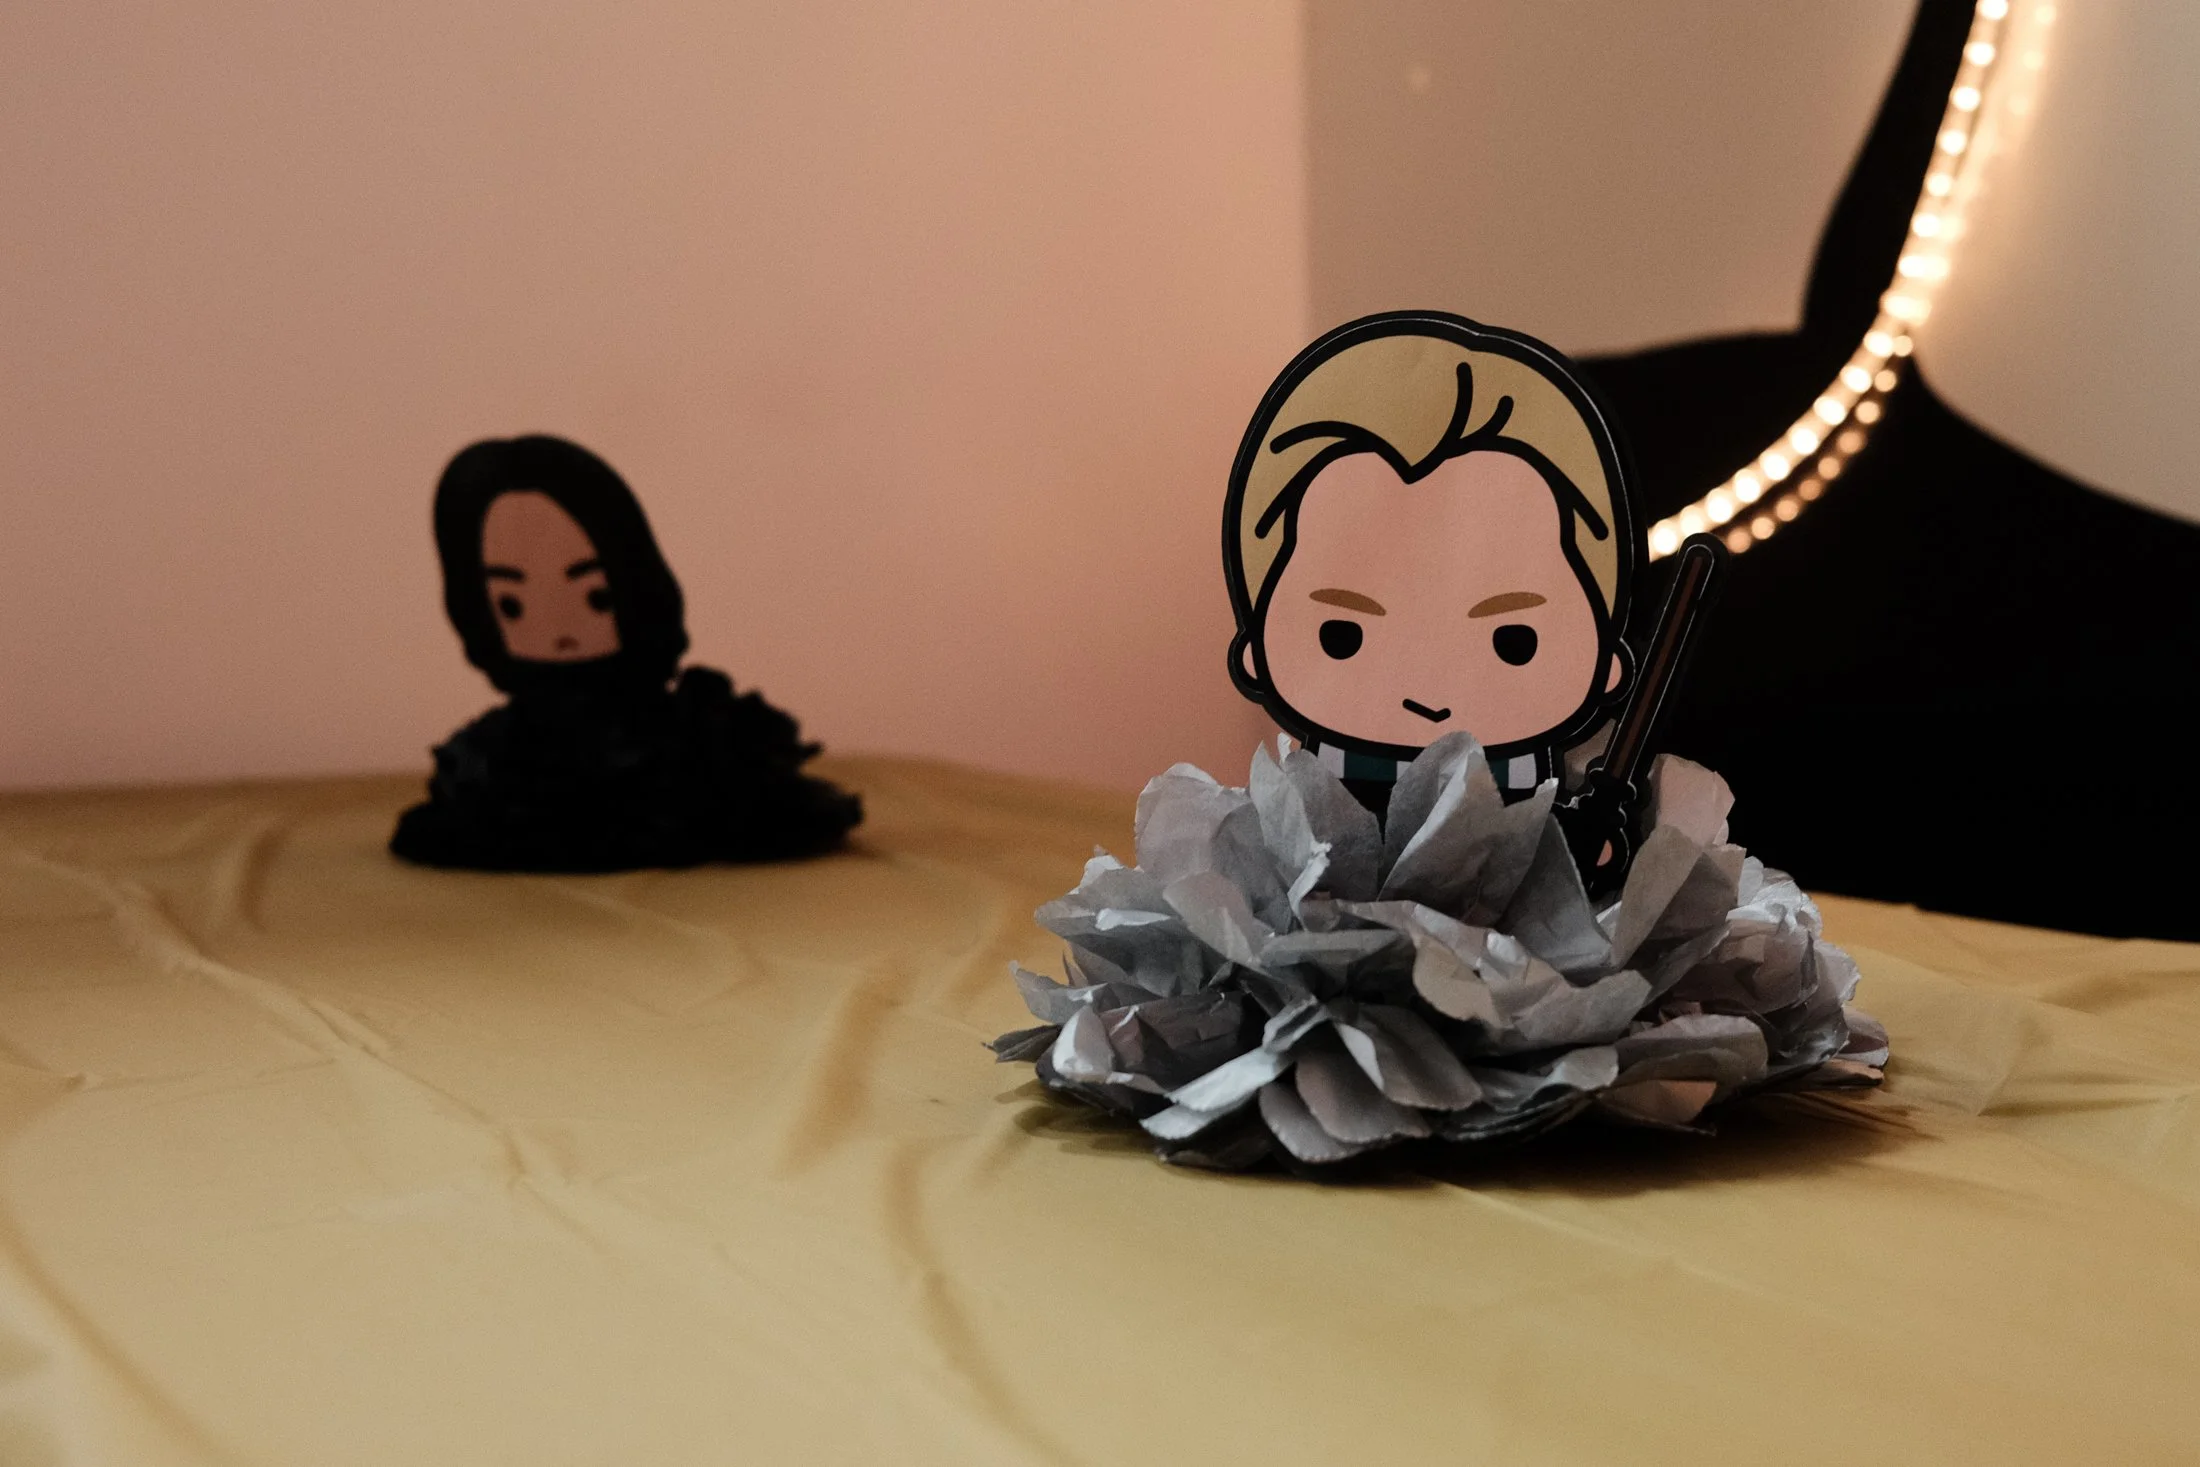
The Centerpieces
CREATING THE CRICUT DESIGN
This party was the first time I attempted to make my own centerpieces. I started off by adding each of the characters to Design Space as Print Then Cut images. Then, I used the offset feature to create the design for the cardstock pieces that would give my images enough structure to stand upright. For my cake toppers, I’ve found glueing together 3 - 5 pieces of carstock is enough. Before moving on, I changed each of the offsets from Print Then Cut to Basic Cut. I then used the weld feature to attach a rectangular shape to the bottom of each figure’s offset. Then, I duplicated each of the welded results once for each cardstock layer I needed. To finish the design, I duplicated each figure and then flipped the design horizontally so that the centerpiece would be two-sided.
Here is the Design Space link for my Harry Potter Centerpieces.
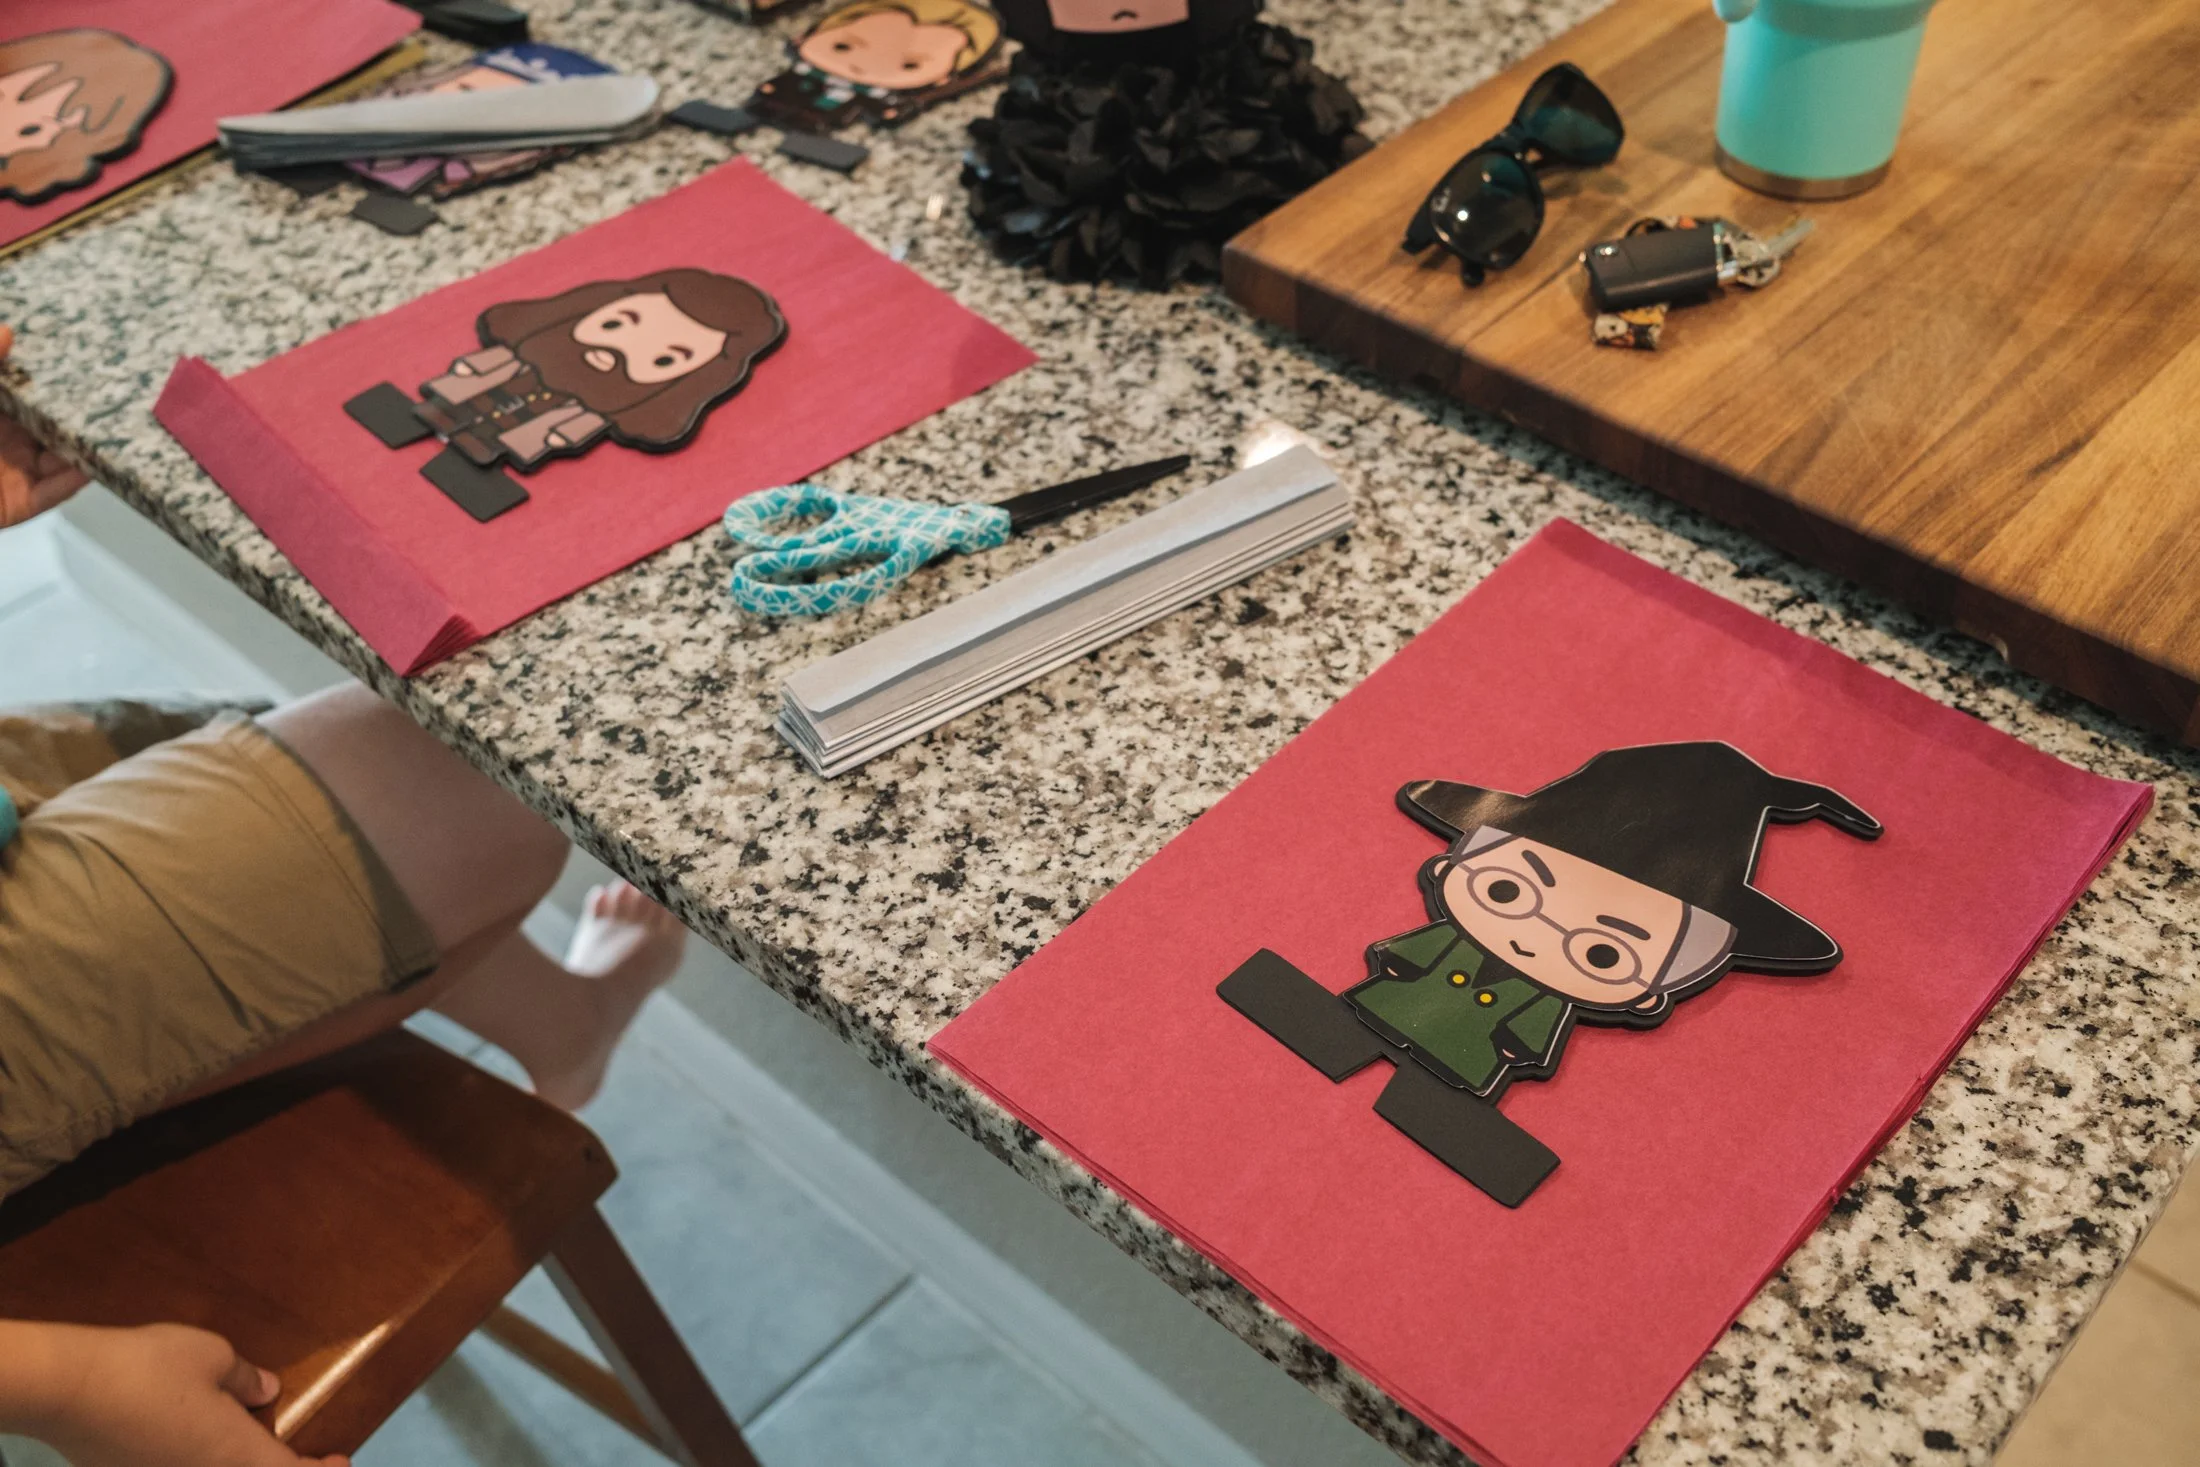
ASSEMBLING THE PIECES
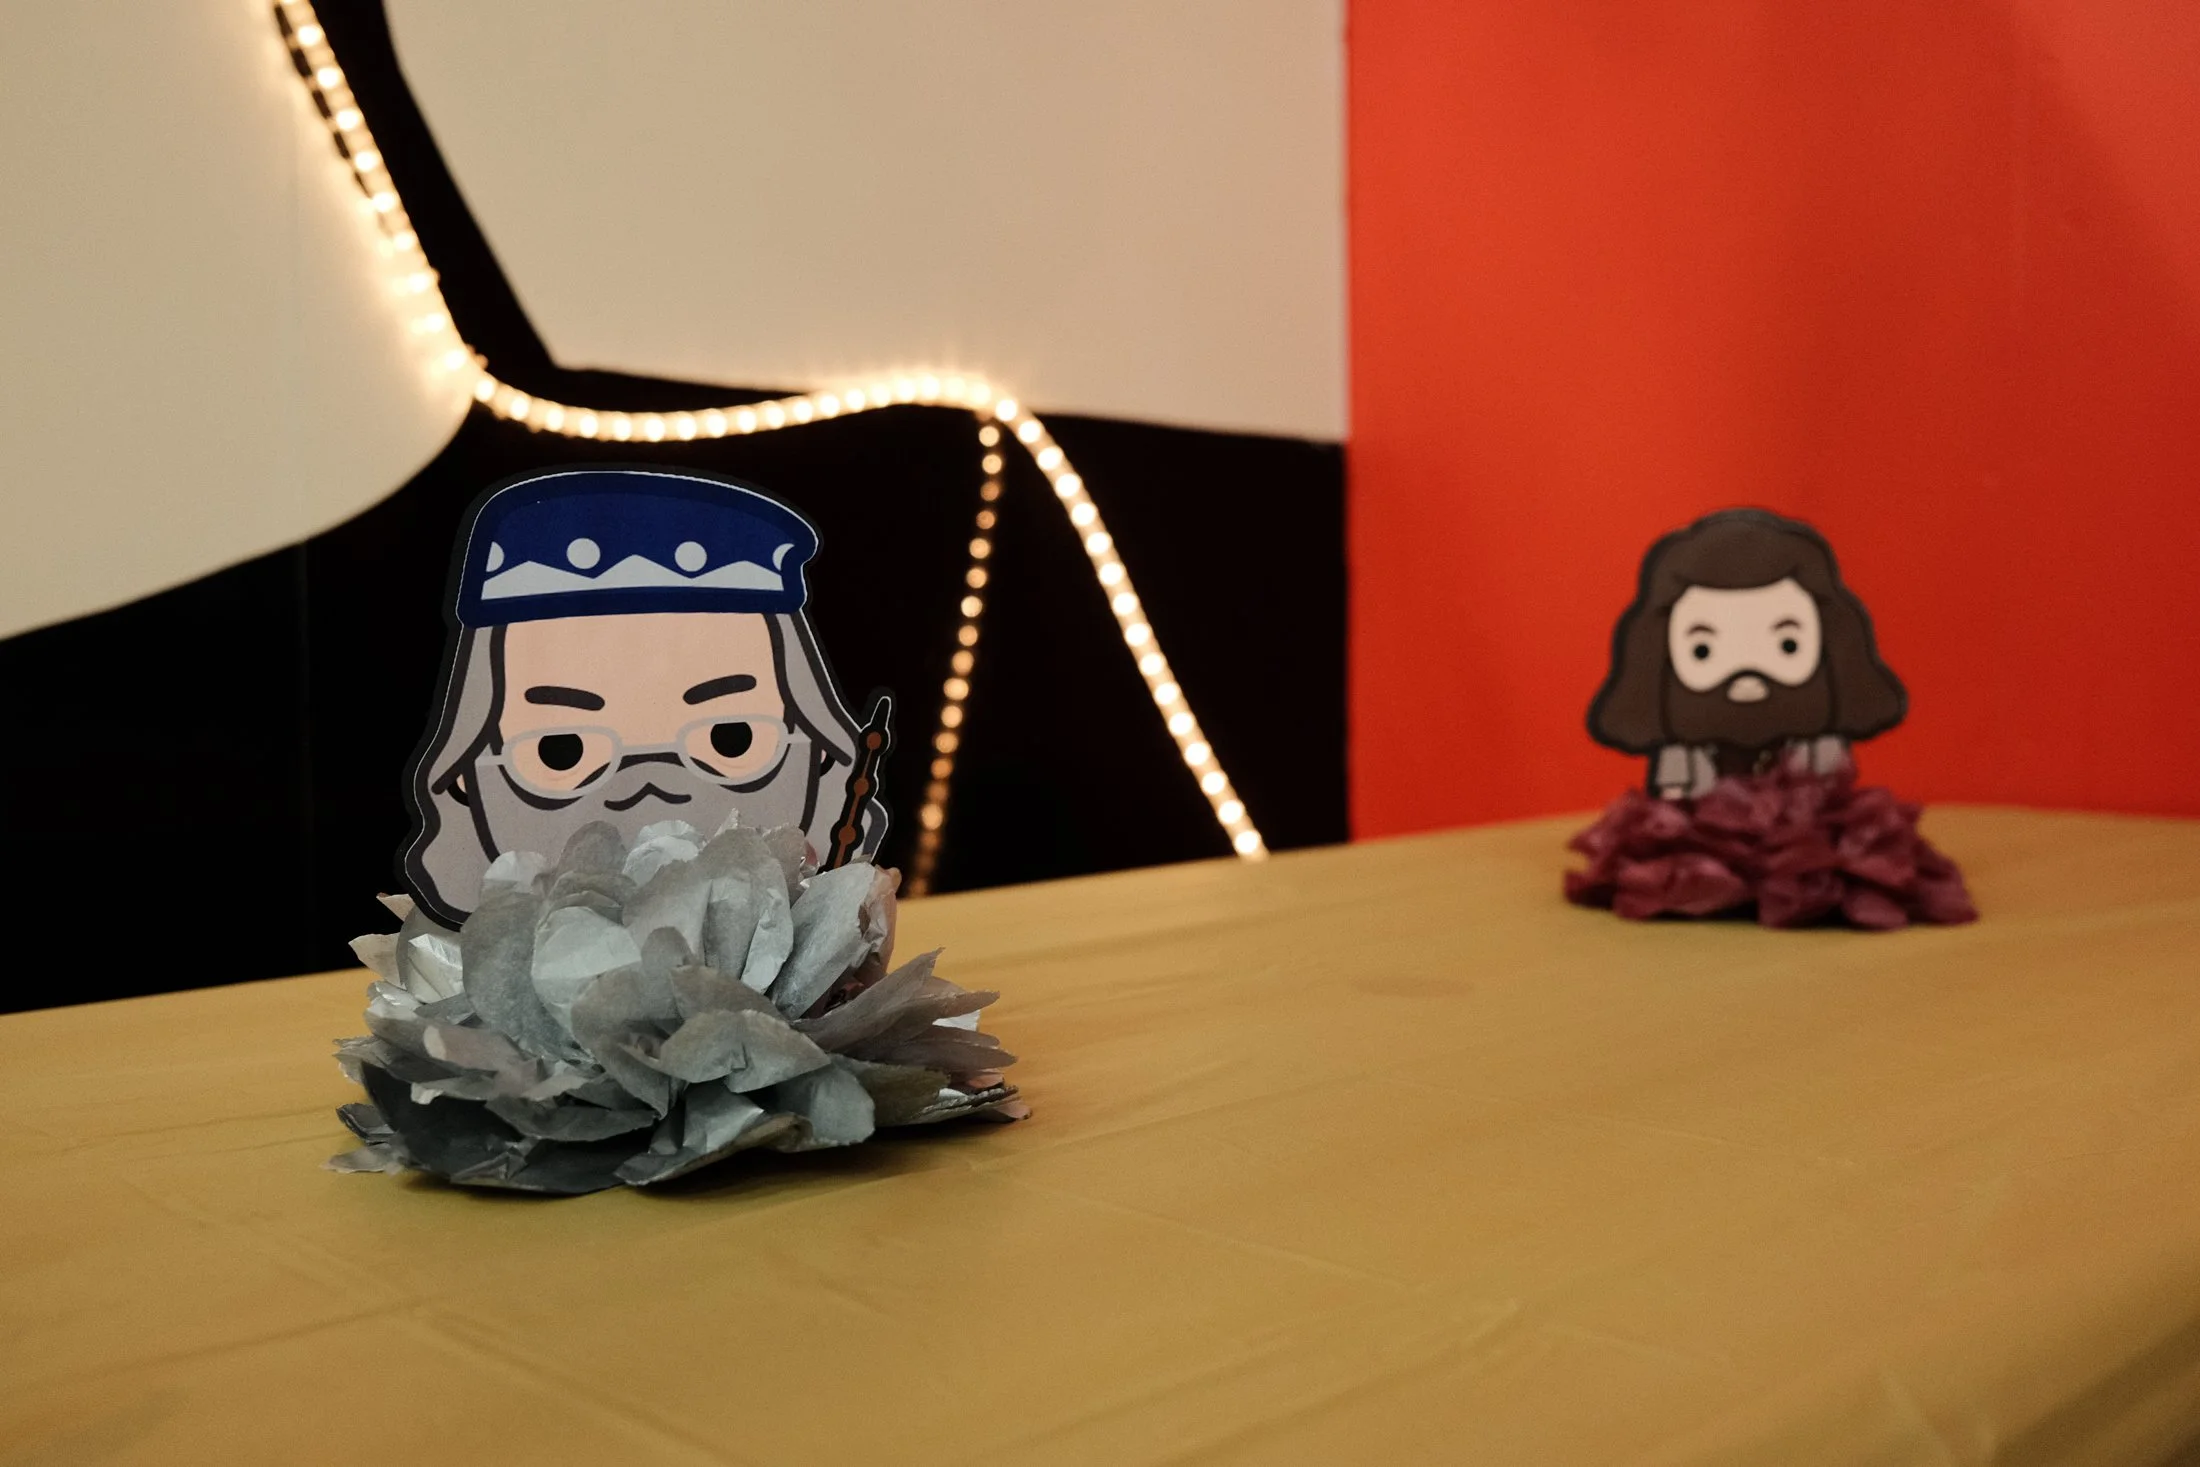
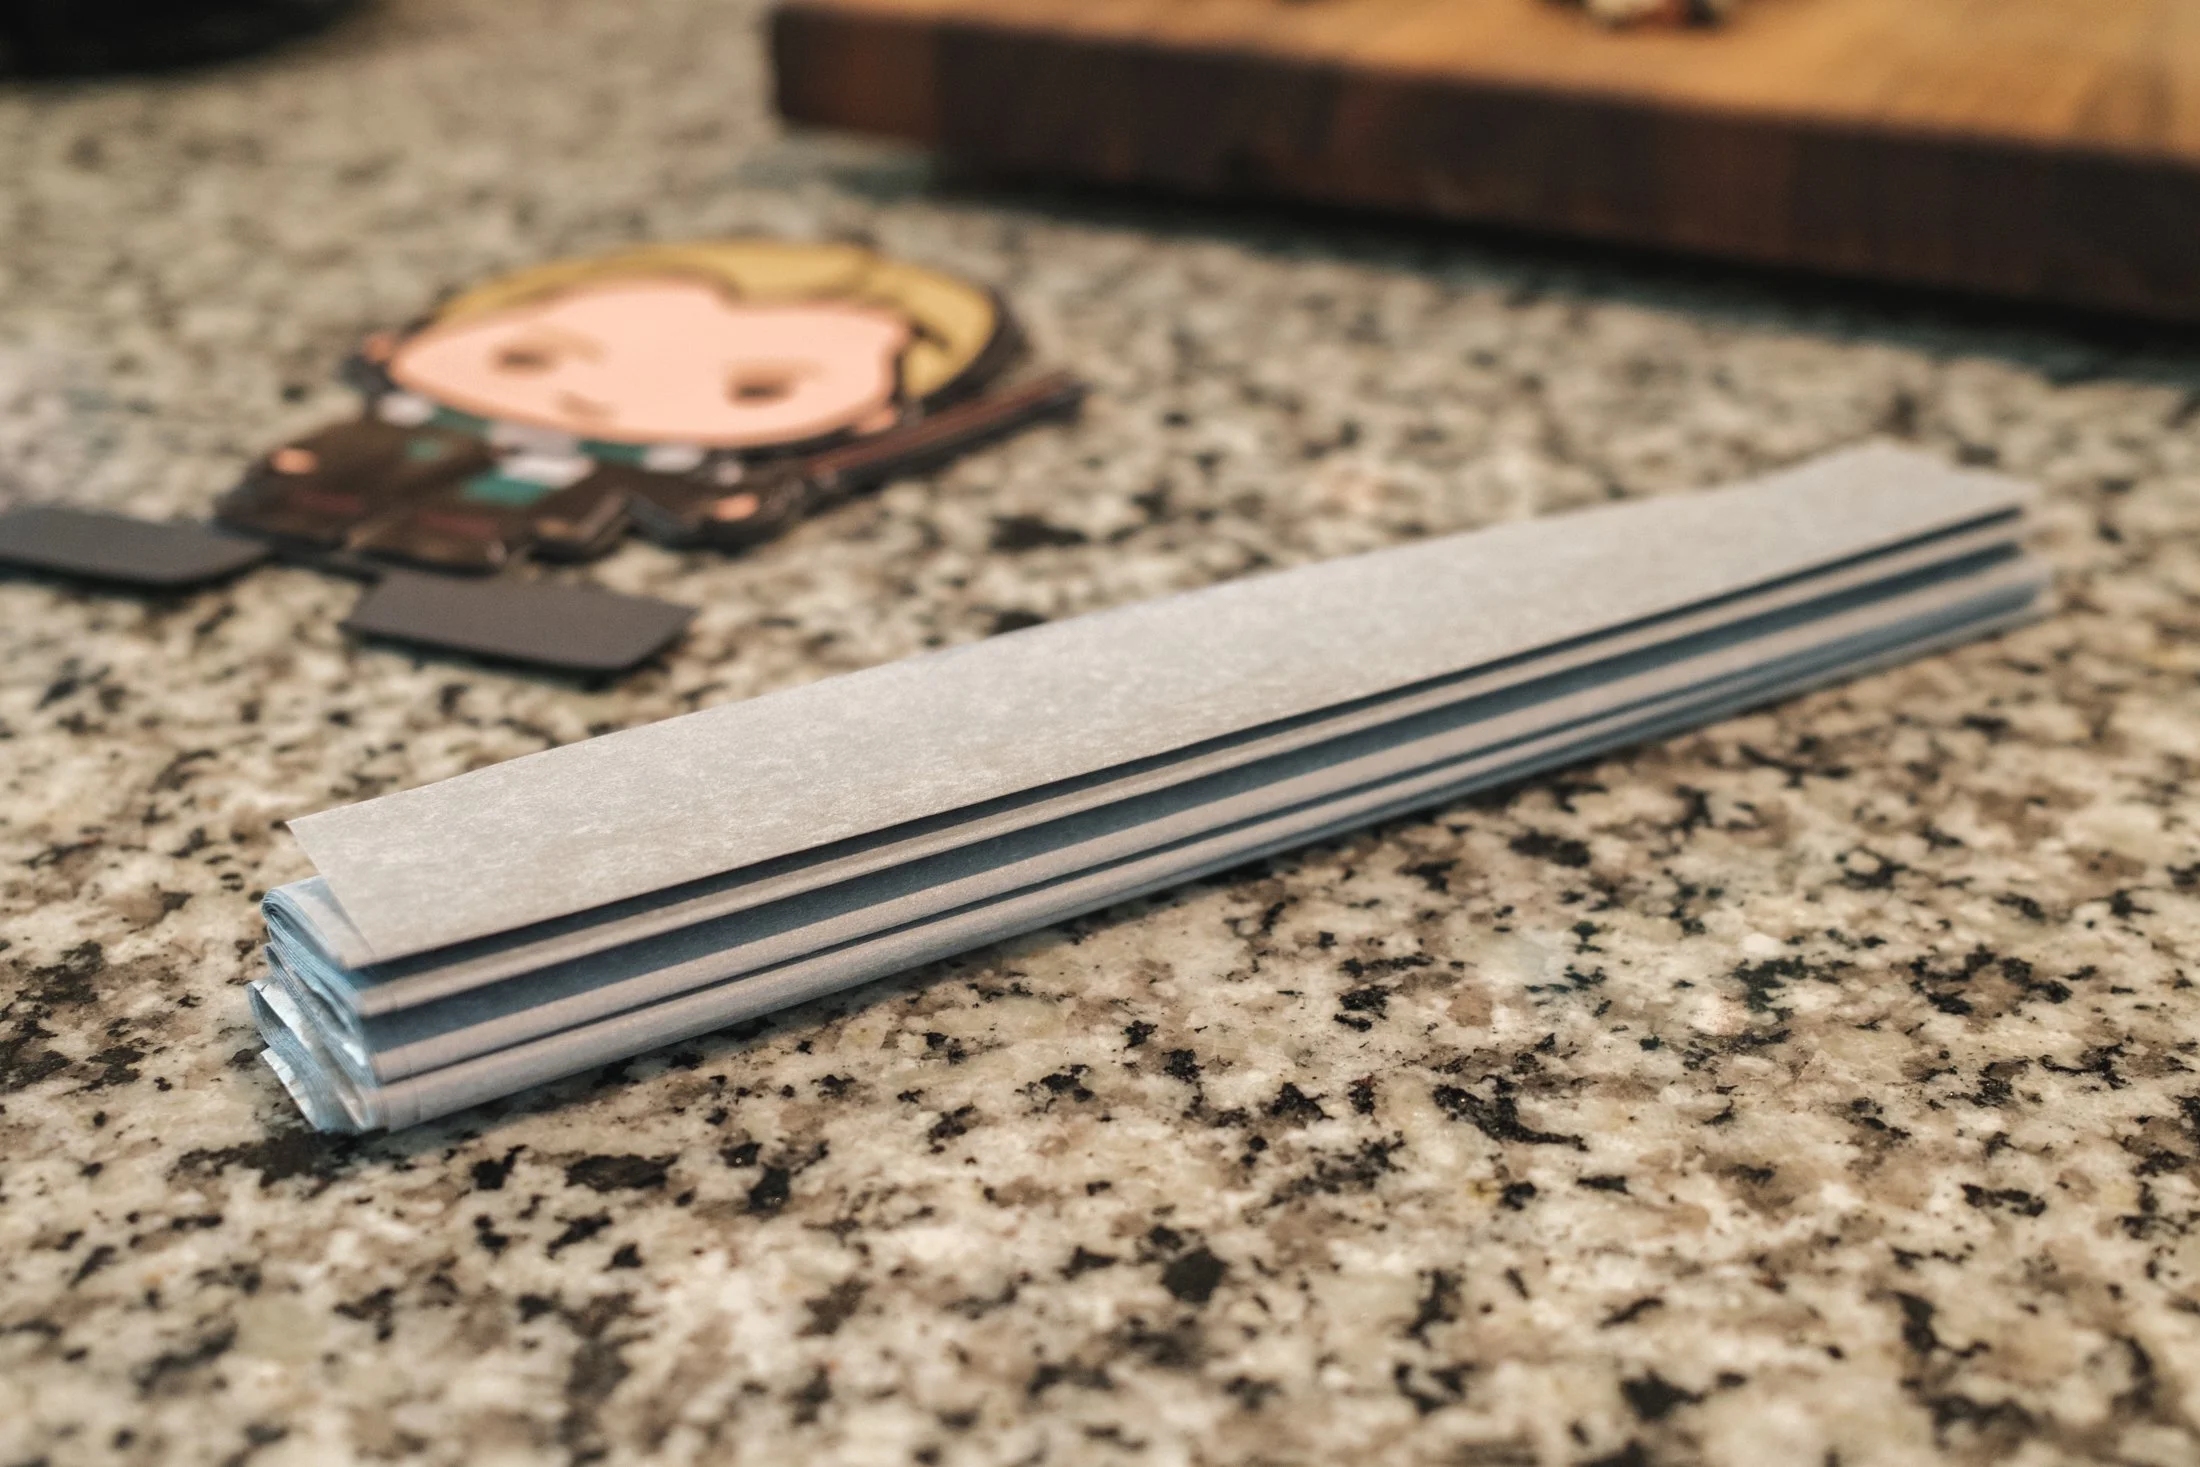
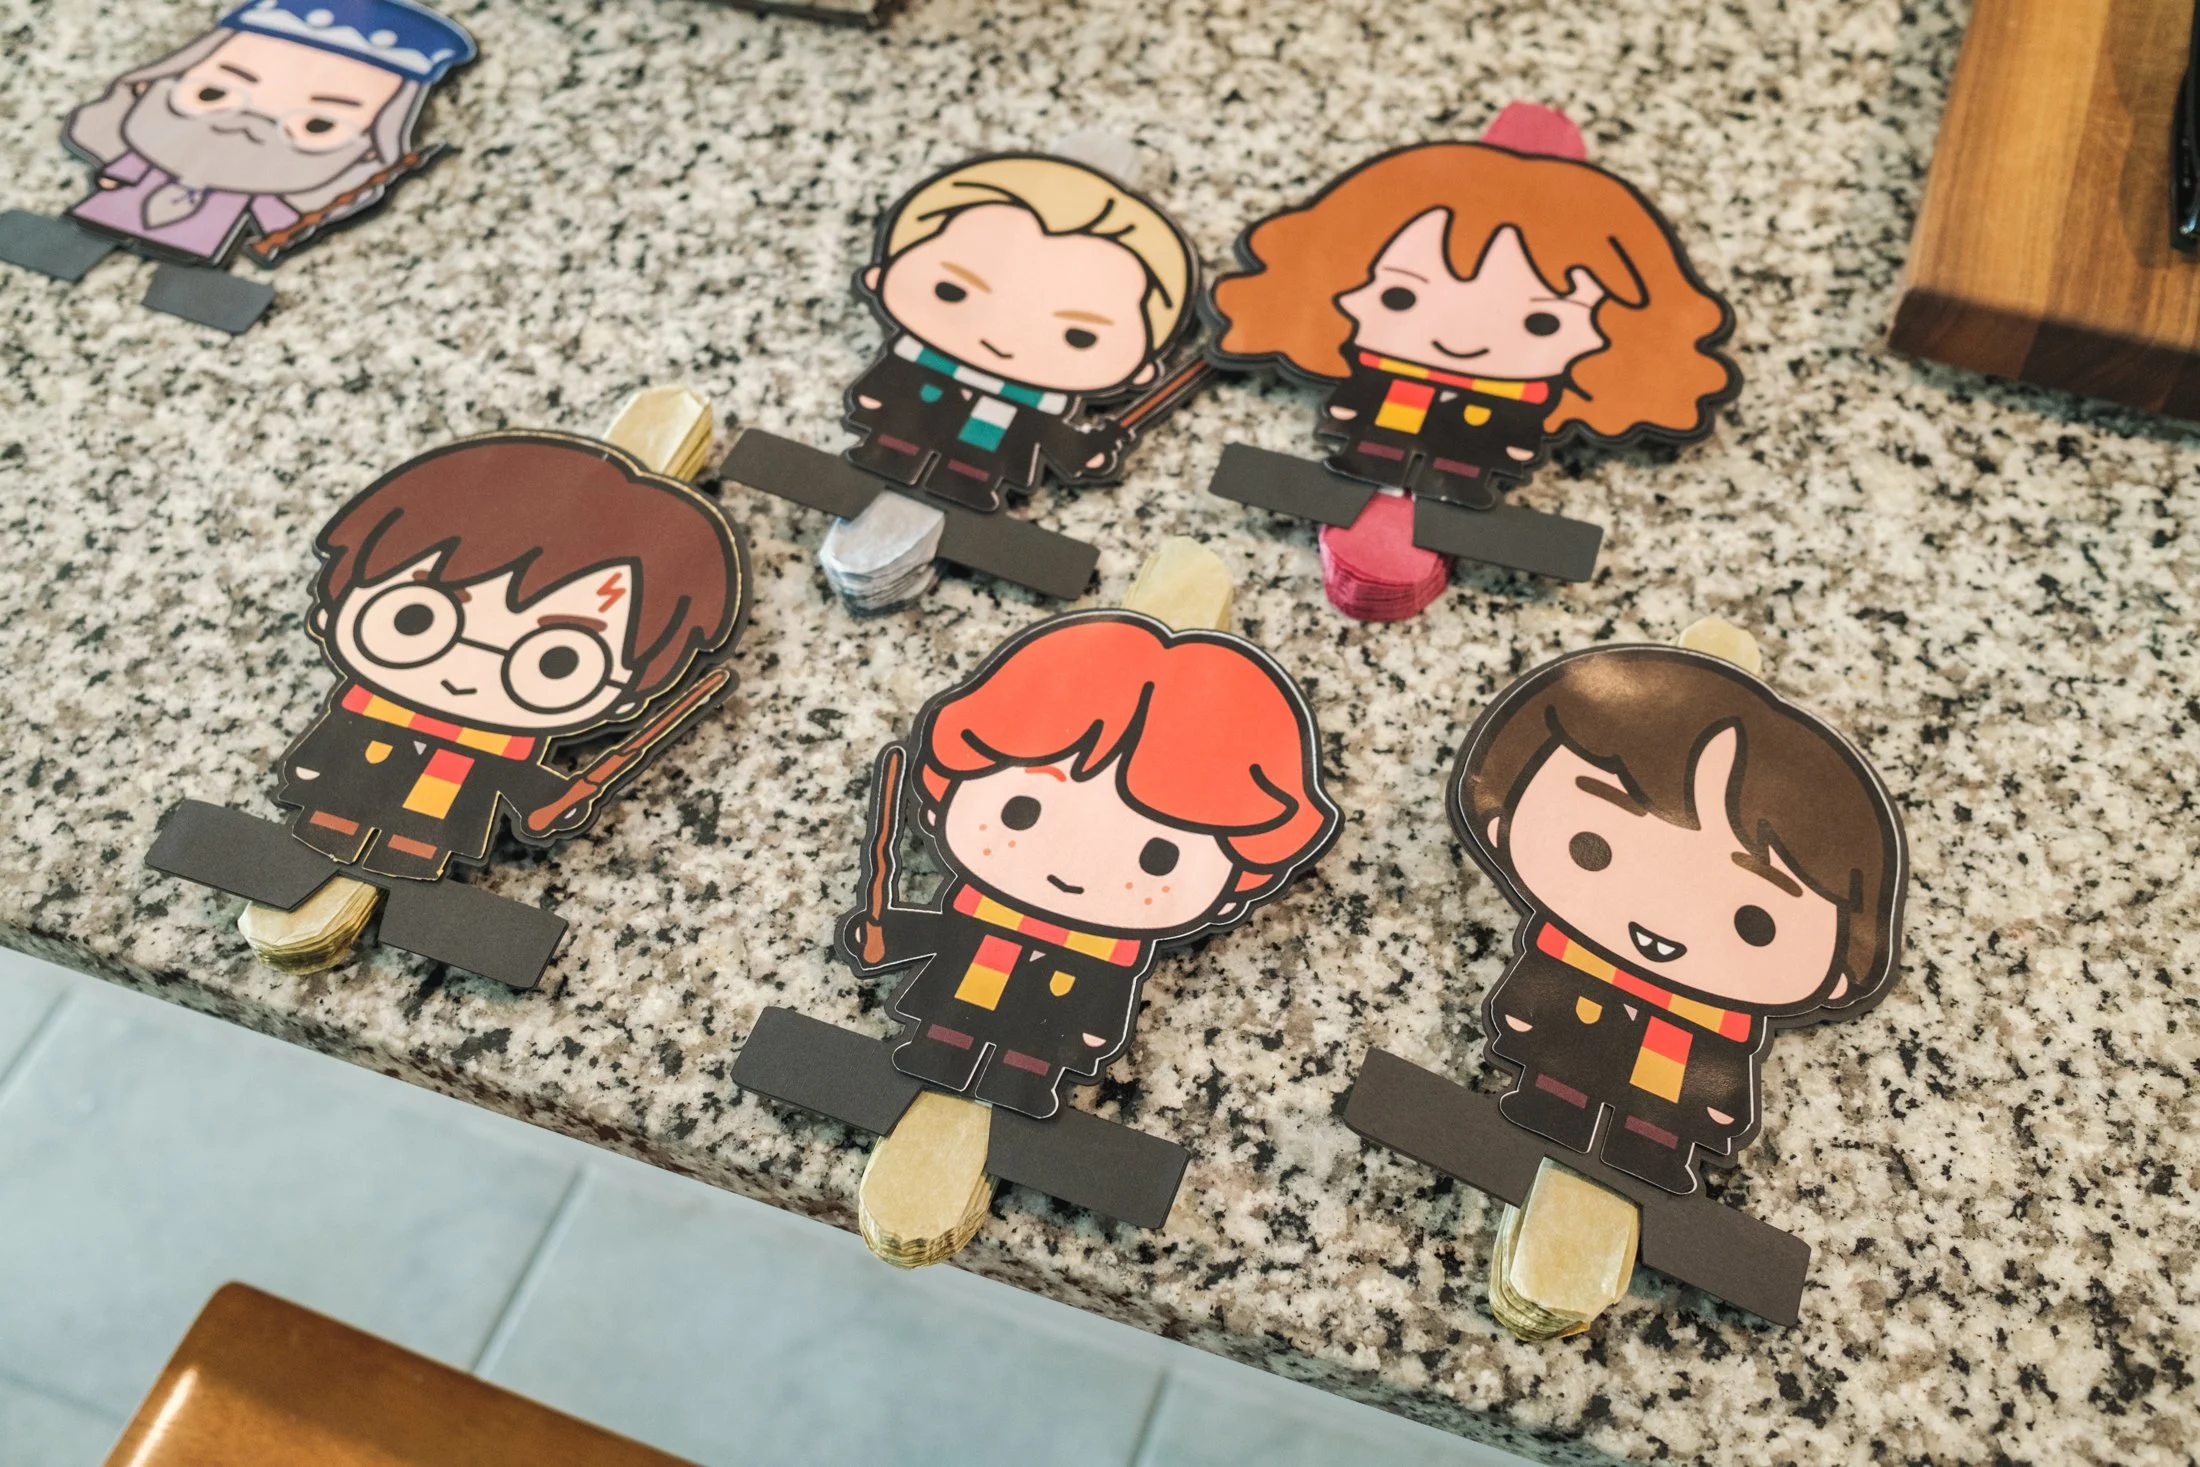
After all of the pieces were cut, I began by sorting the pieces by character and then glueing each of the cardstock layers together. I used regular school glue. Next, I used these foam sticker dots to add the Print Then Cut figures to each side of the layered cardstock. I’m a huge fan of the 3D effect the foam dots give the final look.
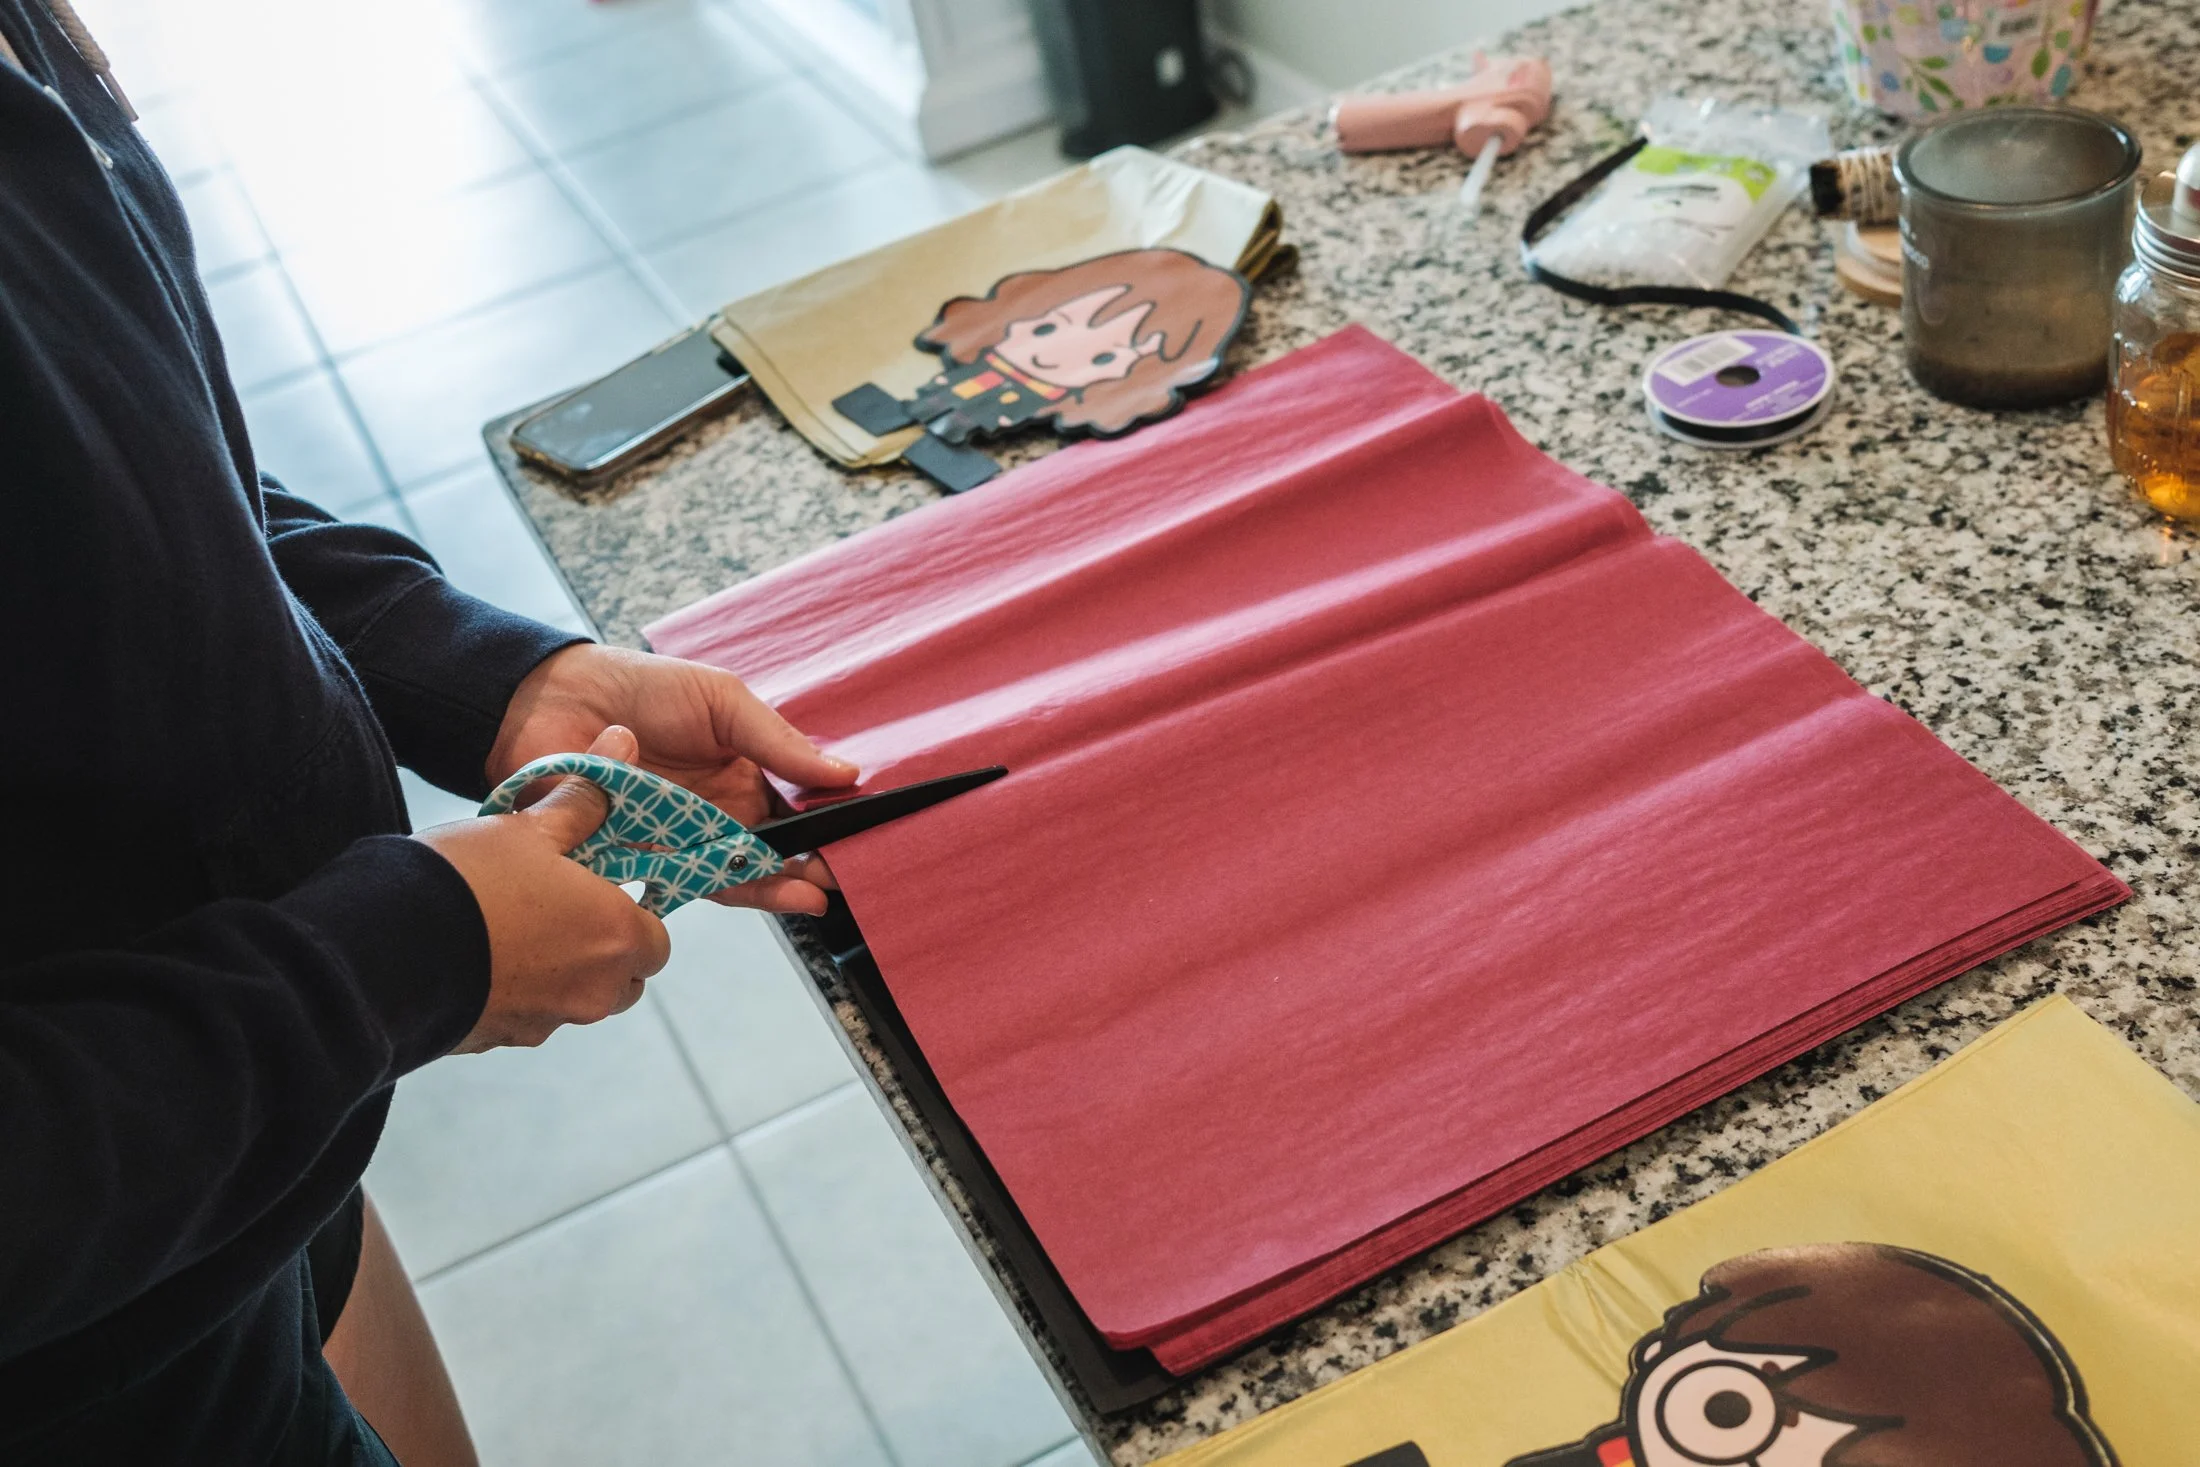
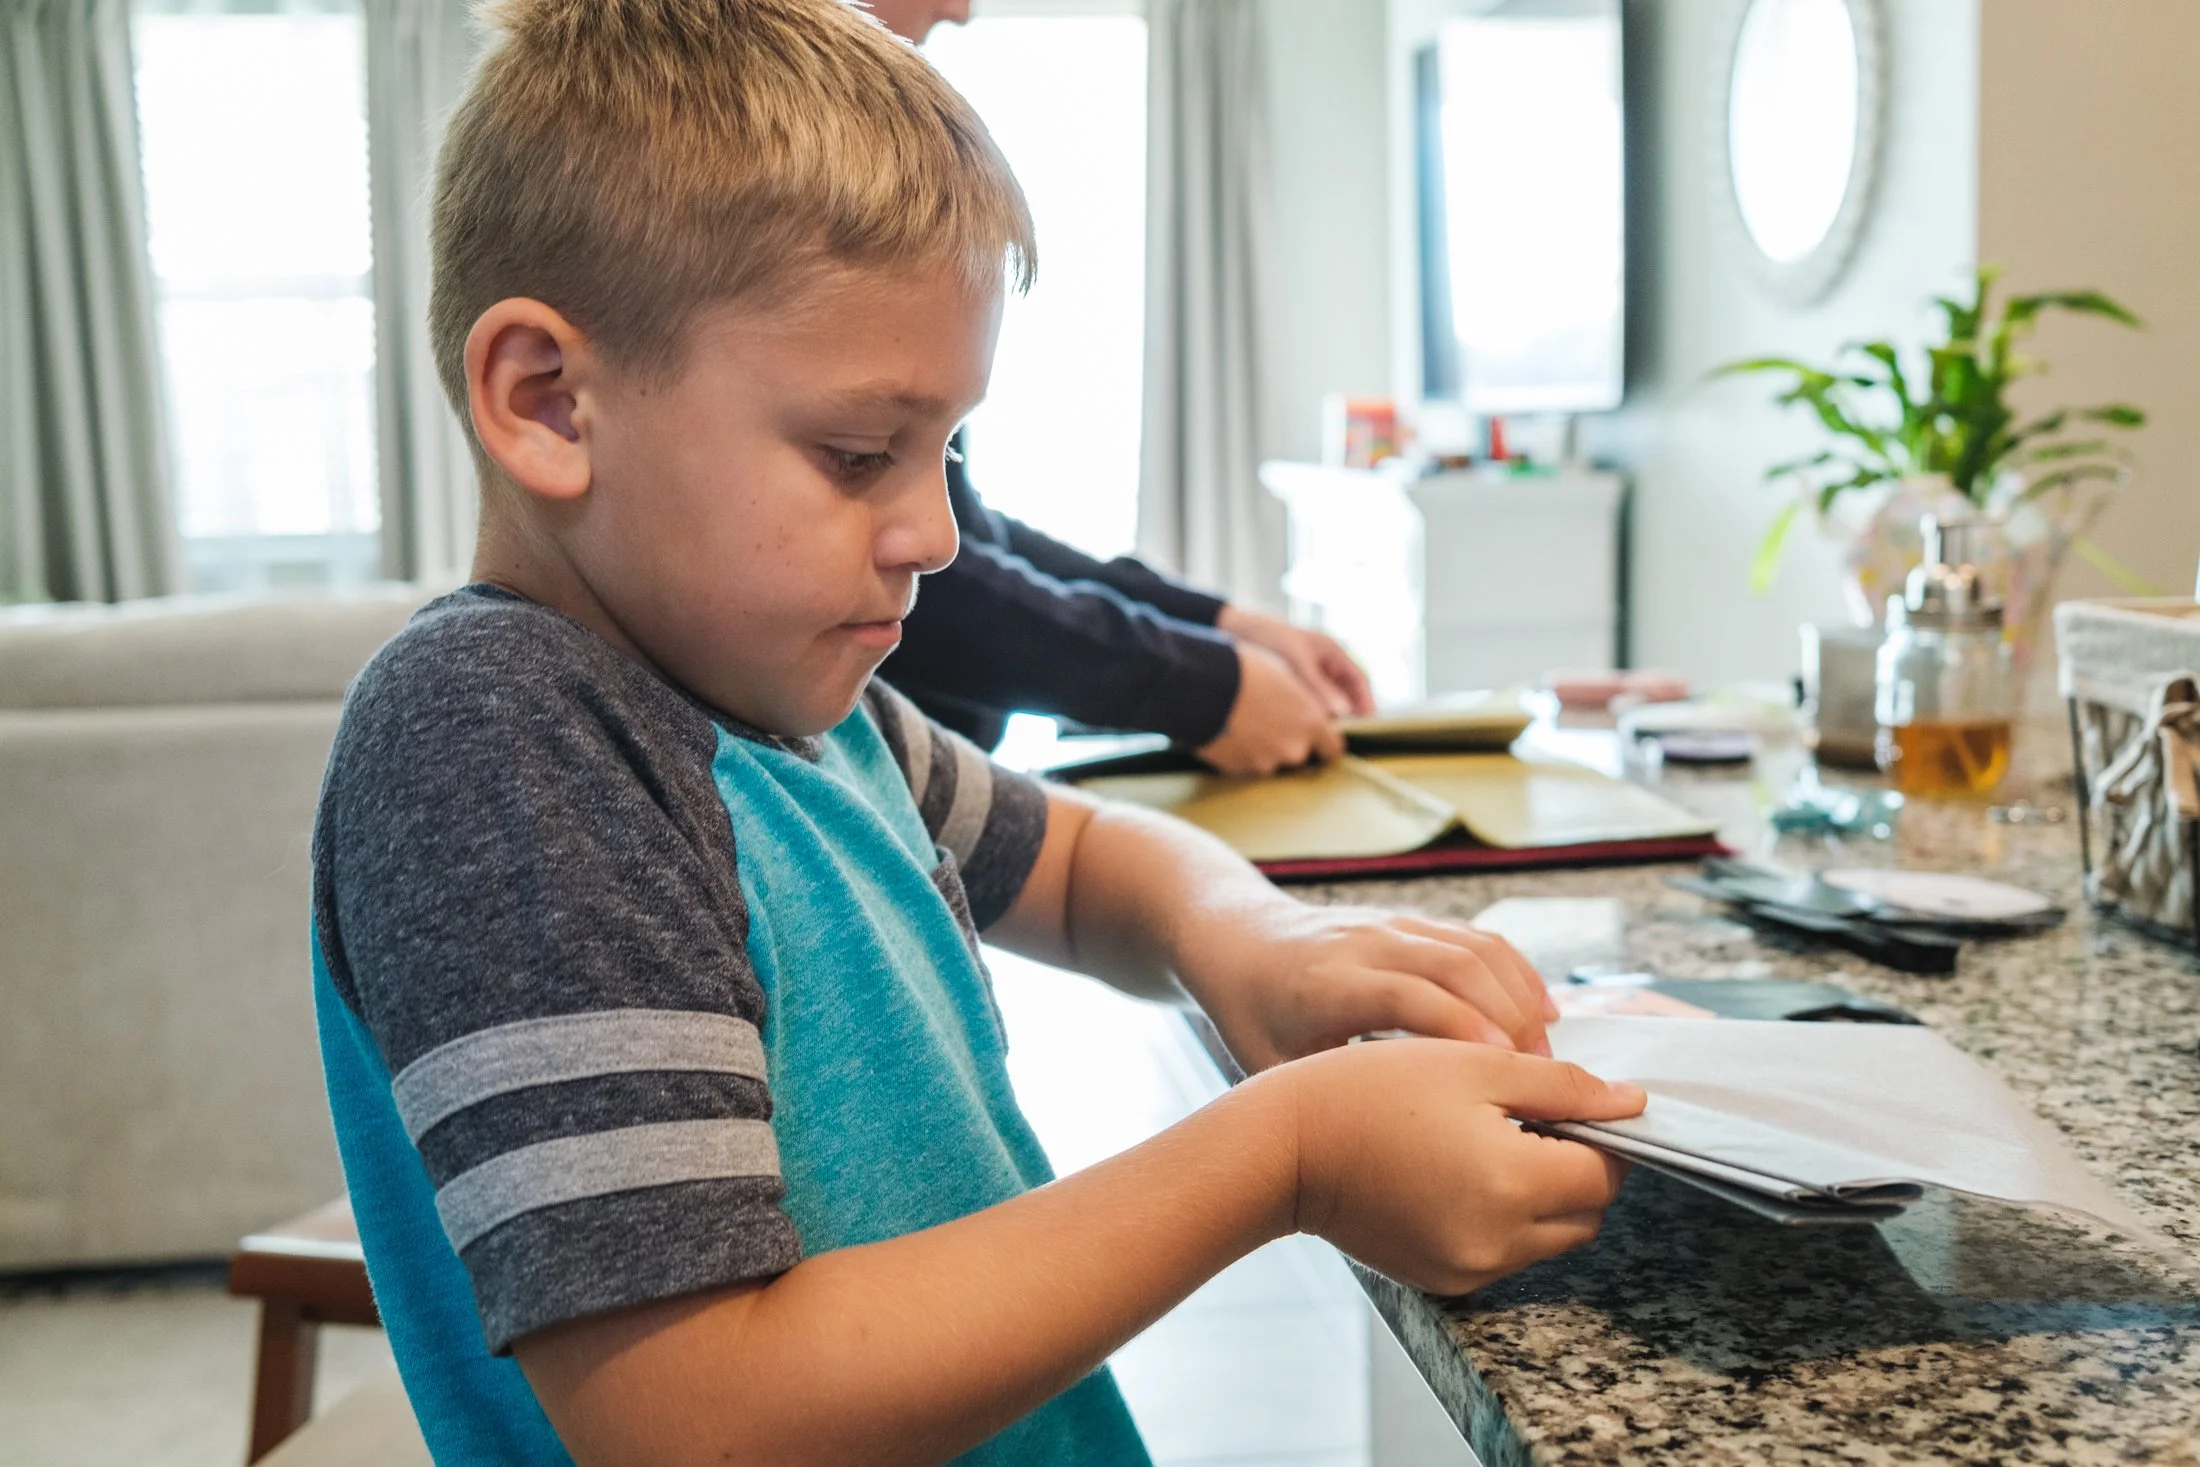
Next, we counted out 10 sheets of tissue paper and cut them in half for two separate centerpieces. The 10 layers were folded like a fan and then the ends were rounded off using craft scissors. The end of a piece of ribbon was placed in the middle of the tissue paper using hot glue. The other end of the ribbon was wrapped around the layers of folded tissue paper and pulled tightly, squeezing the layers together like the middle of a bow. The ribbon was cut and secured also using hot glue.
After the hot glue dried, the layers of folded tissue were squeezed so that the center could move more freely within the ribbon and the folds could be fanned out. Then, the 5 top layers of tissue paper were separated from the other and pulled up toward the center and ribbon one piece of tissue paper at a time. The remaining 5 layers of tissue paper were left untouched to provide support and structure for the base of the centerpiece.
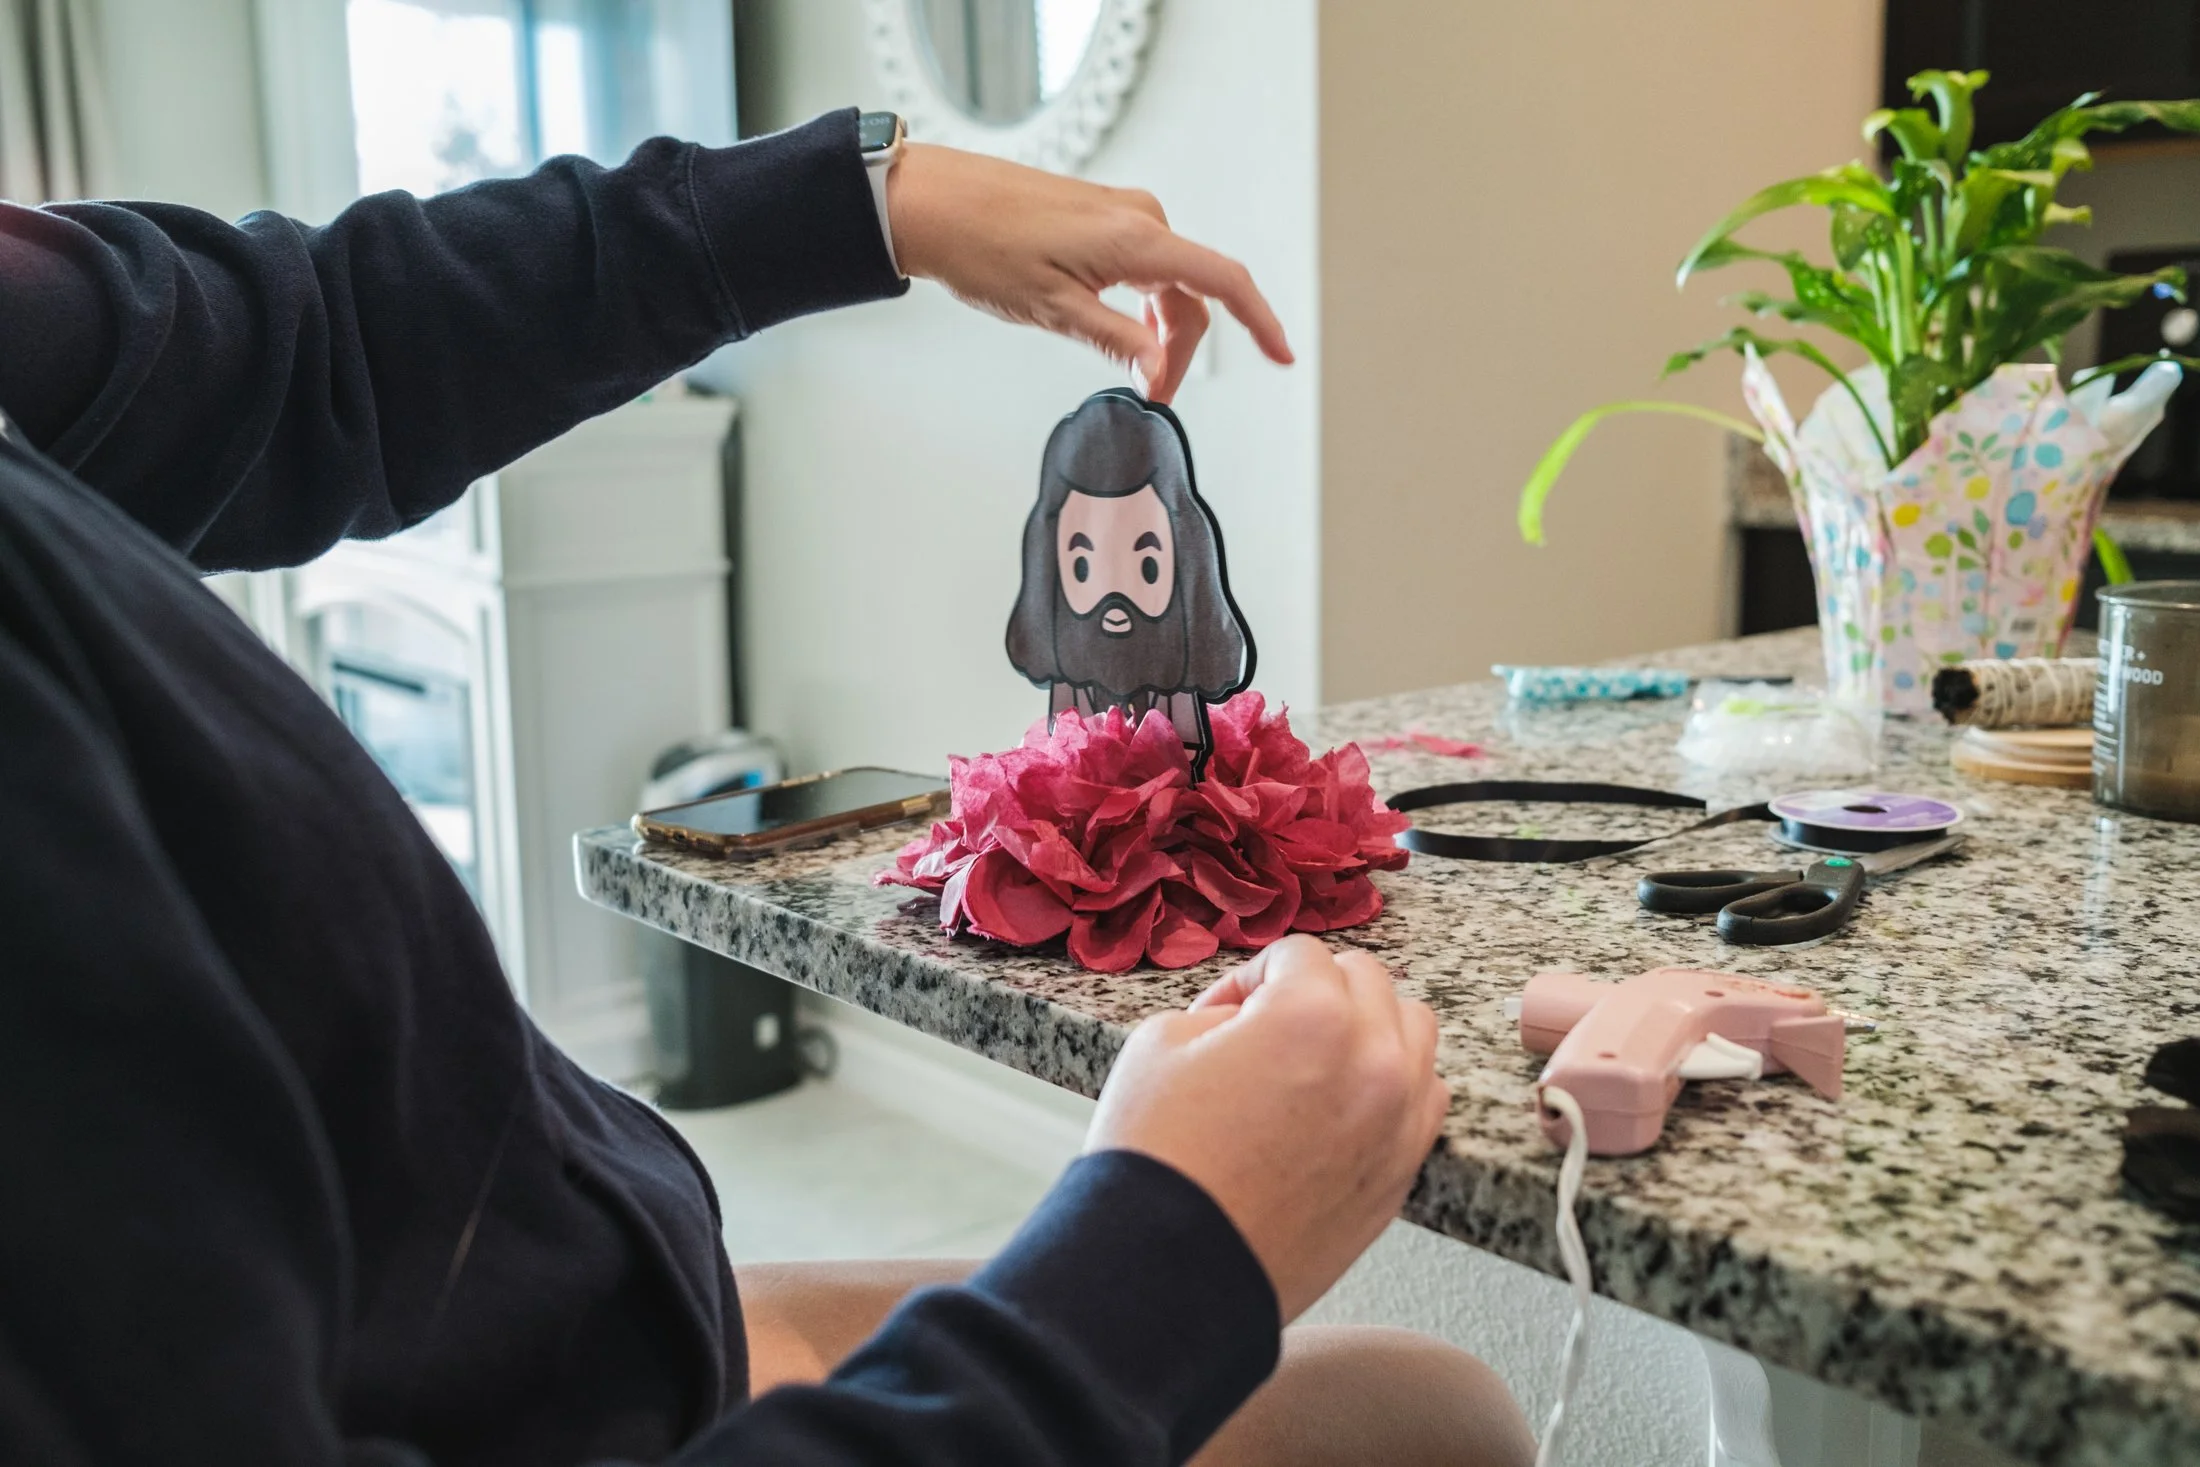
After both sides of the folded tissue paper were fluffed, the cardstock figure was secured to the middle (on top of the ribbon using hot glue). The top 5 layers of tissue paper were fluffed back out and then the open edges of the two fanned out sides were secured to the outer, shorter edges of the cardstock’s rectangular base. Lastly, the corners of the unfluffed, bottom 5 layers of tissue paper were glued together to create a seamless look around the bottom ring of the centerpiece.
The Banner
The banner was made in almost the same way as the centerpieces. The different characters were added to the Design Space project and then the offset feature was used to create the cardstock pieces. Only two layers of cardstock were glued together, but not before the ribbon was extended and one of the layers for each character was secured along the ribbon using hot glue. The ends of the ribbons were folded in two create two loops for hanging the banner and the ends hot glued to the back of the first cardstock piece.
The 2nd cardstock pieces were secured to the first layer with the ribbon between the two layers using school glue for the majority of the inner side and hot glue for the top portion of each design that would sit along the ribbon. Finally, the Print Then Cut images were added using these two-sided foam sticker dots.
Here is the Cricut Design Space link for the Harry Potter and Friends banner.
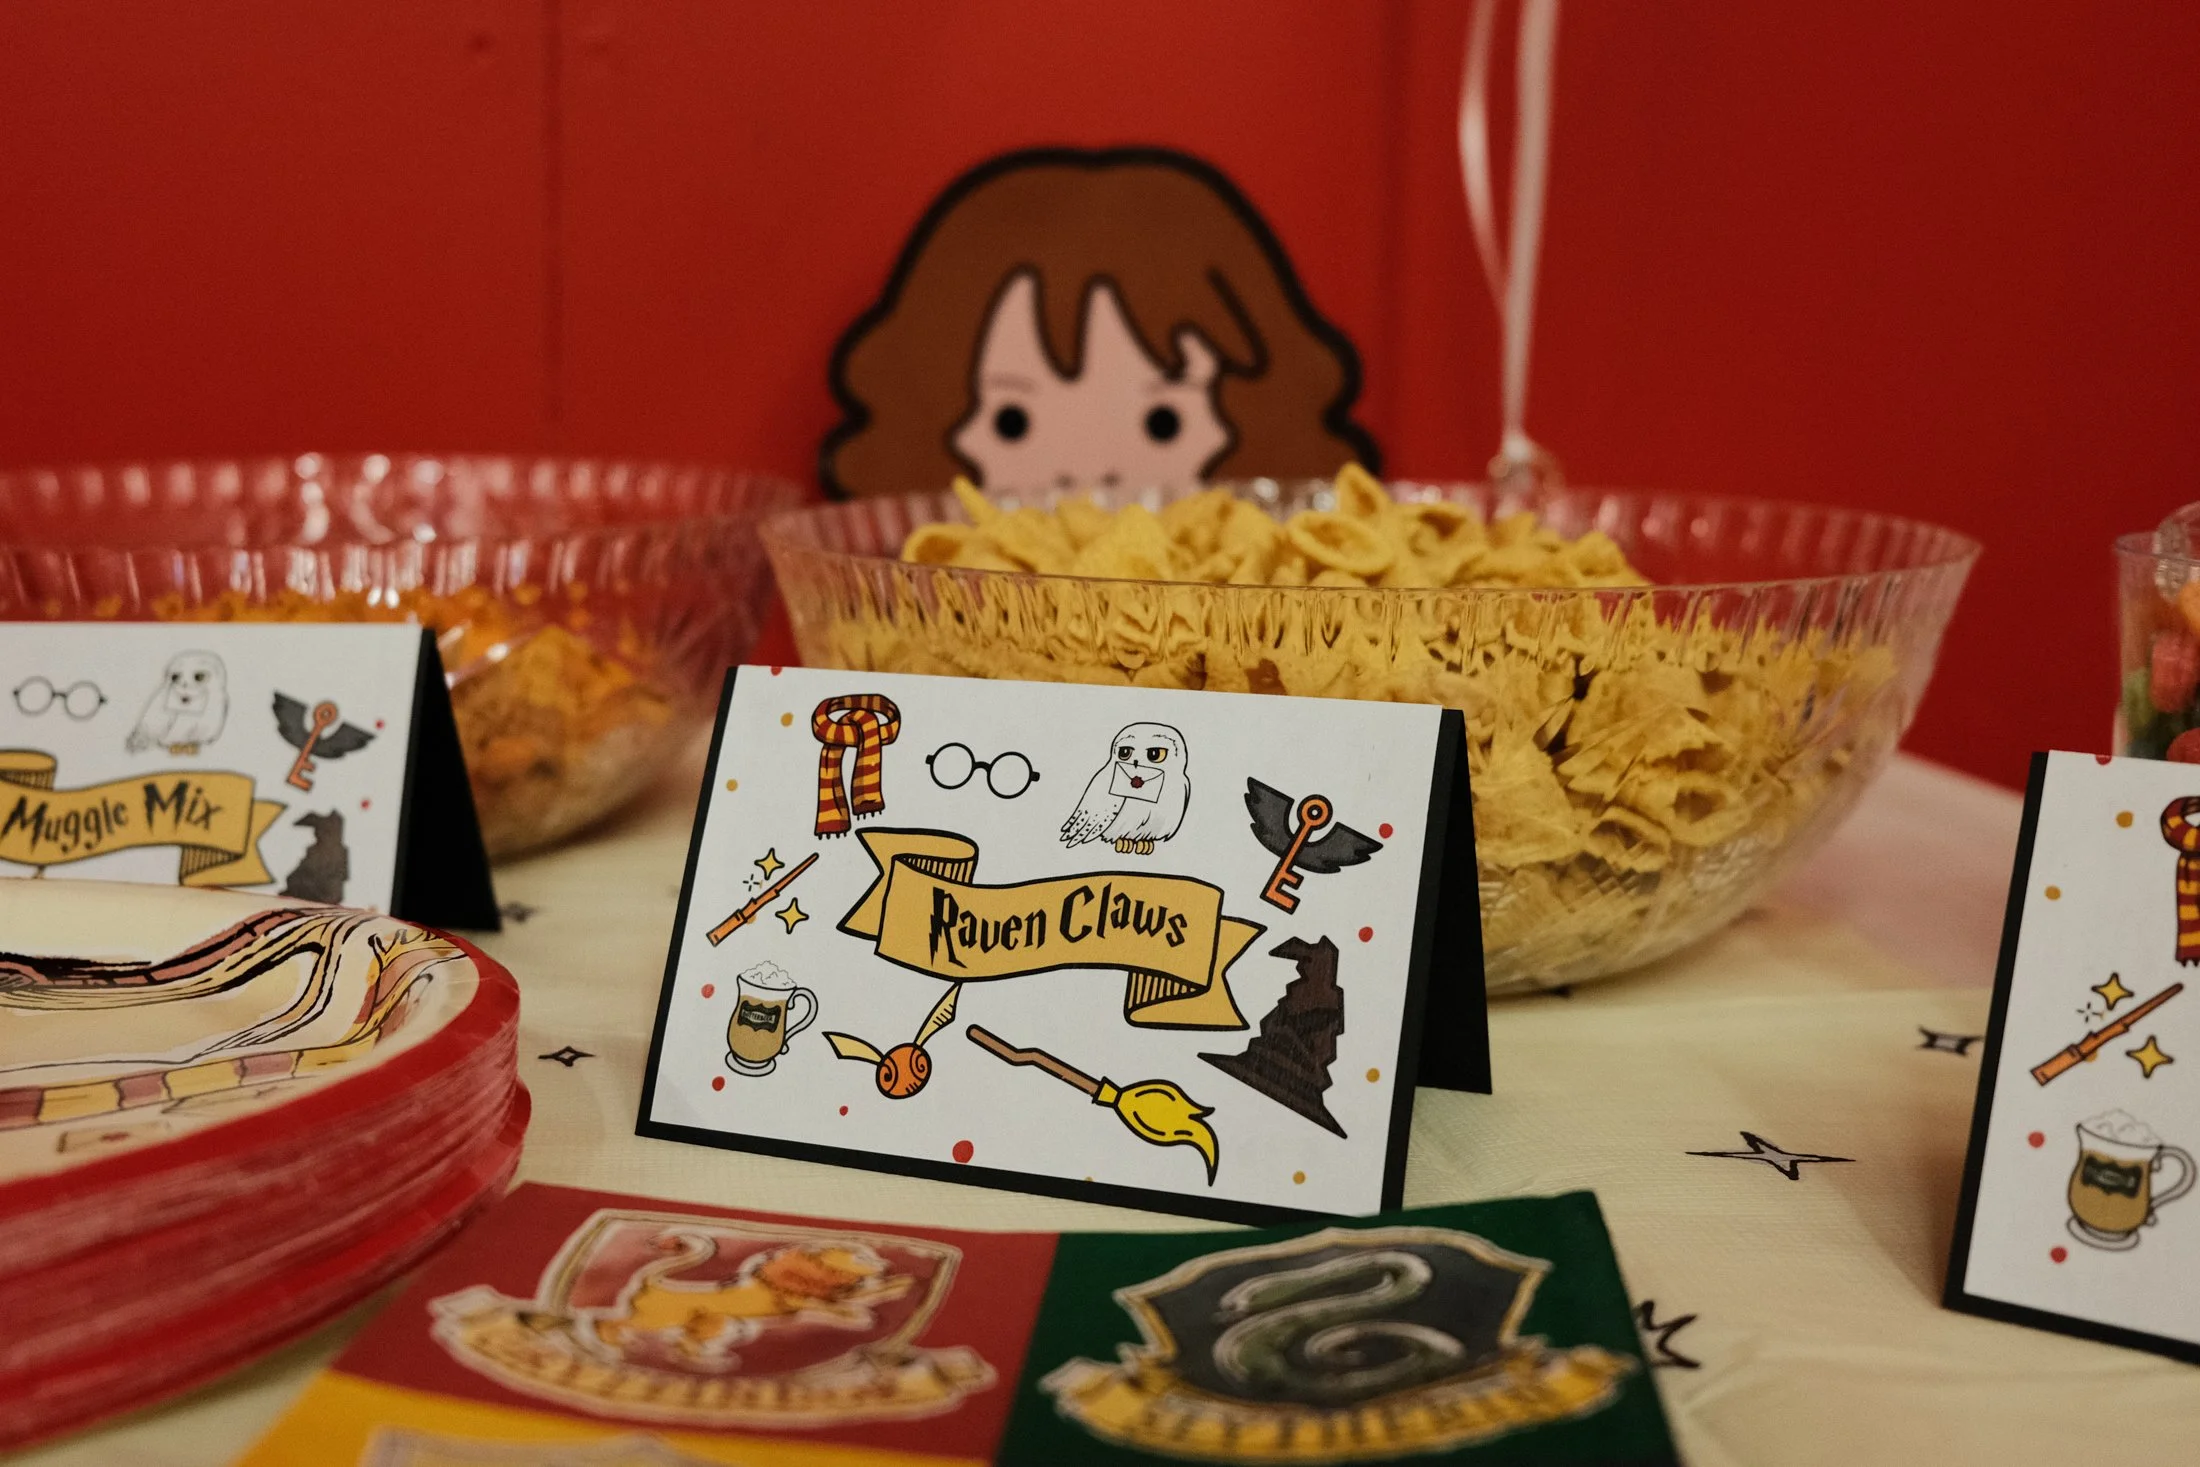
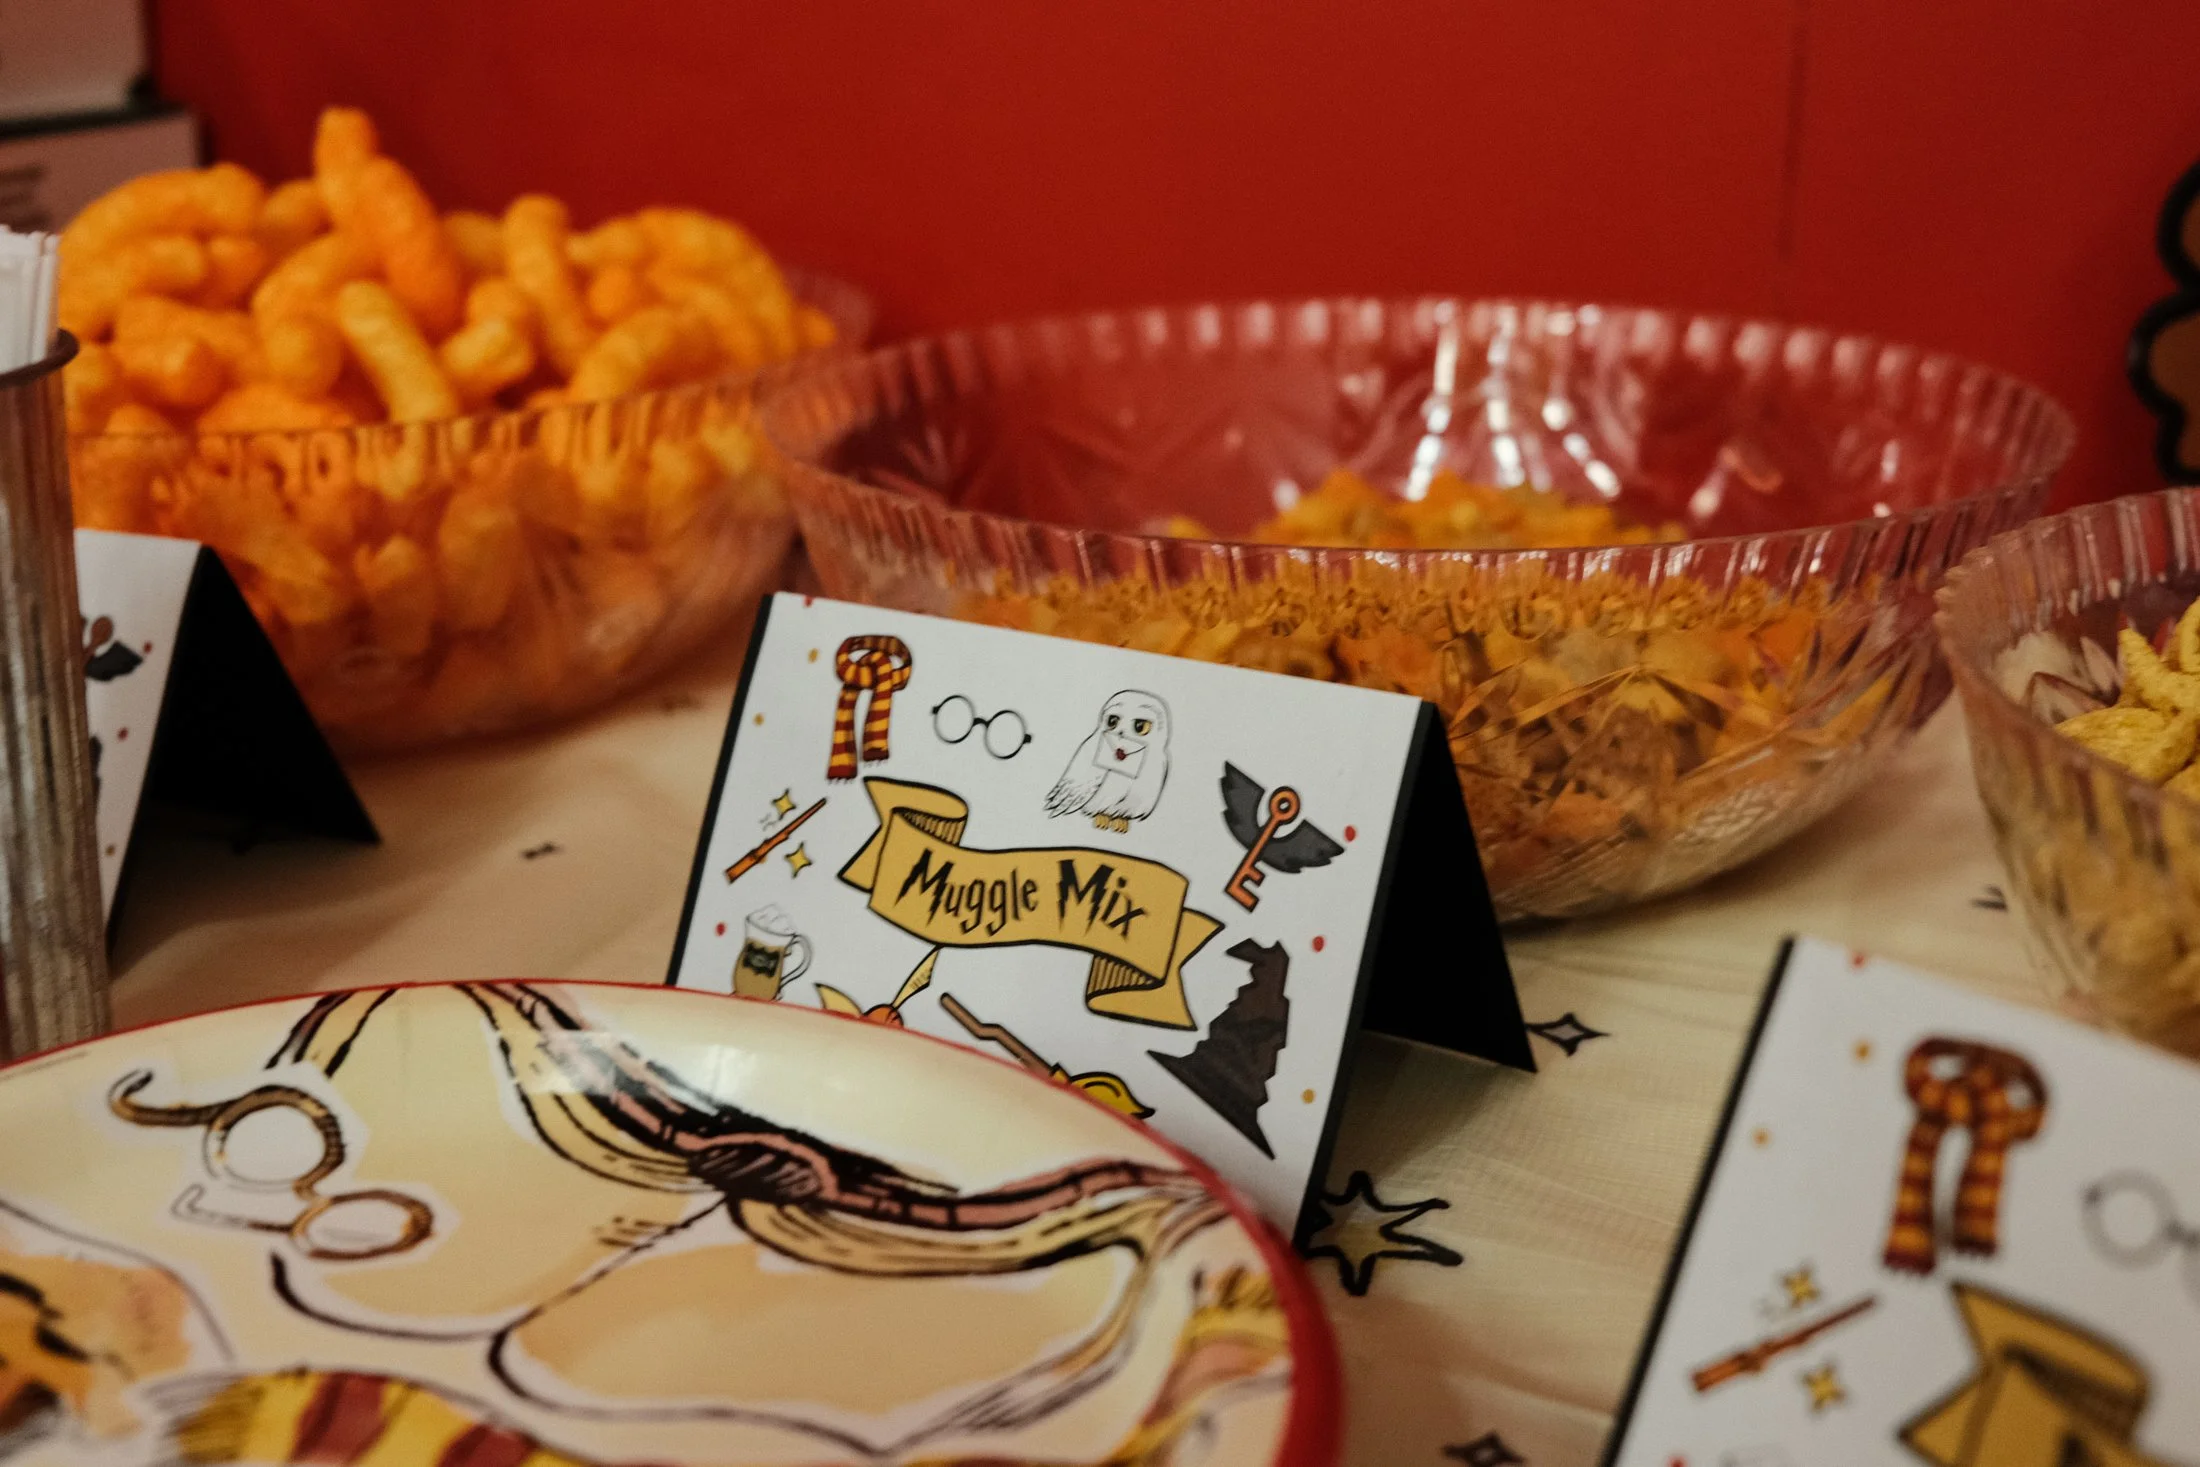
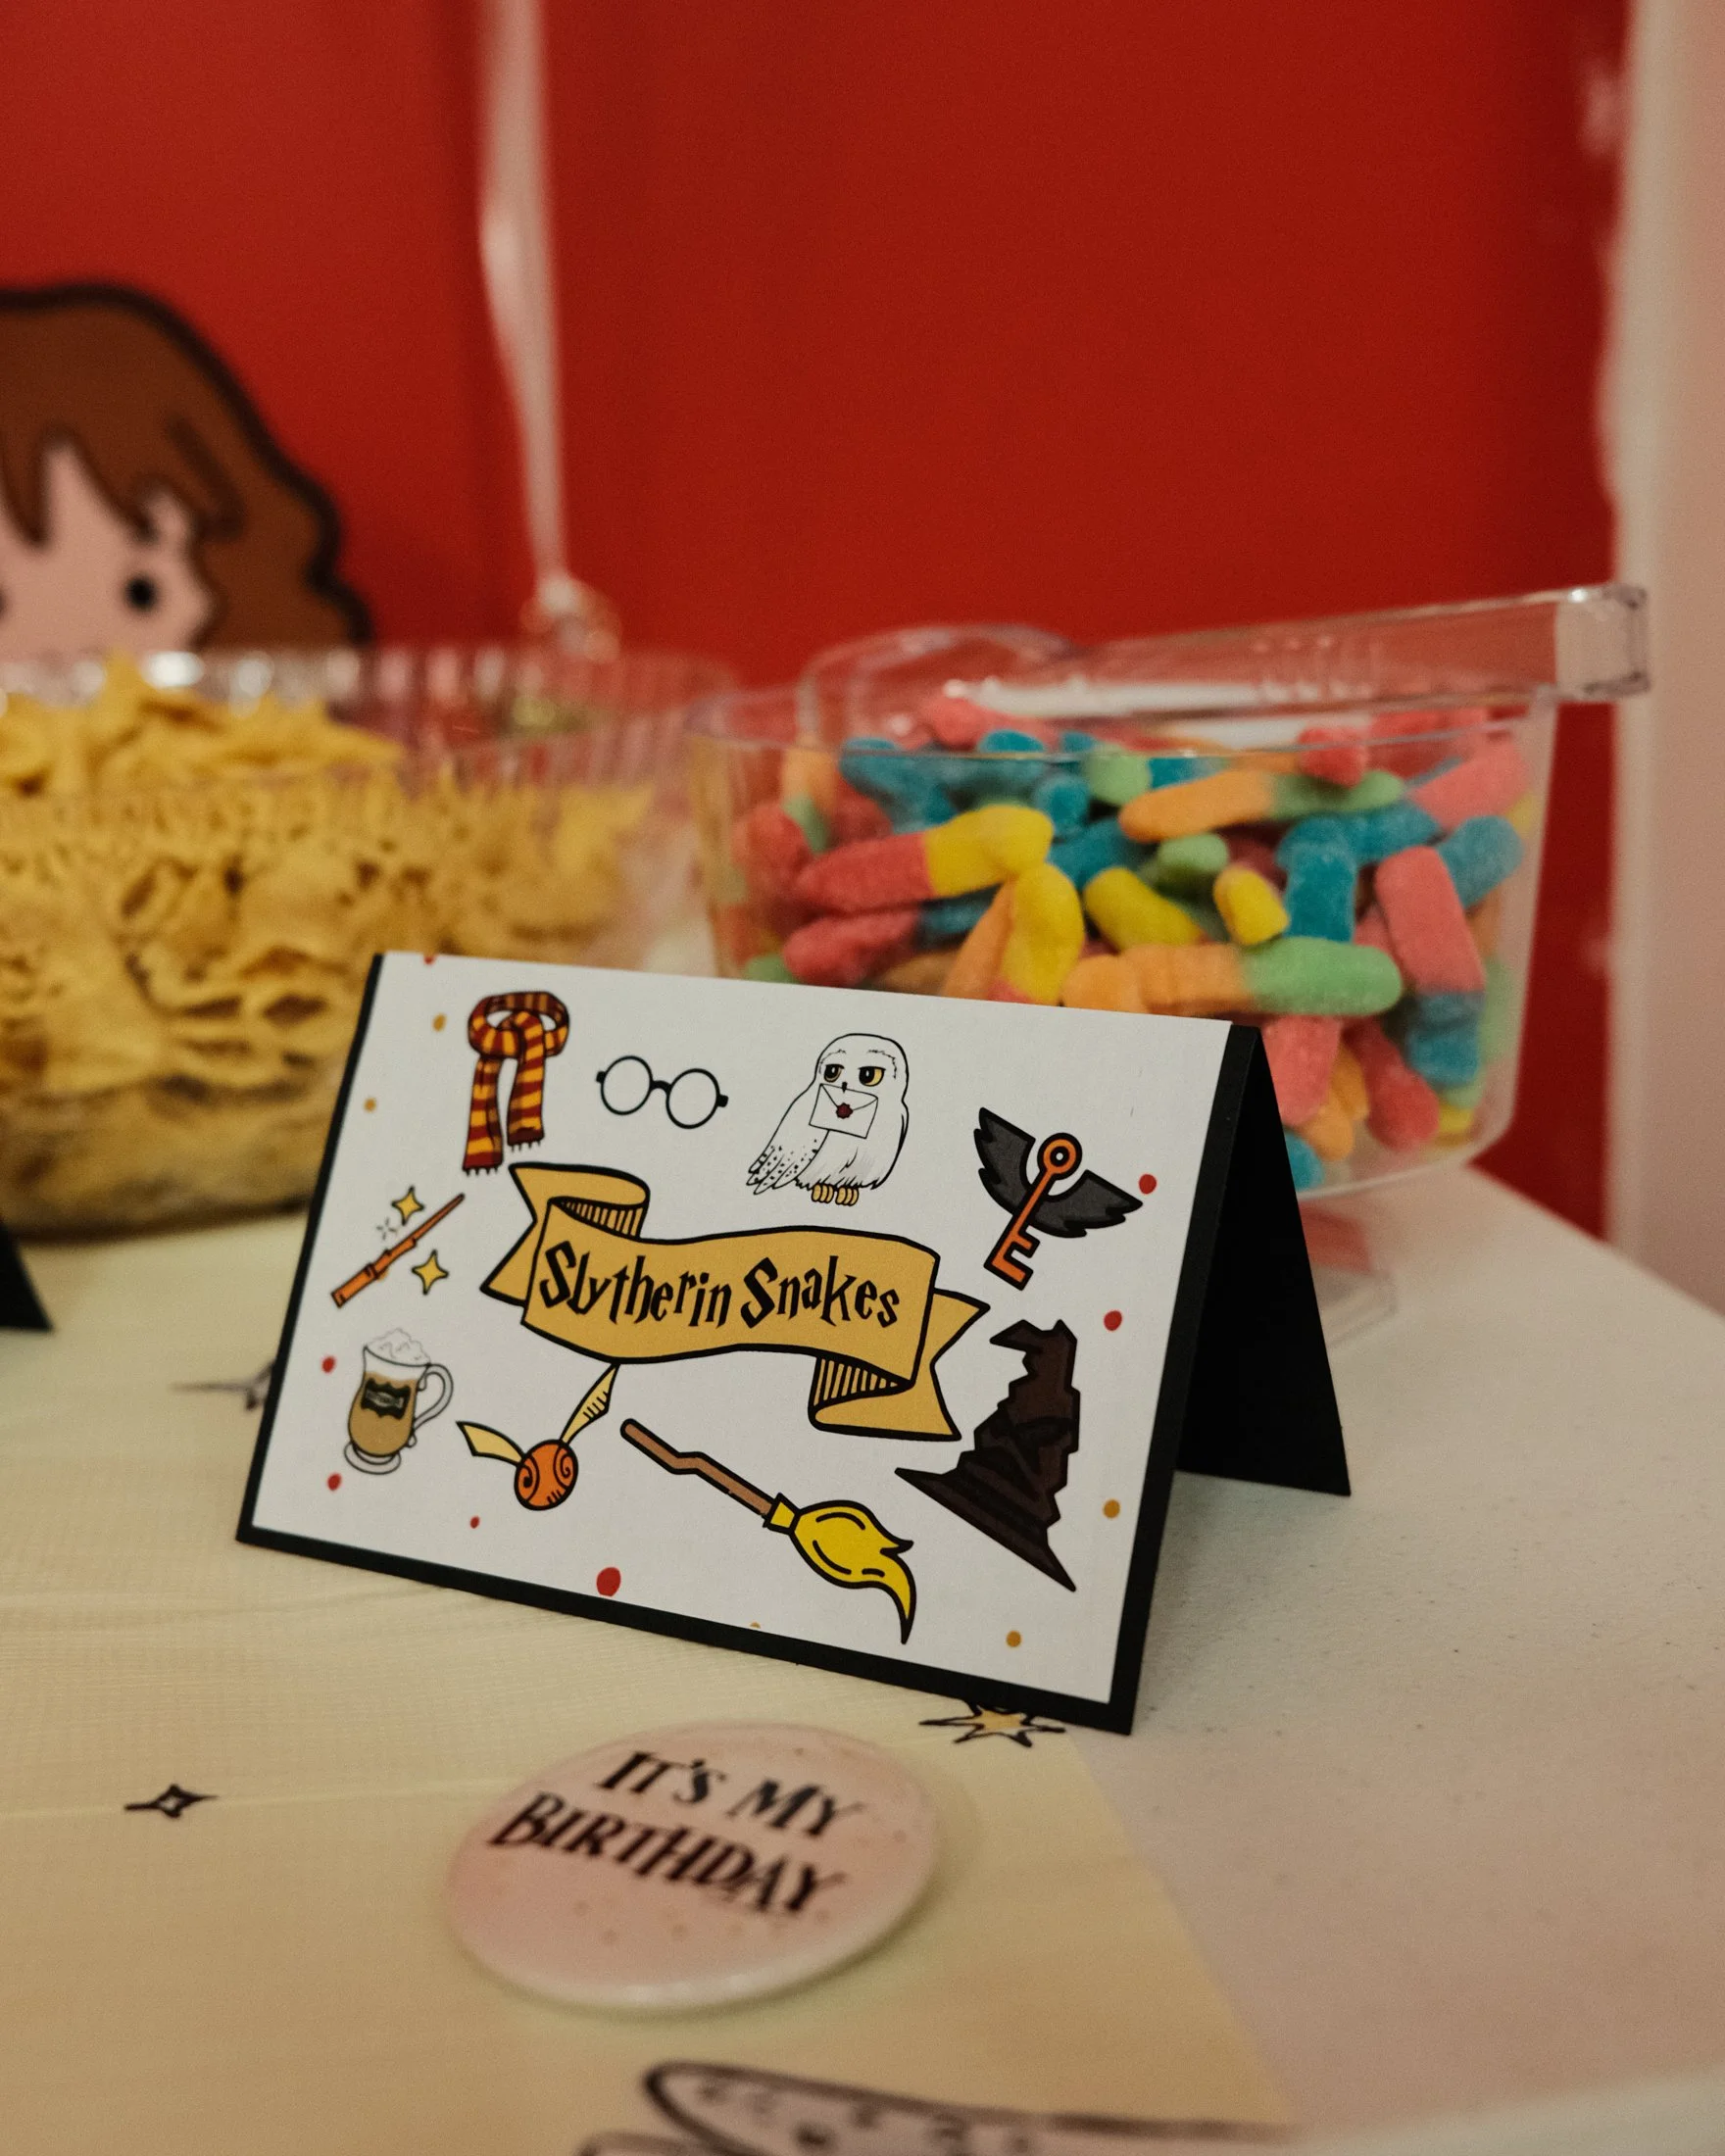
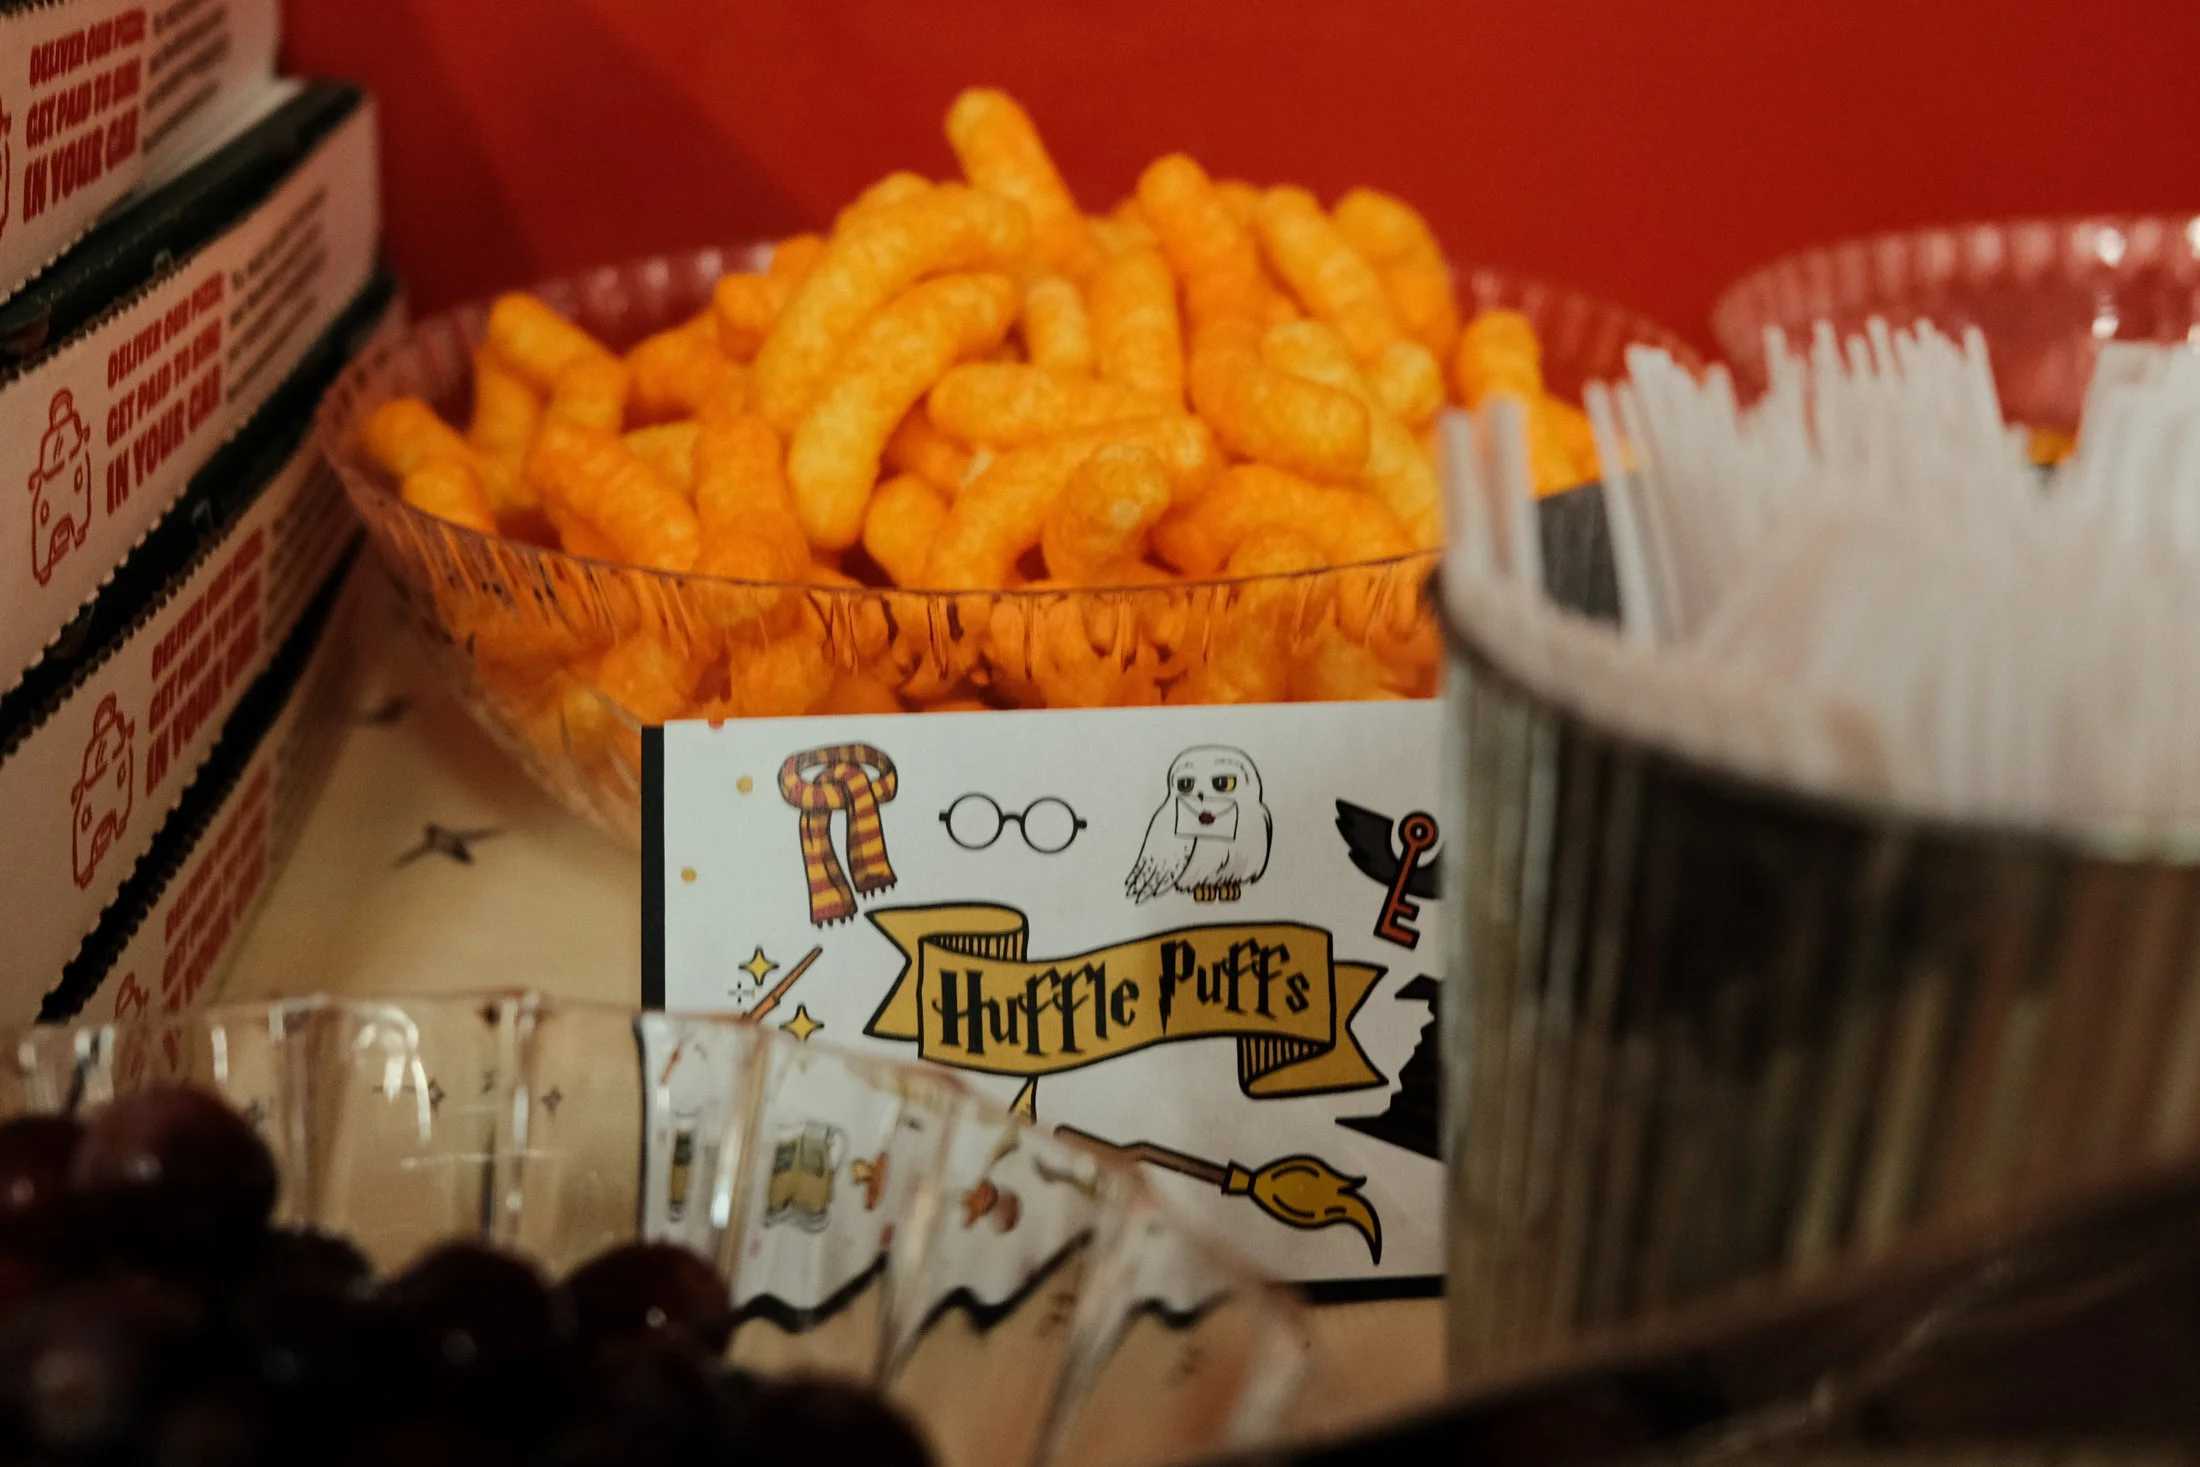
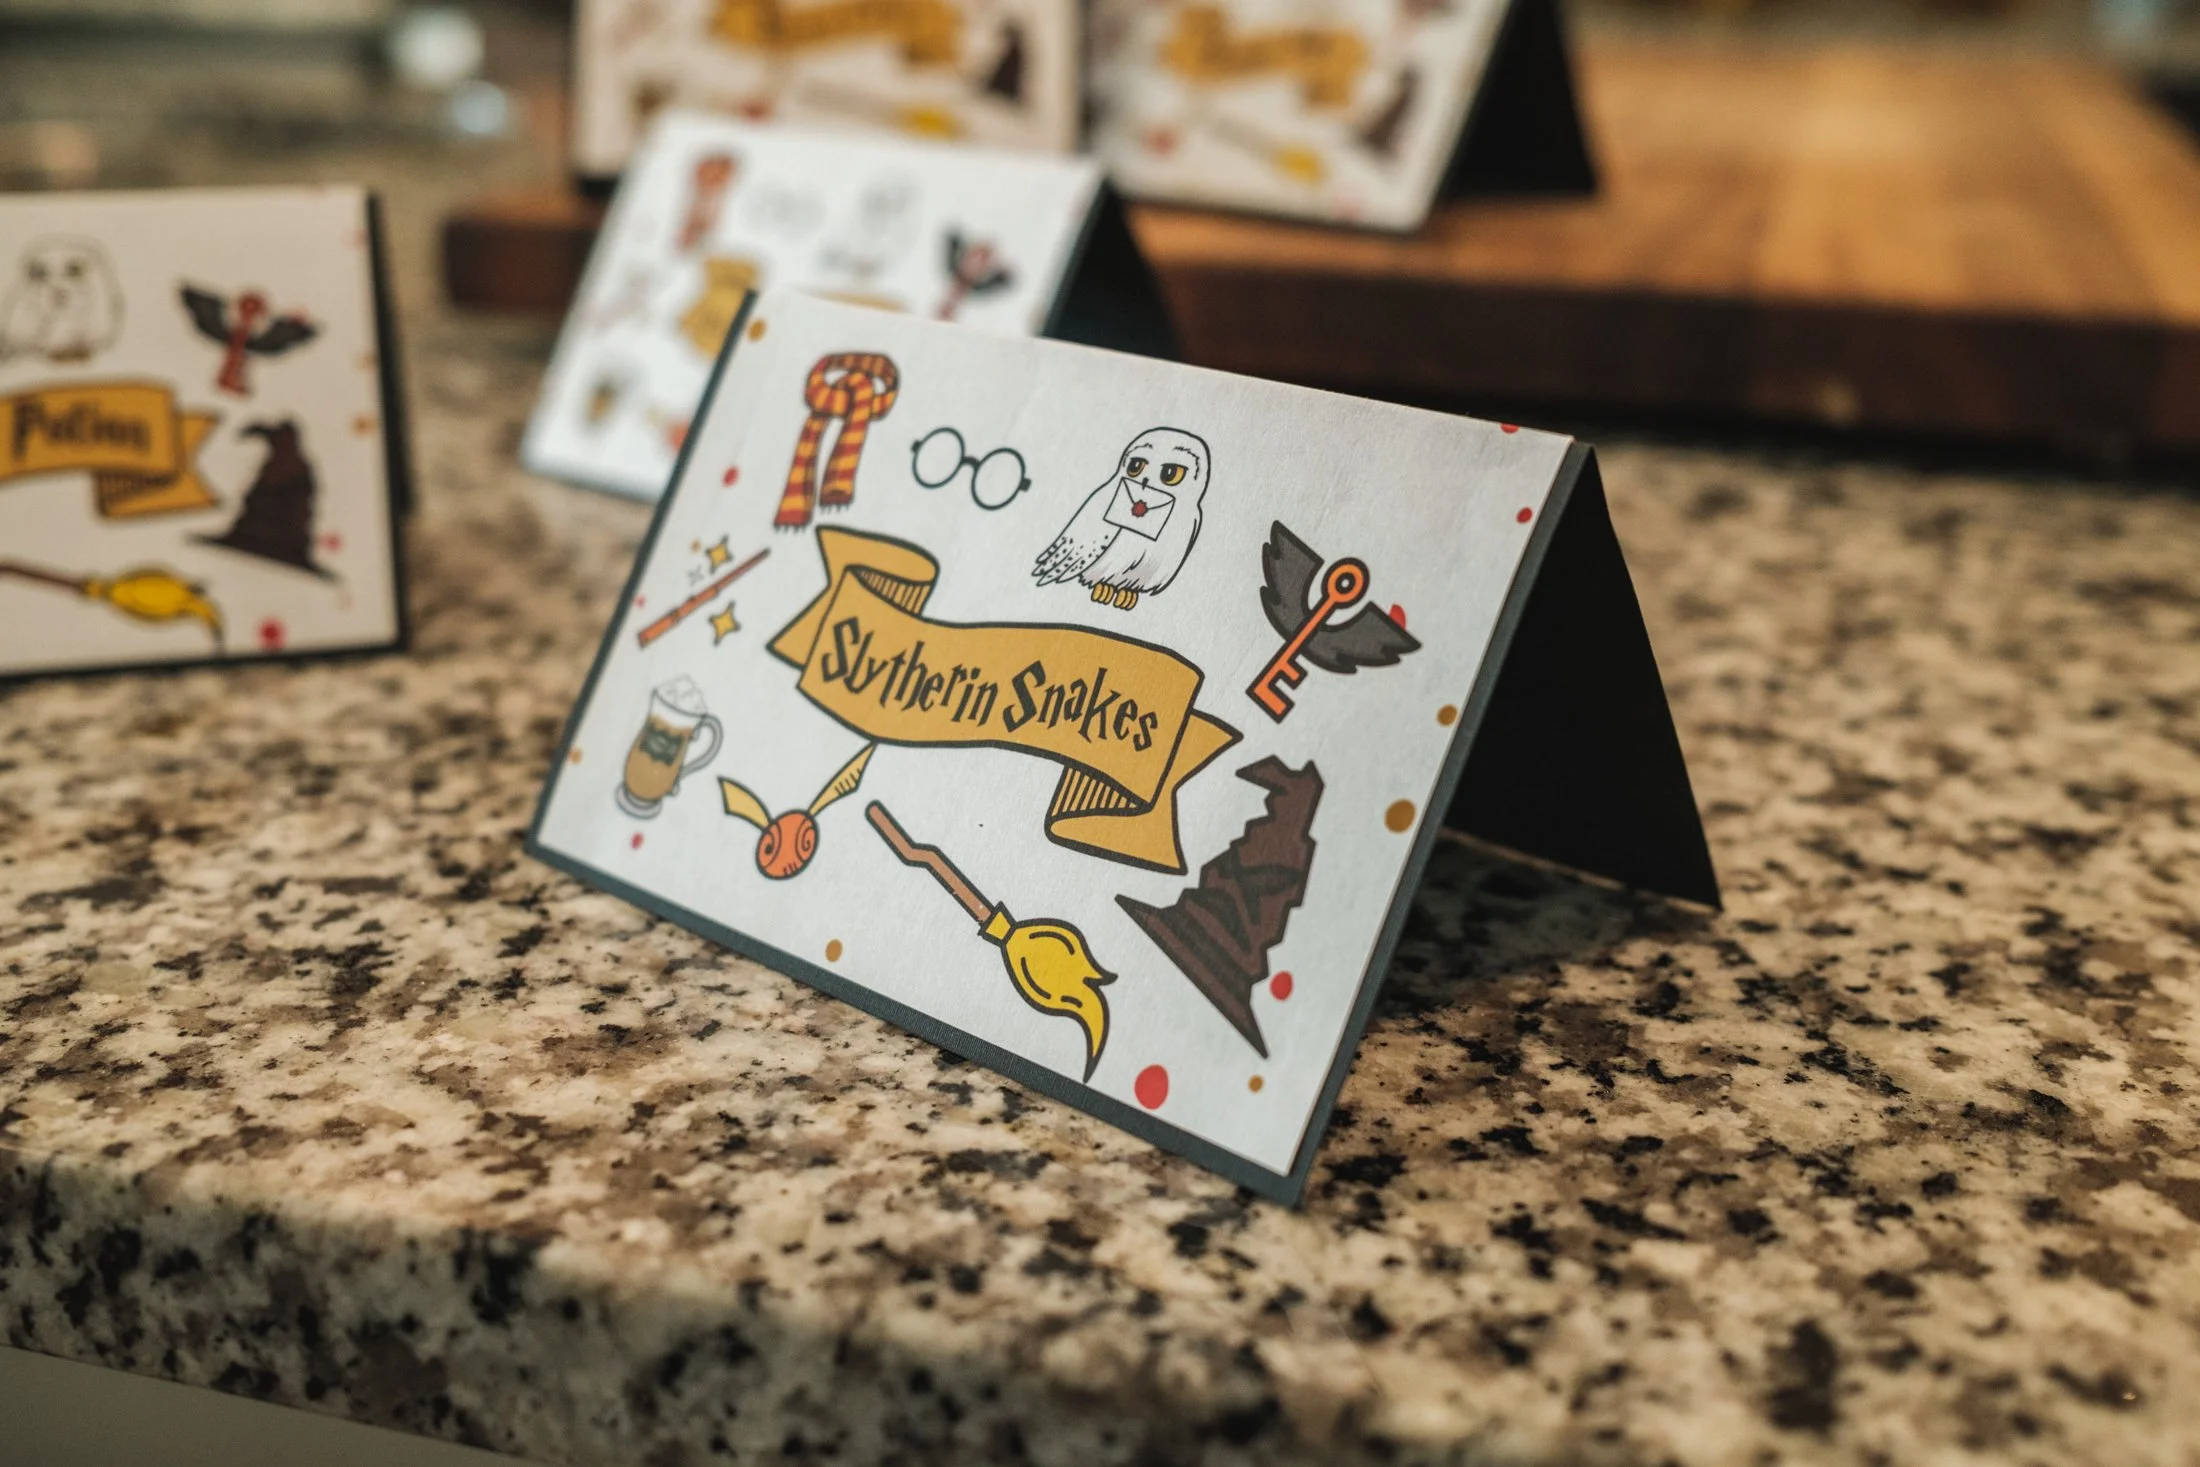
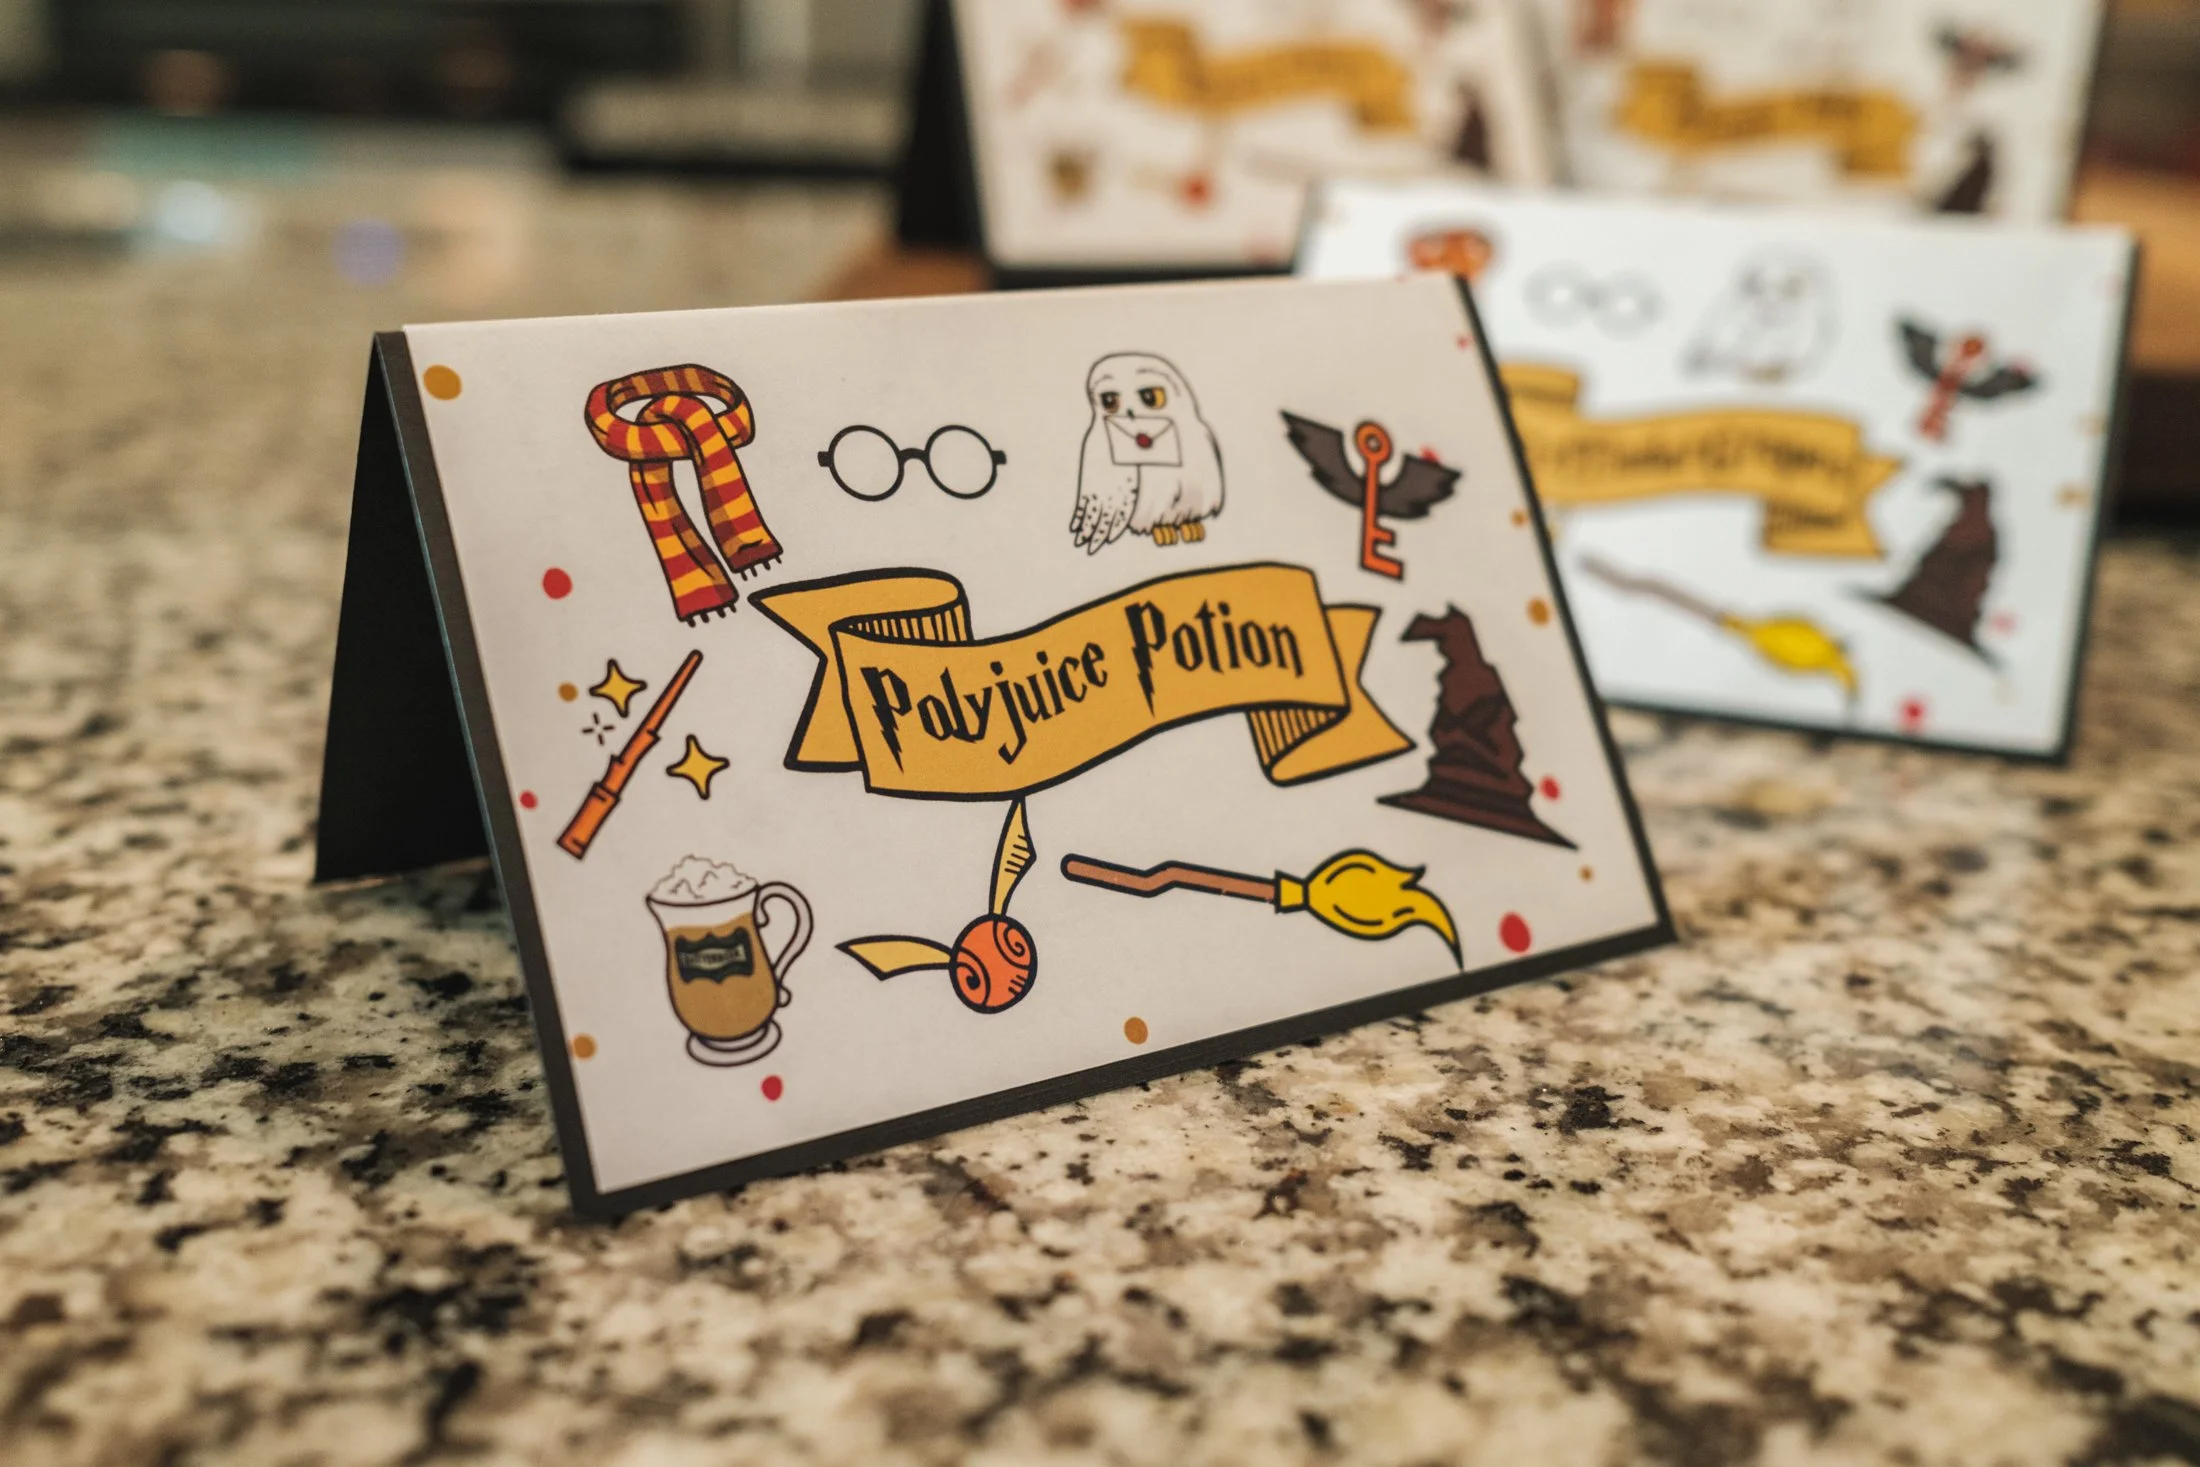
The Menu
Pizza from Papa Johns
Popcorn chicken from Publix
Professor Sprout’s Vegetable Garden (veggie tray)
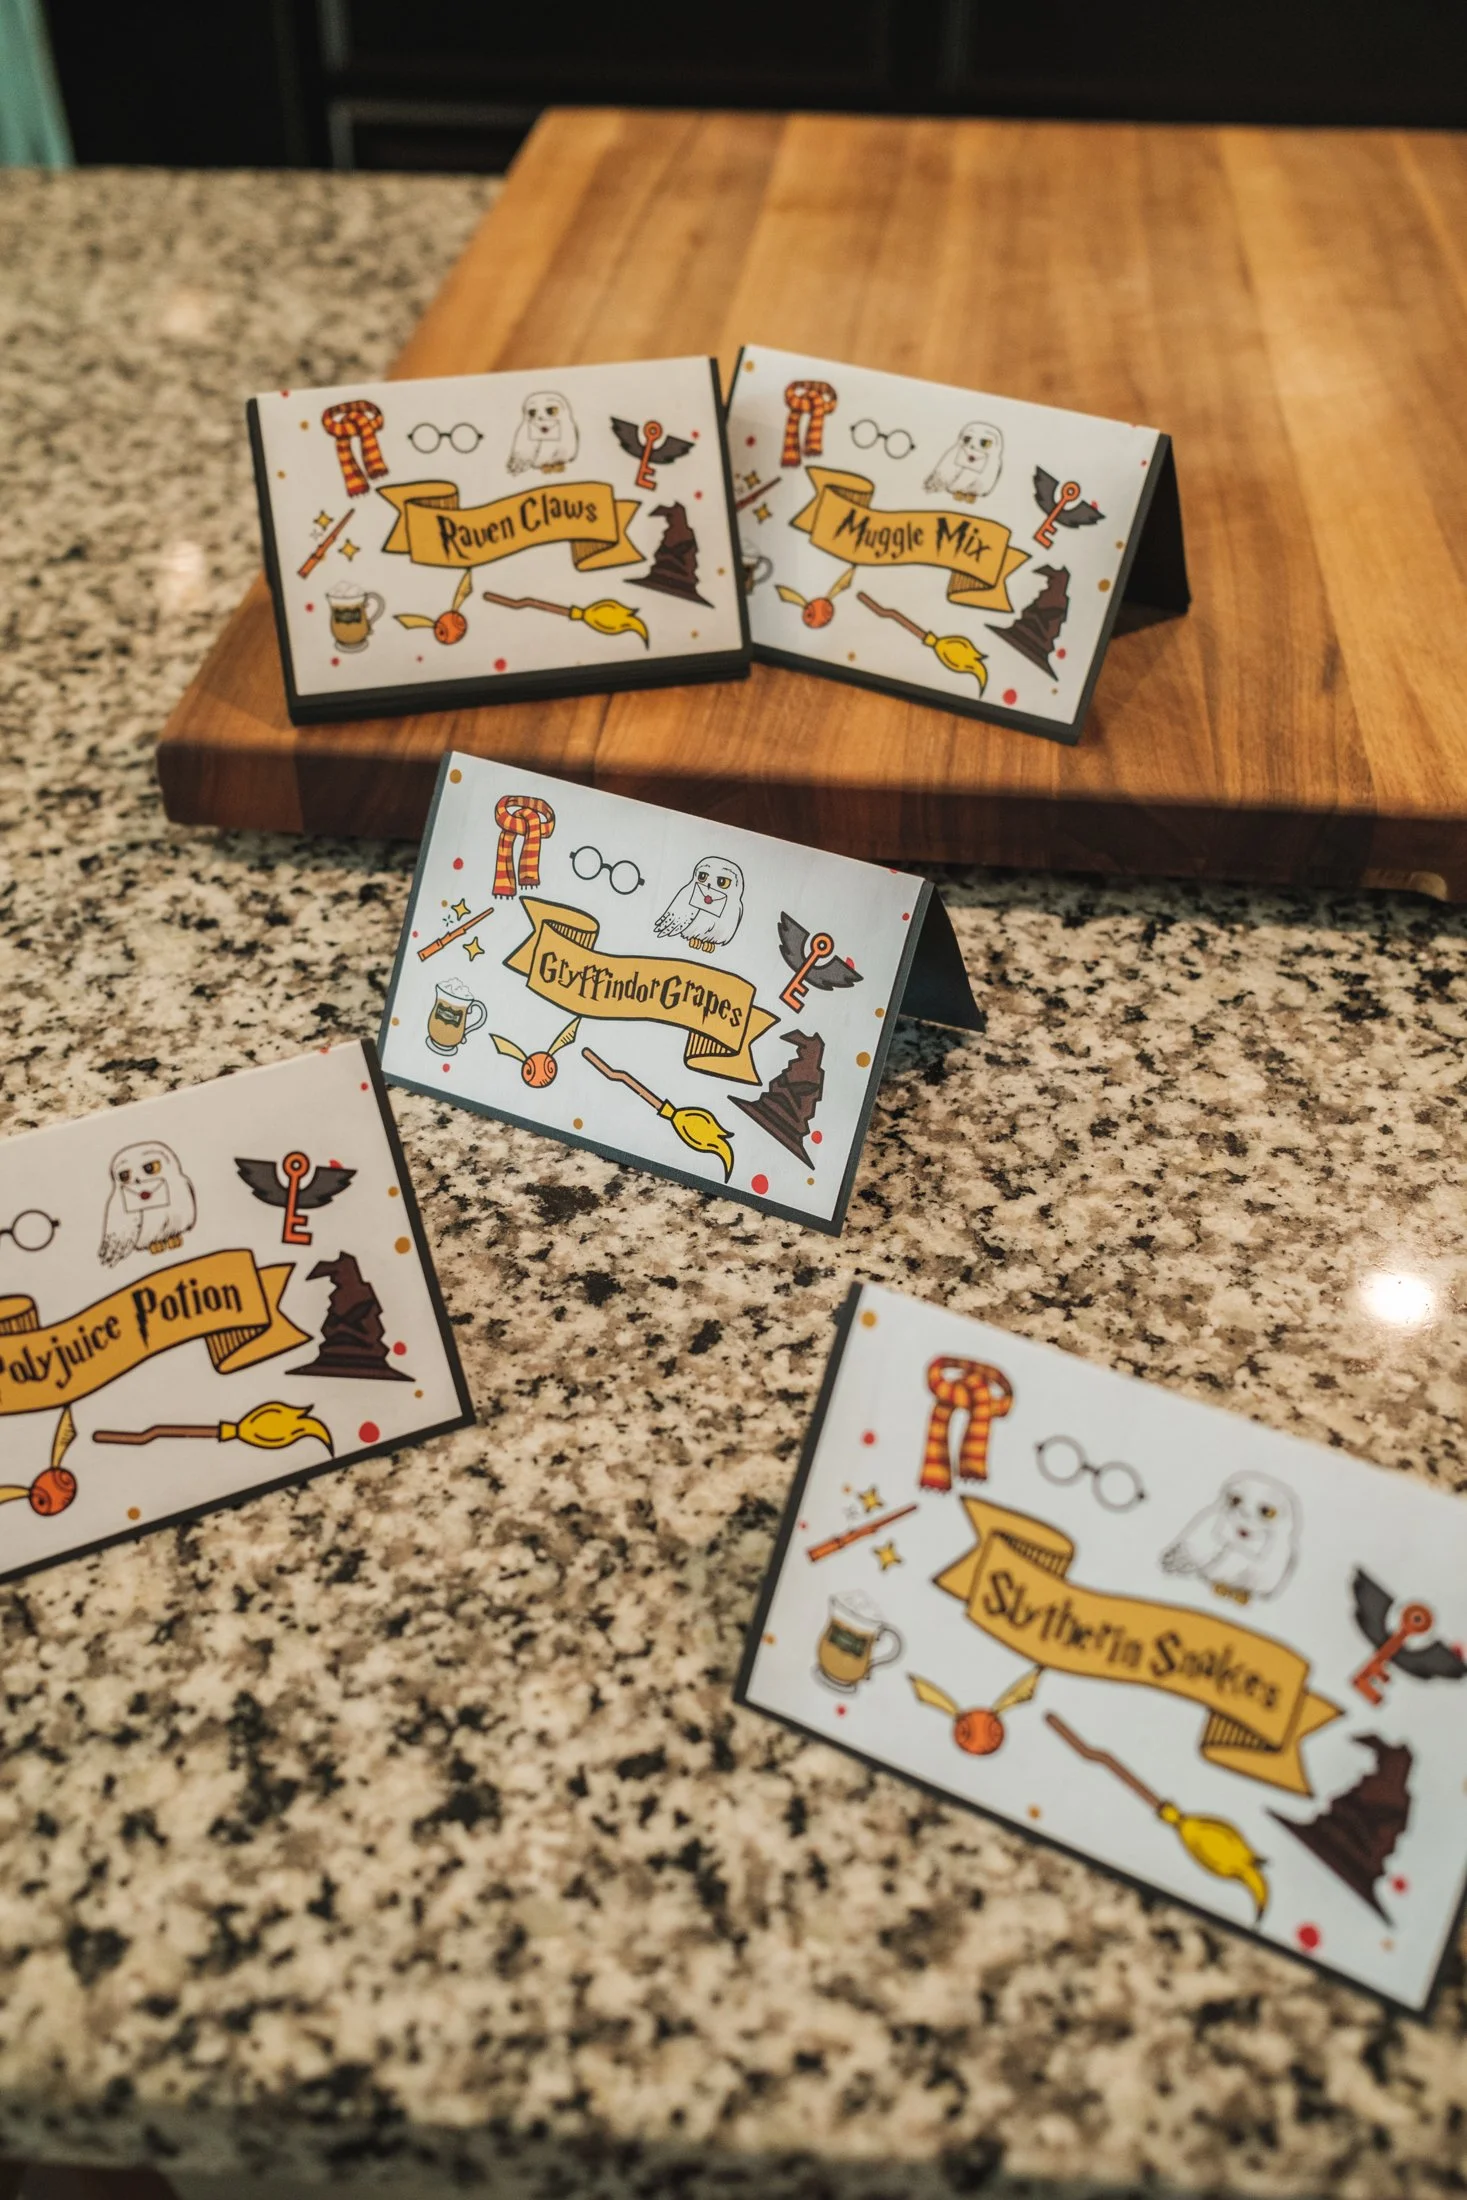
Muggle Mix (trail mix)
Huffle Puffs (puffy Cheetos)
Slytherin Snakes (gummy worms)
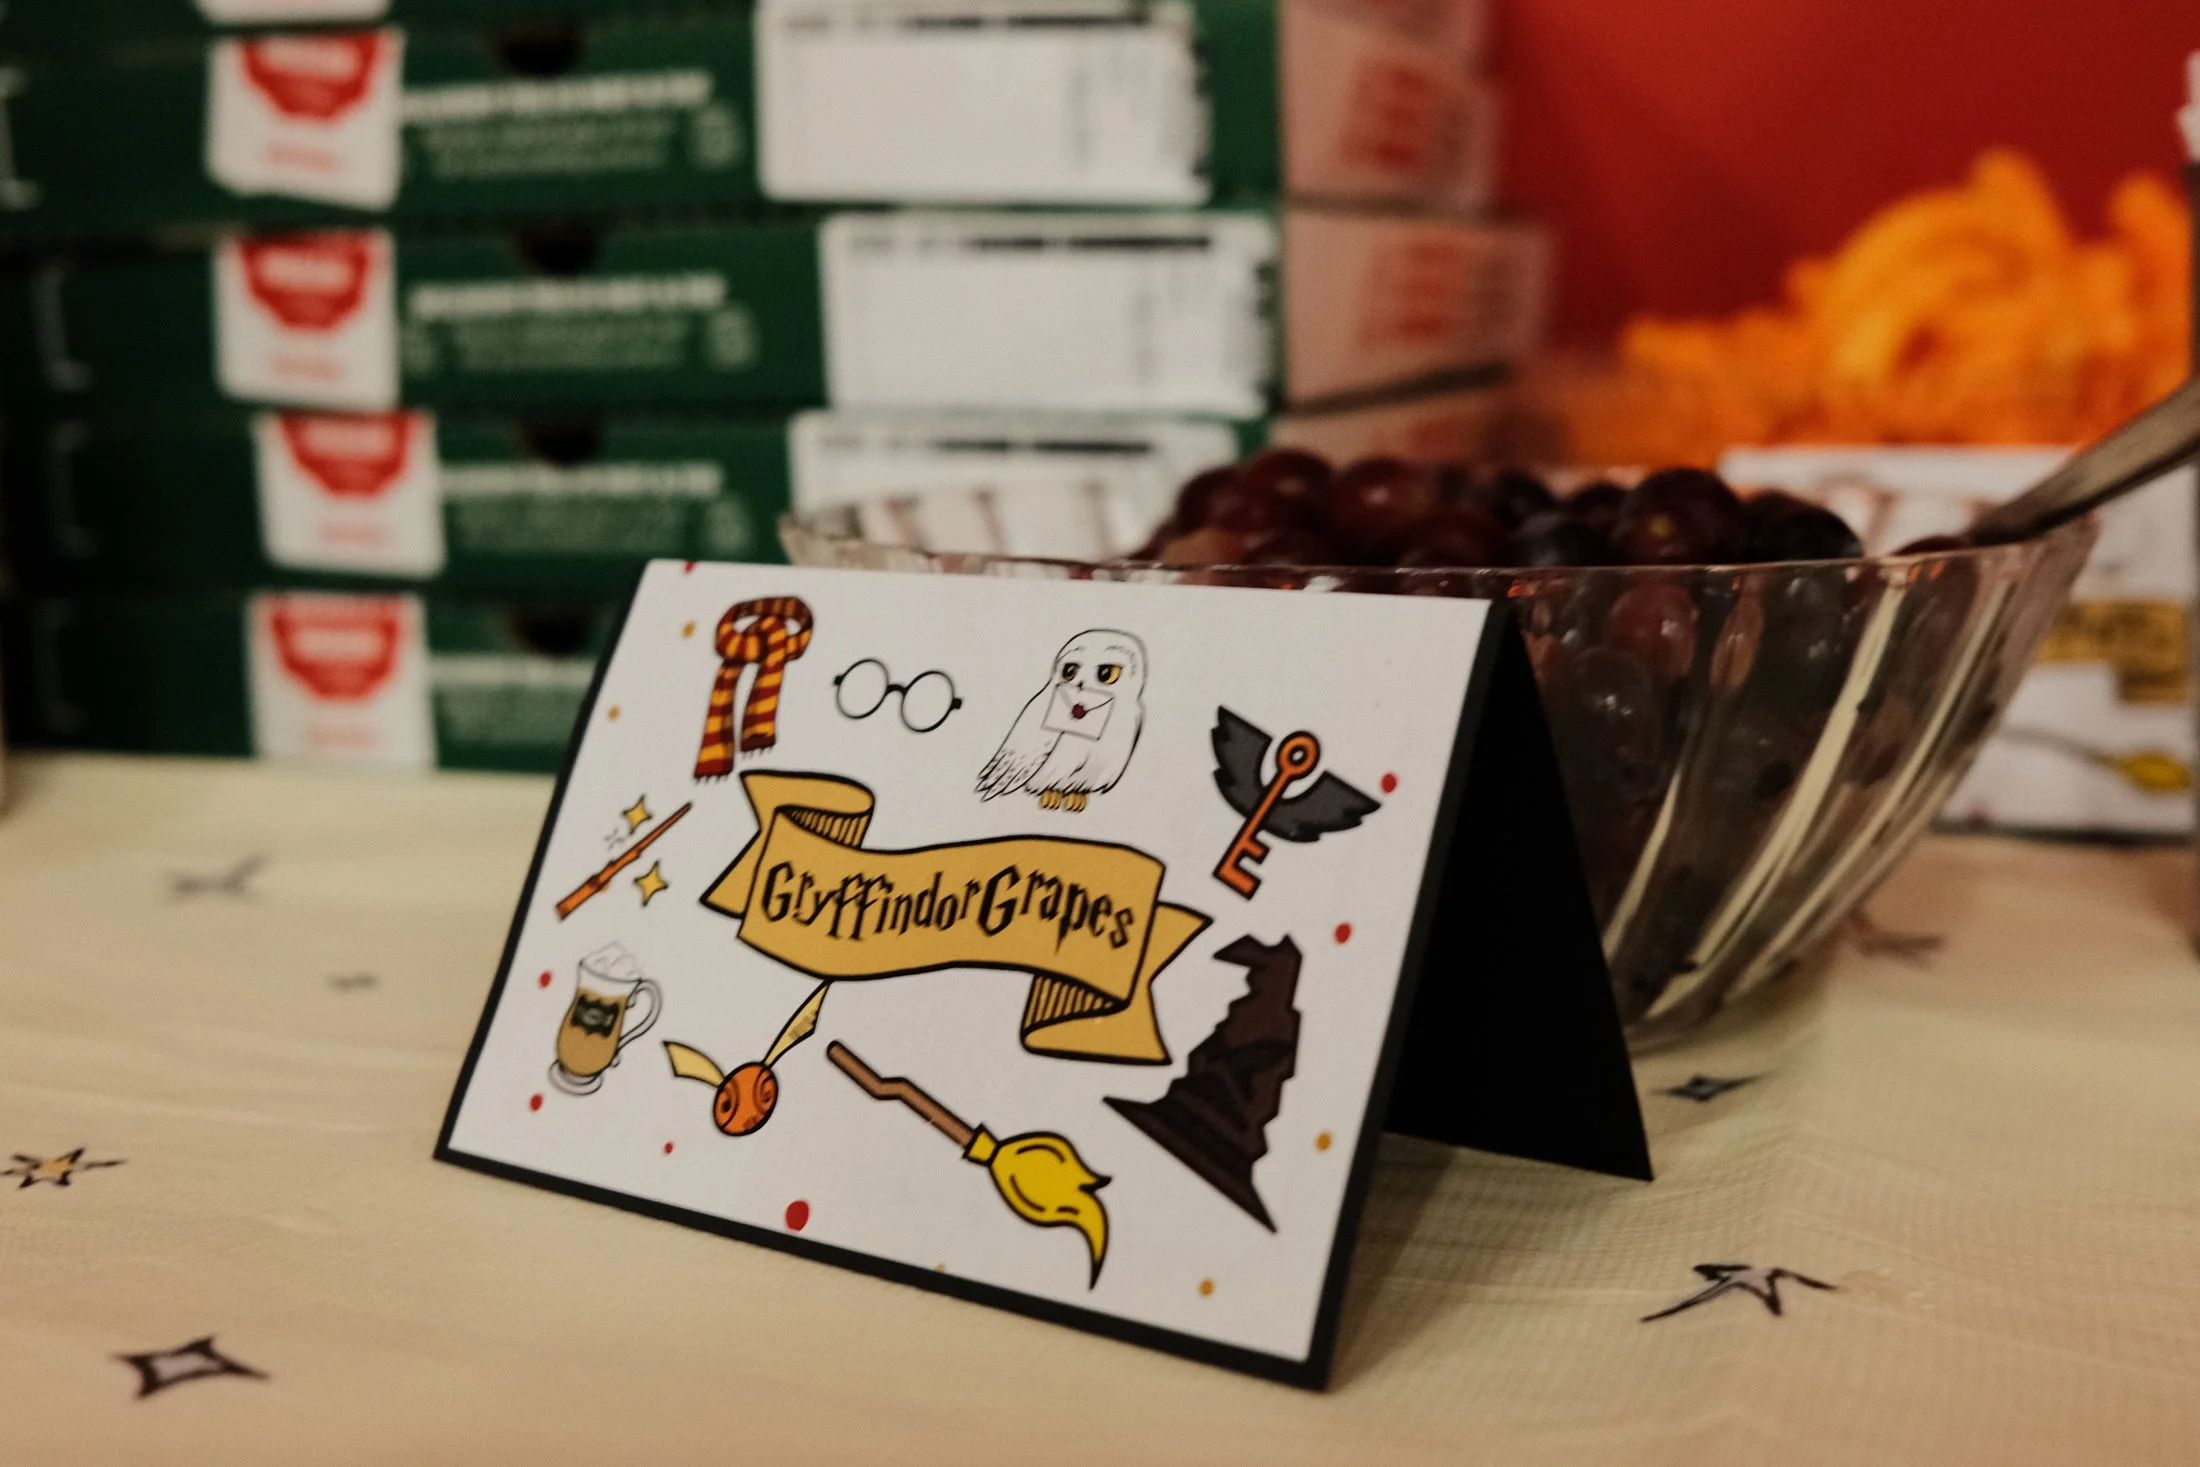
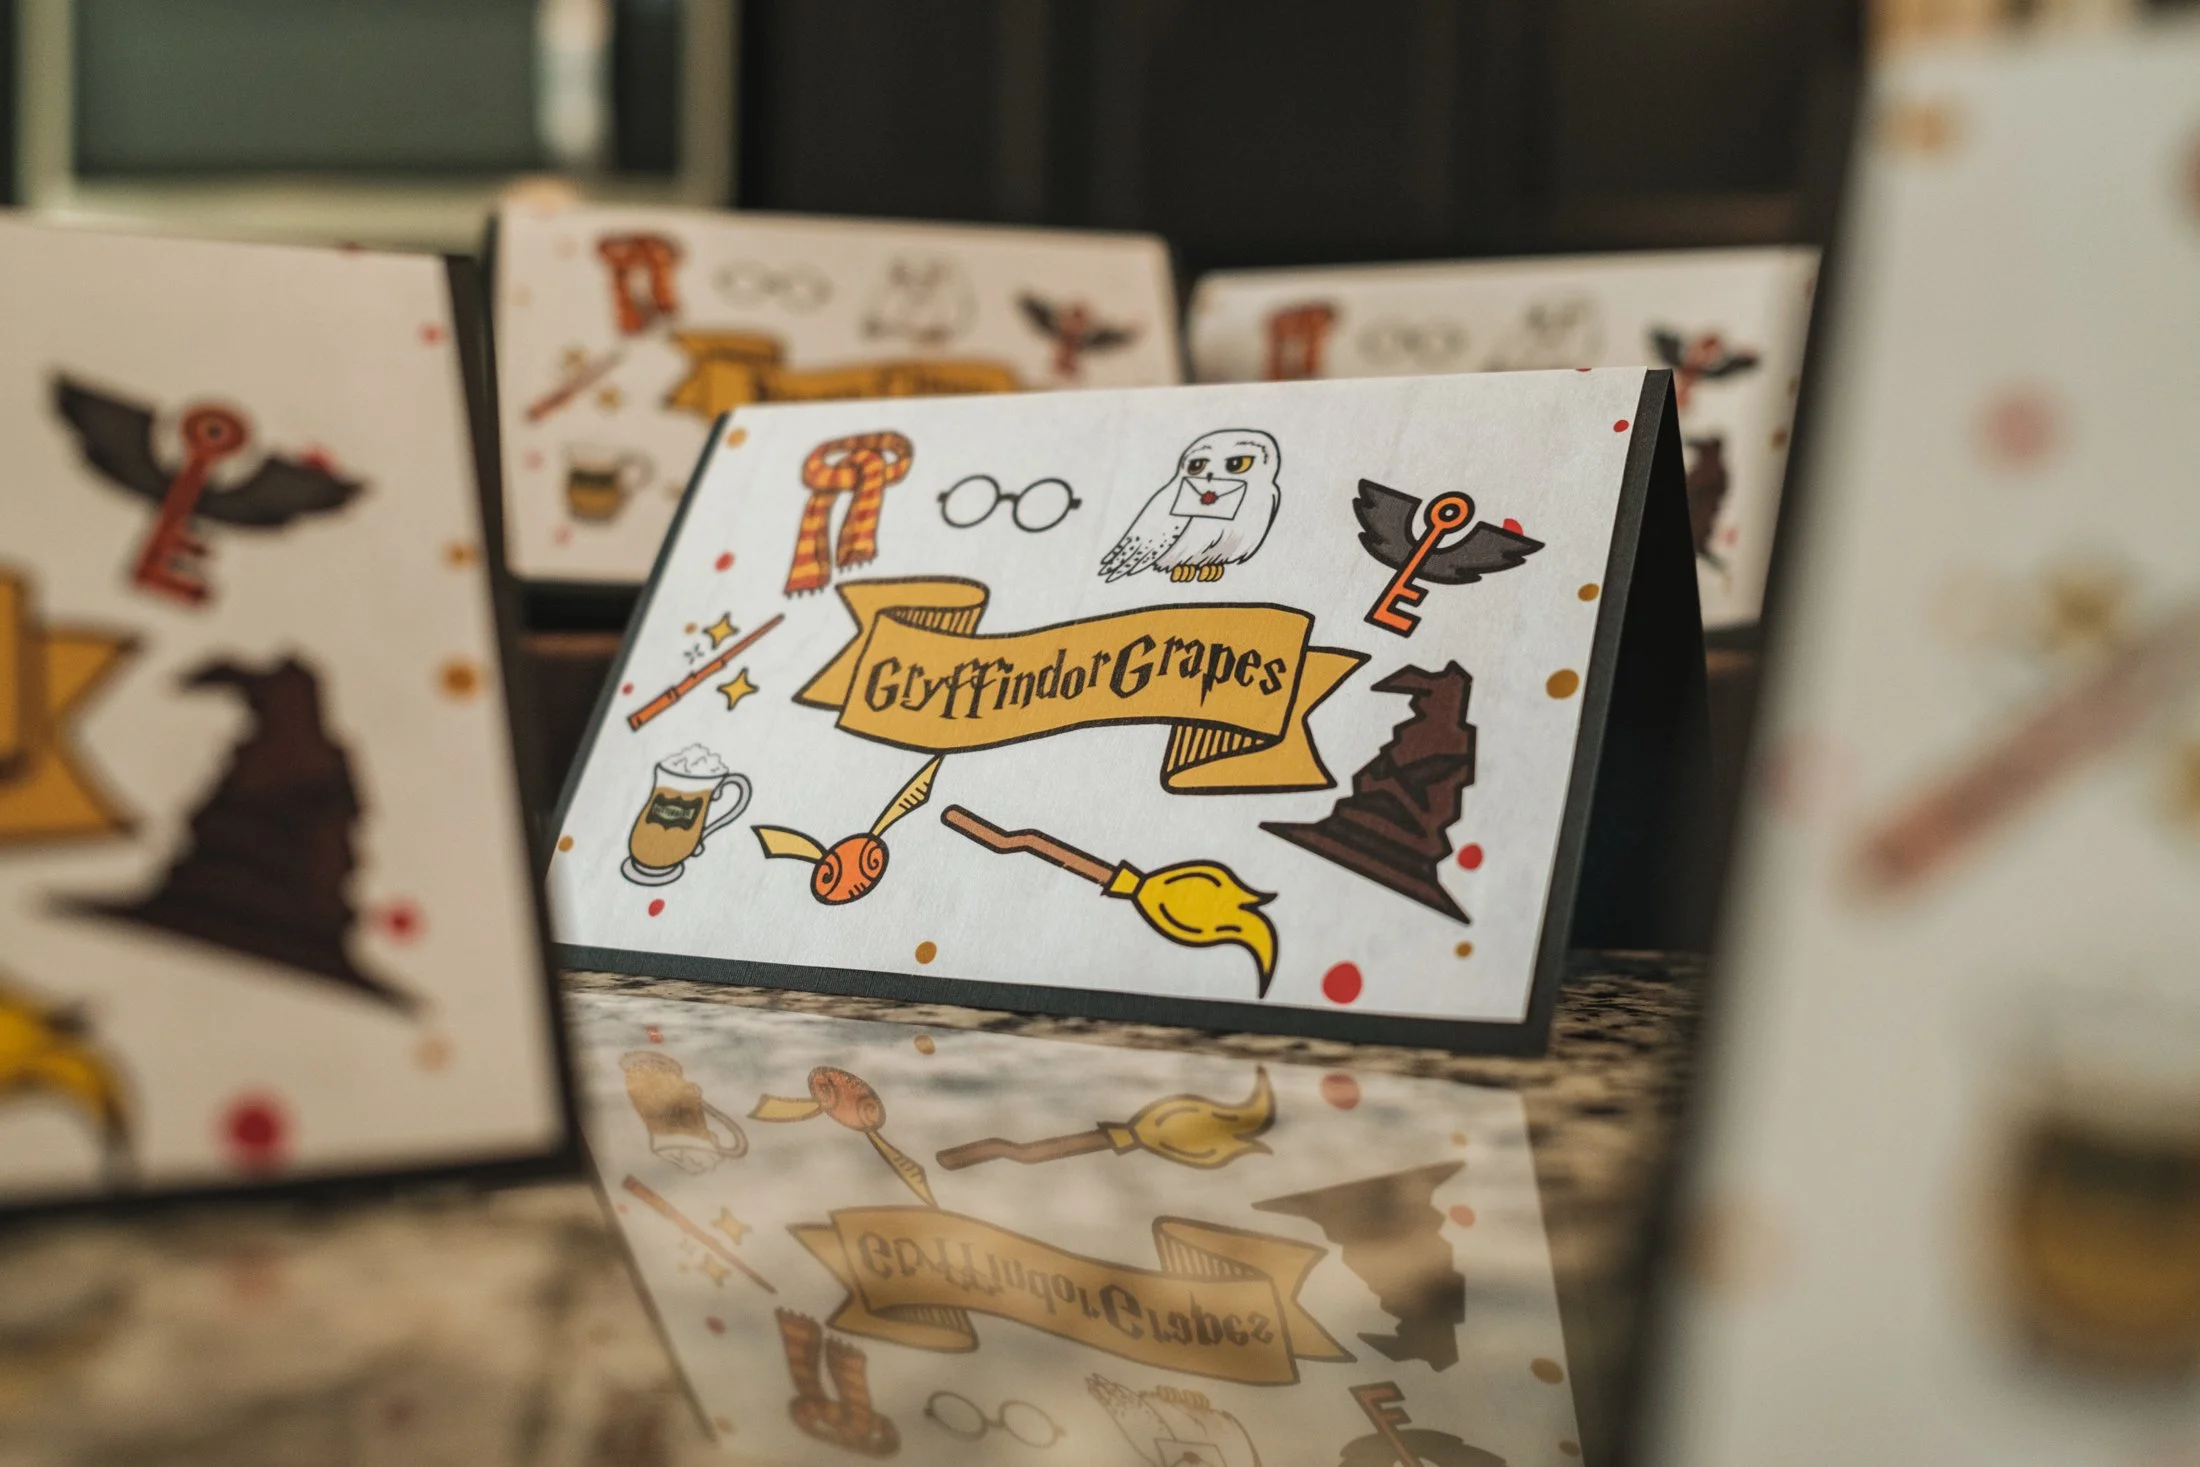
Gryffindor Grapes
Raven Claws (Bugles)
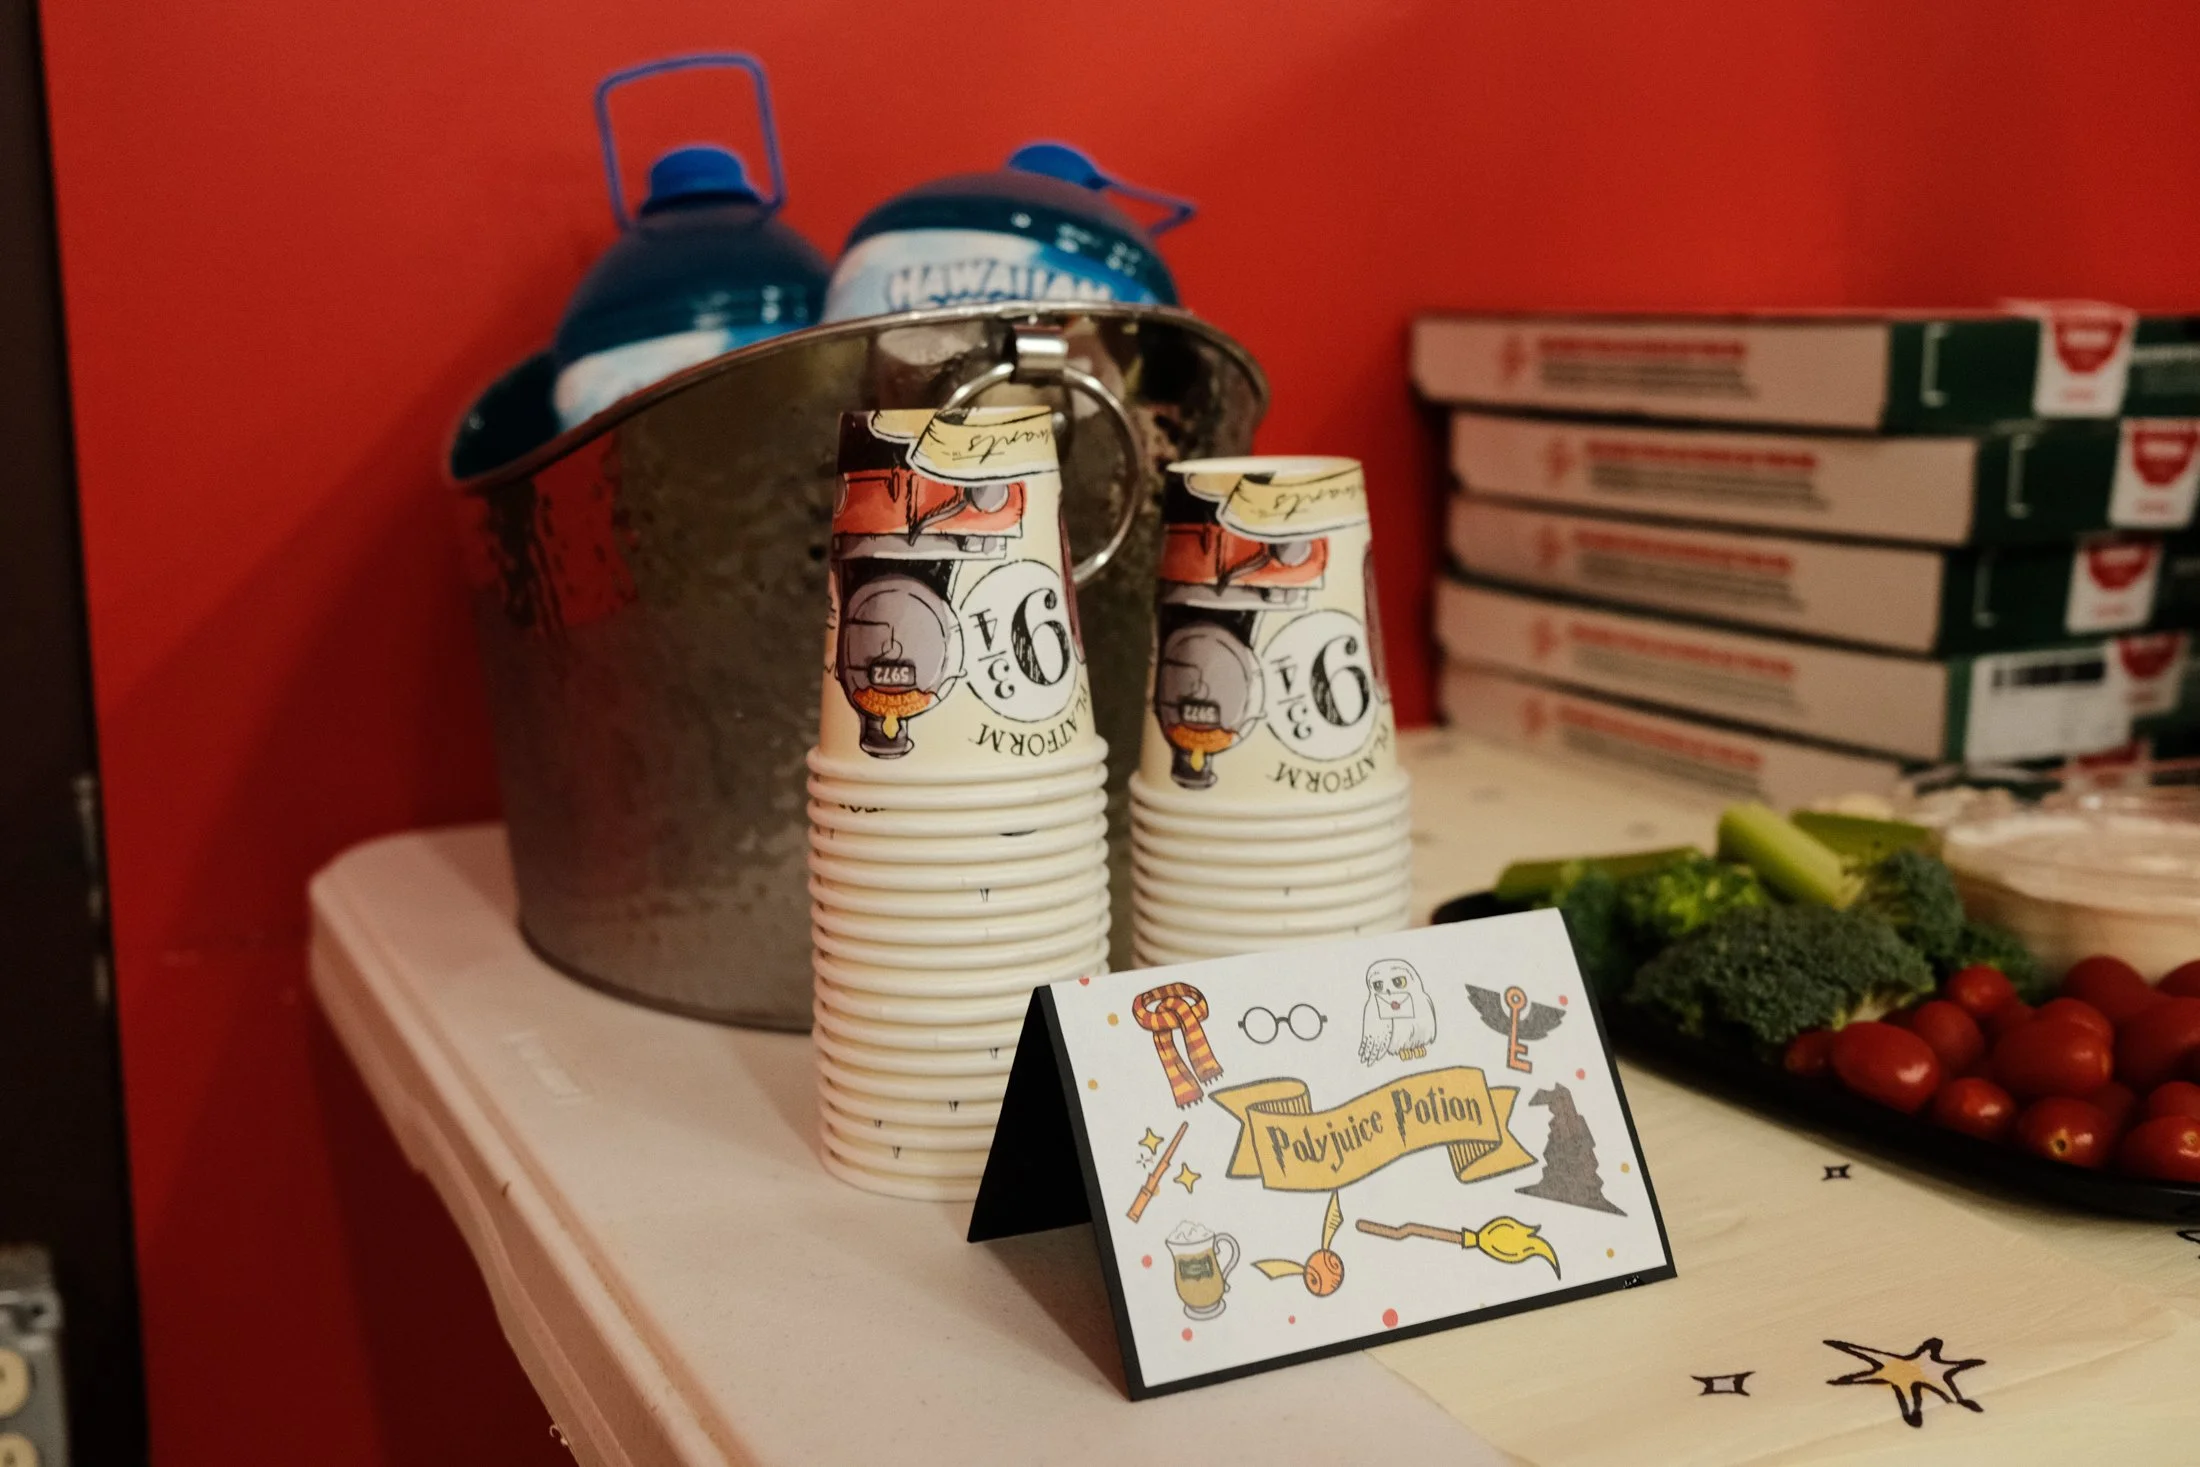
Polyjuice Potion (juice)
Here is the Cricut Design Space link for making the menu cards.
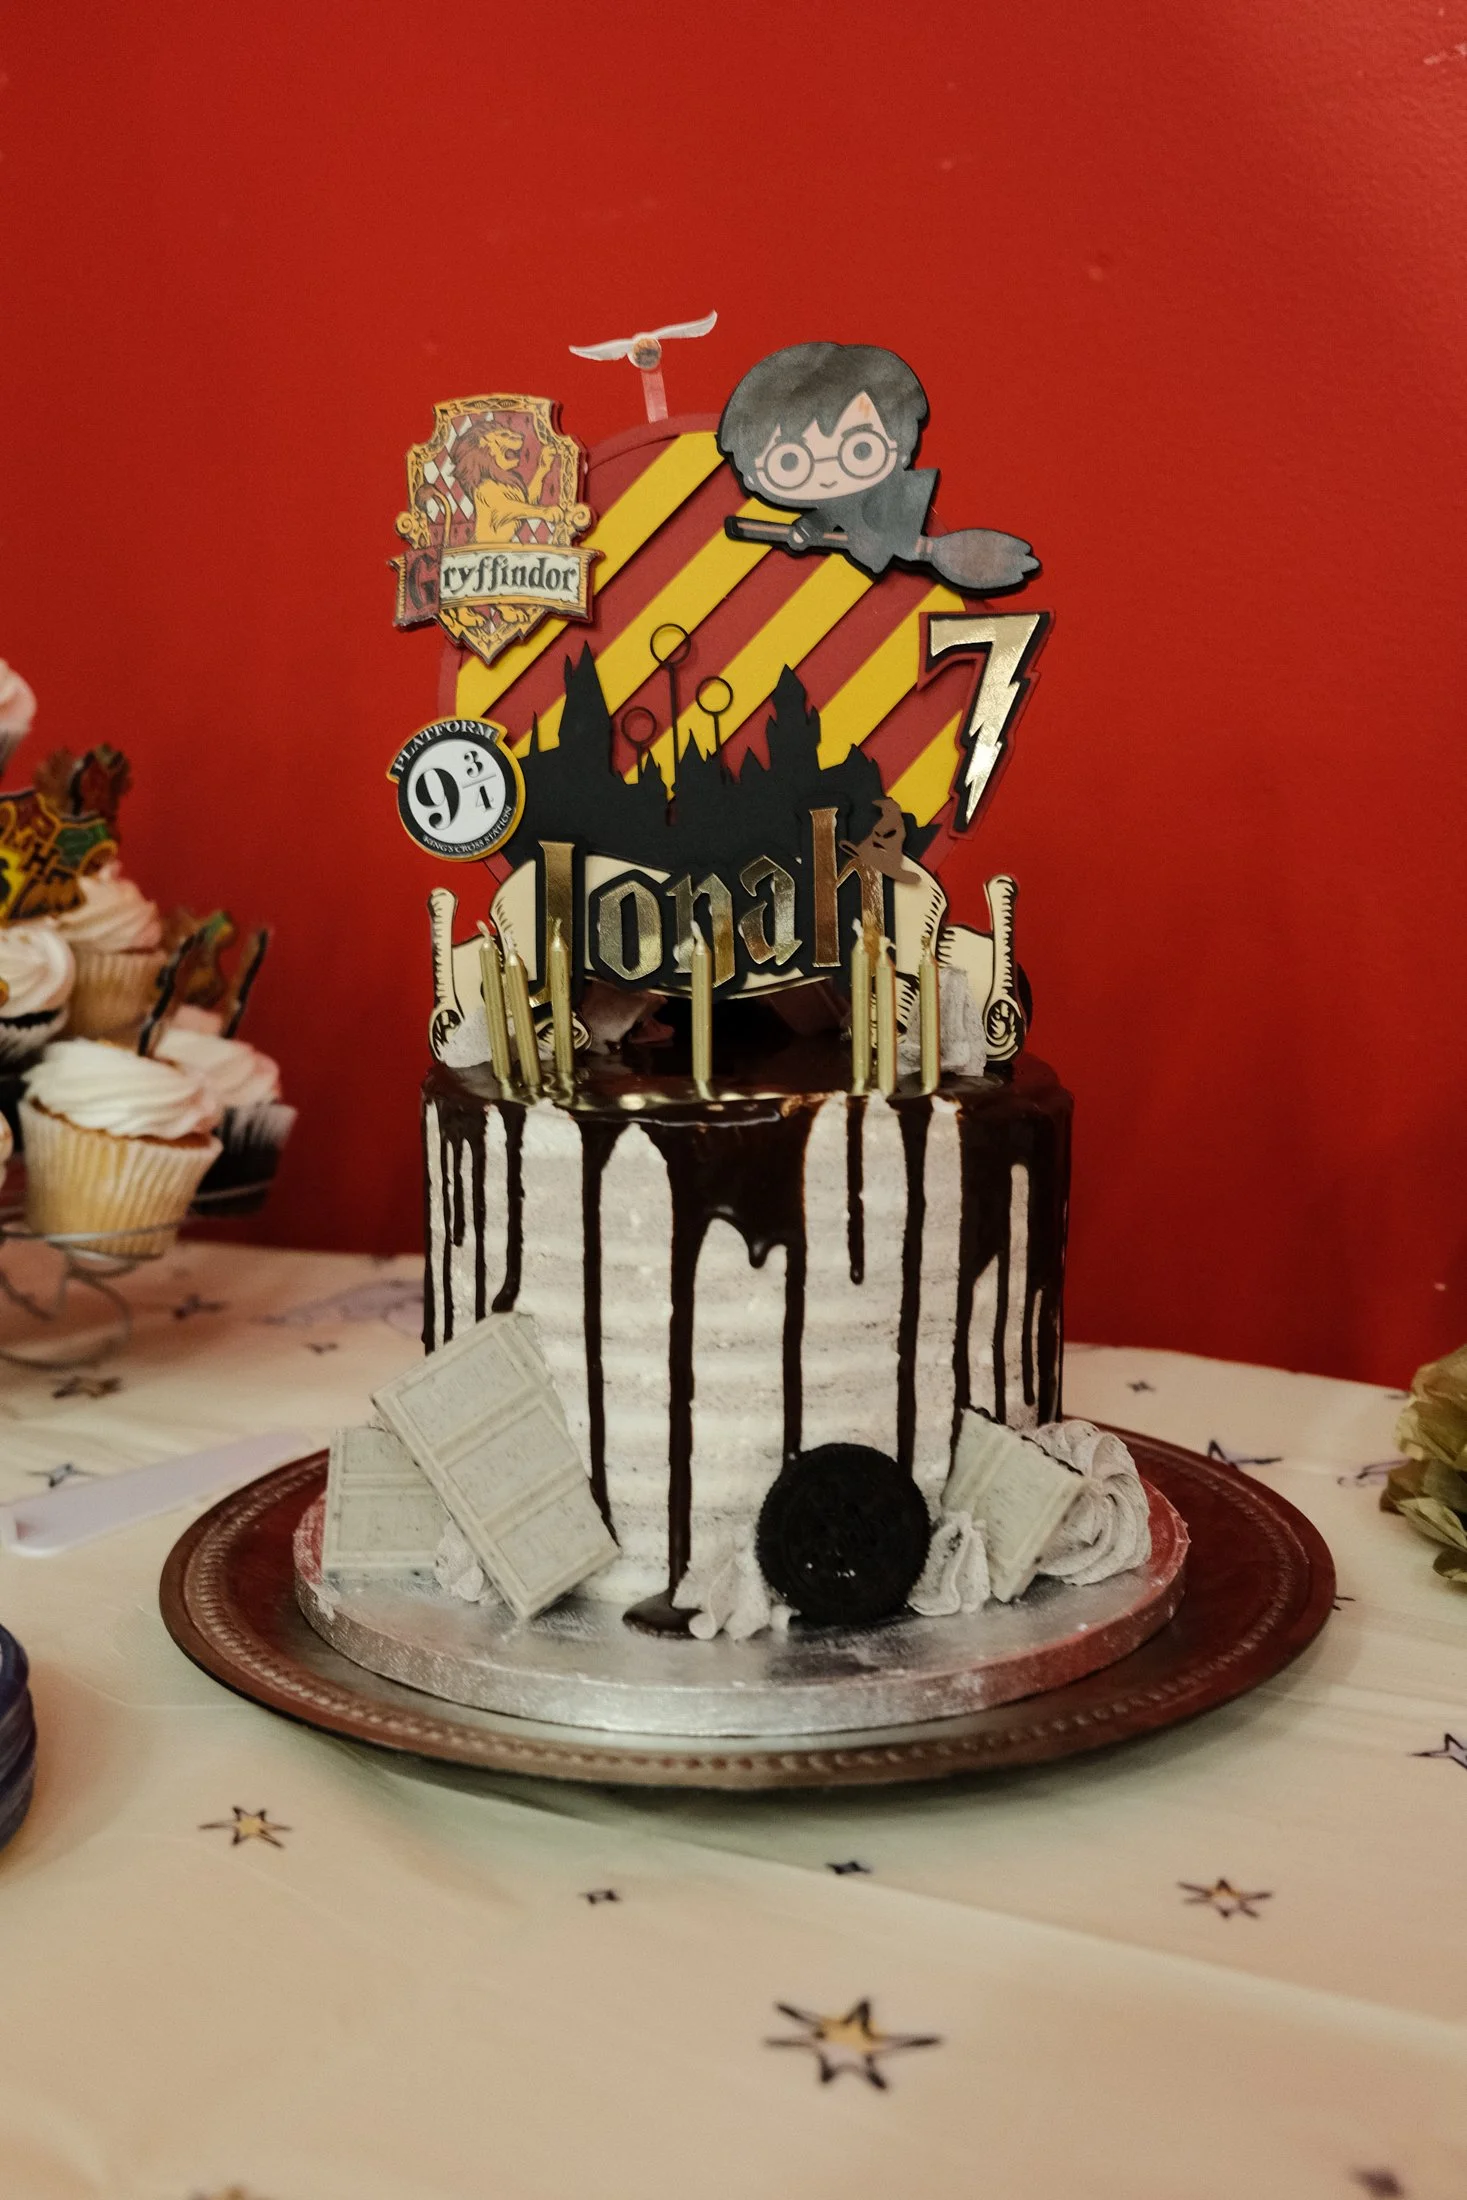
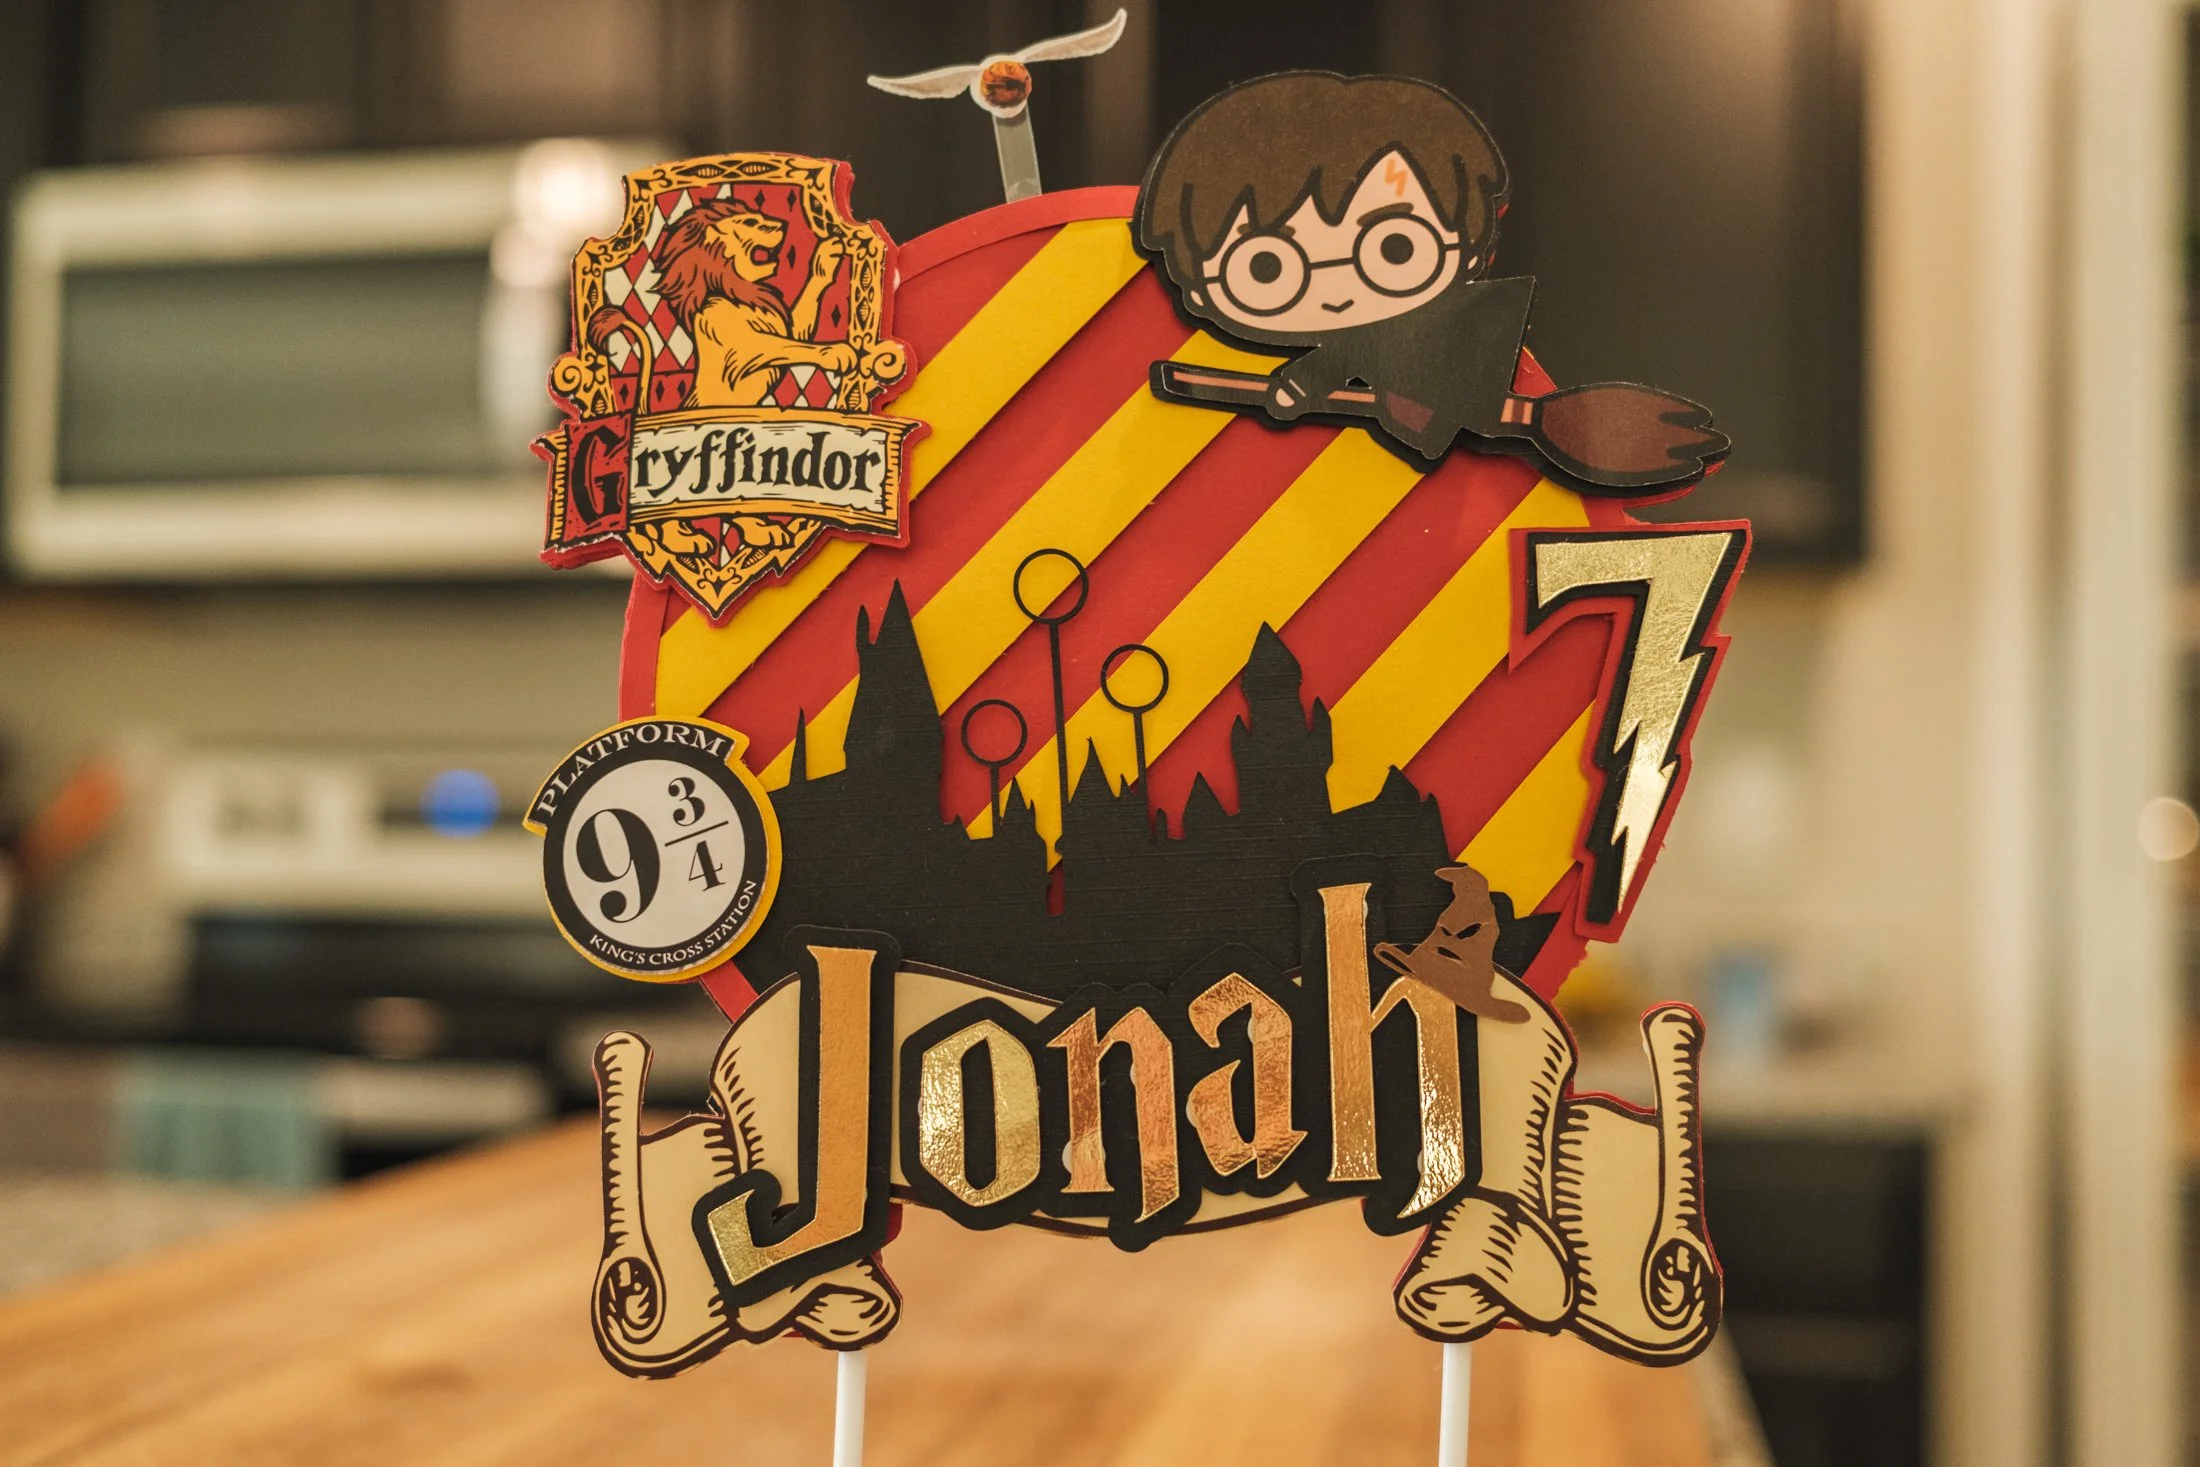
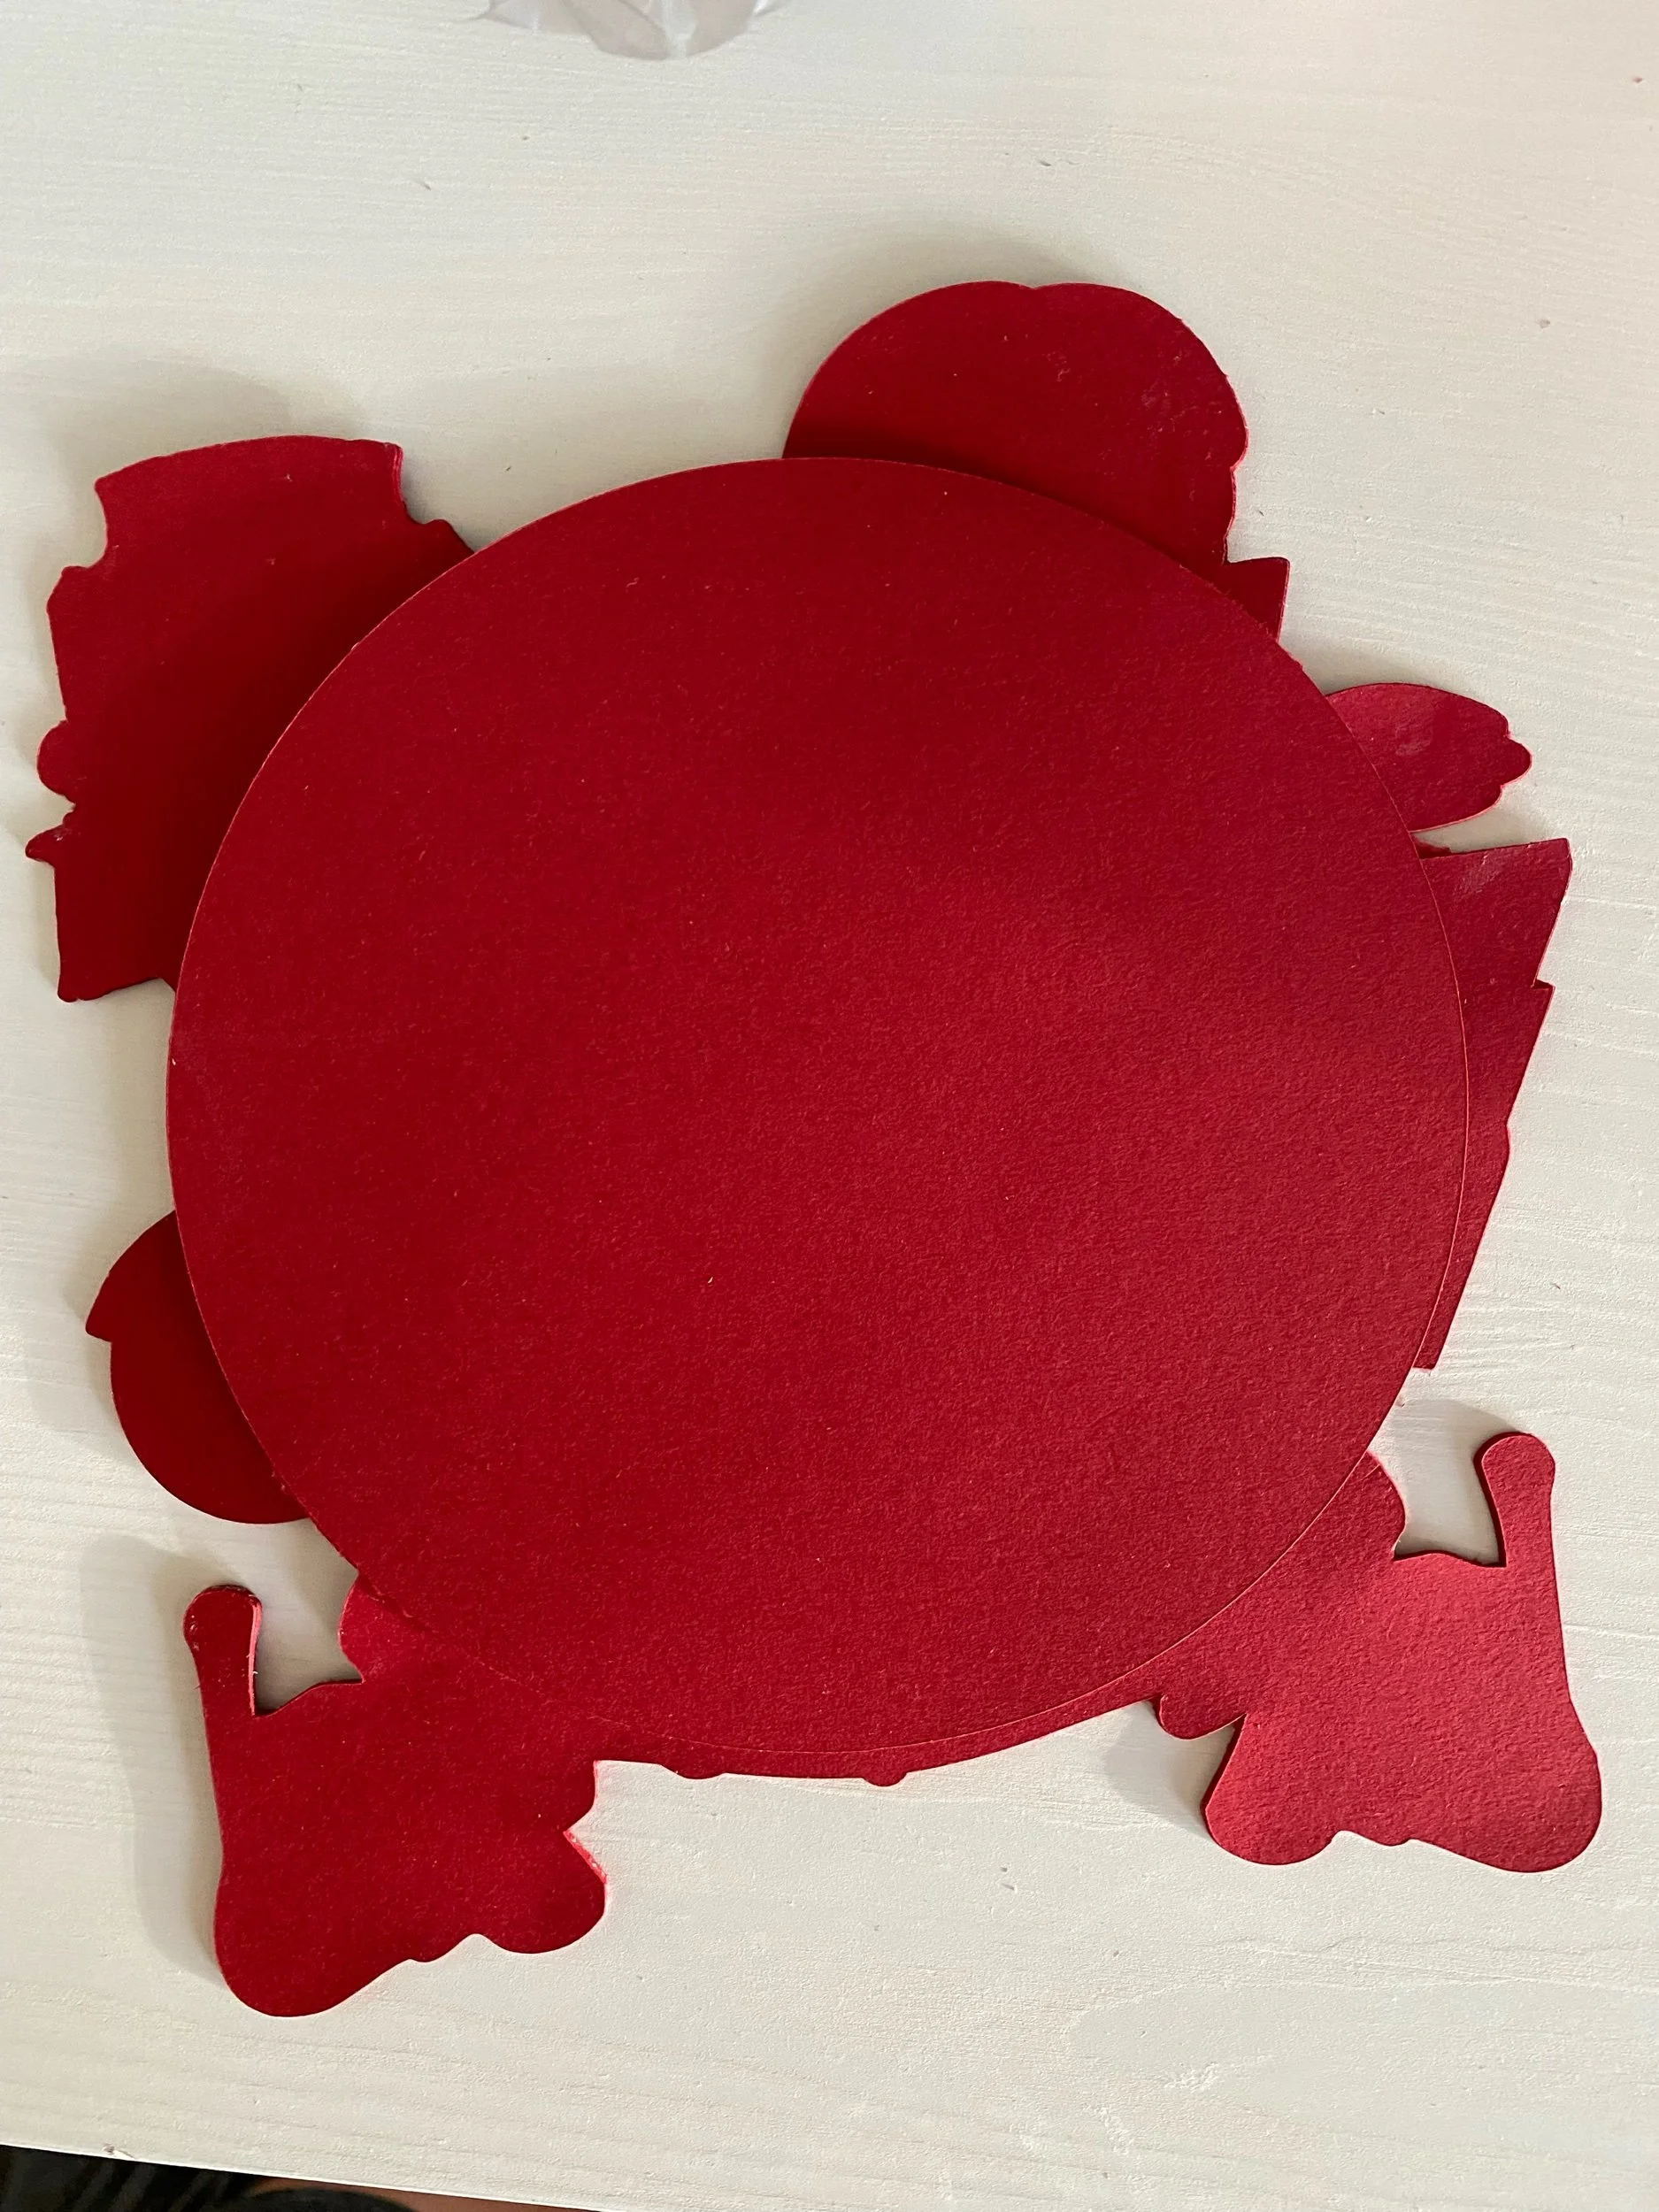
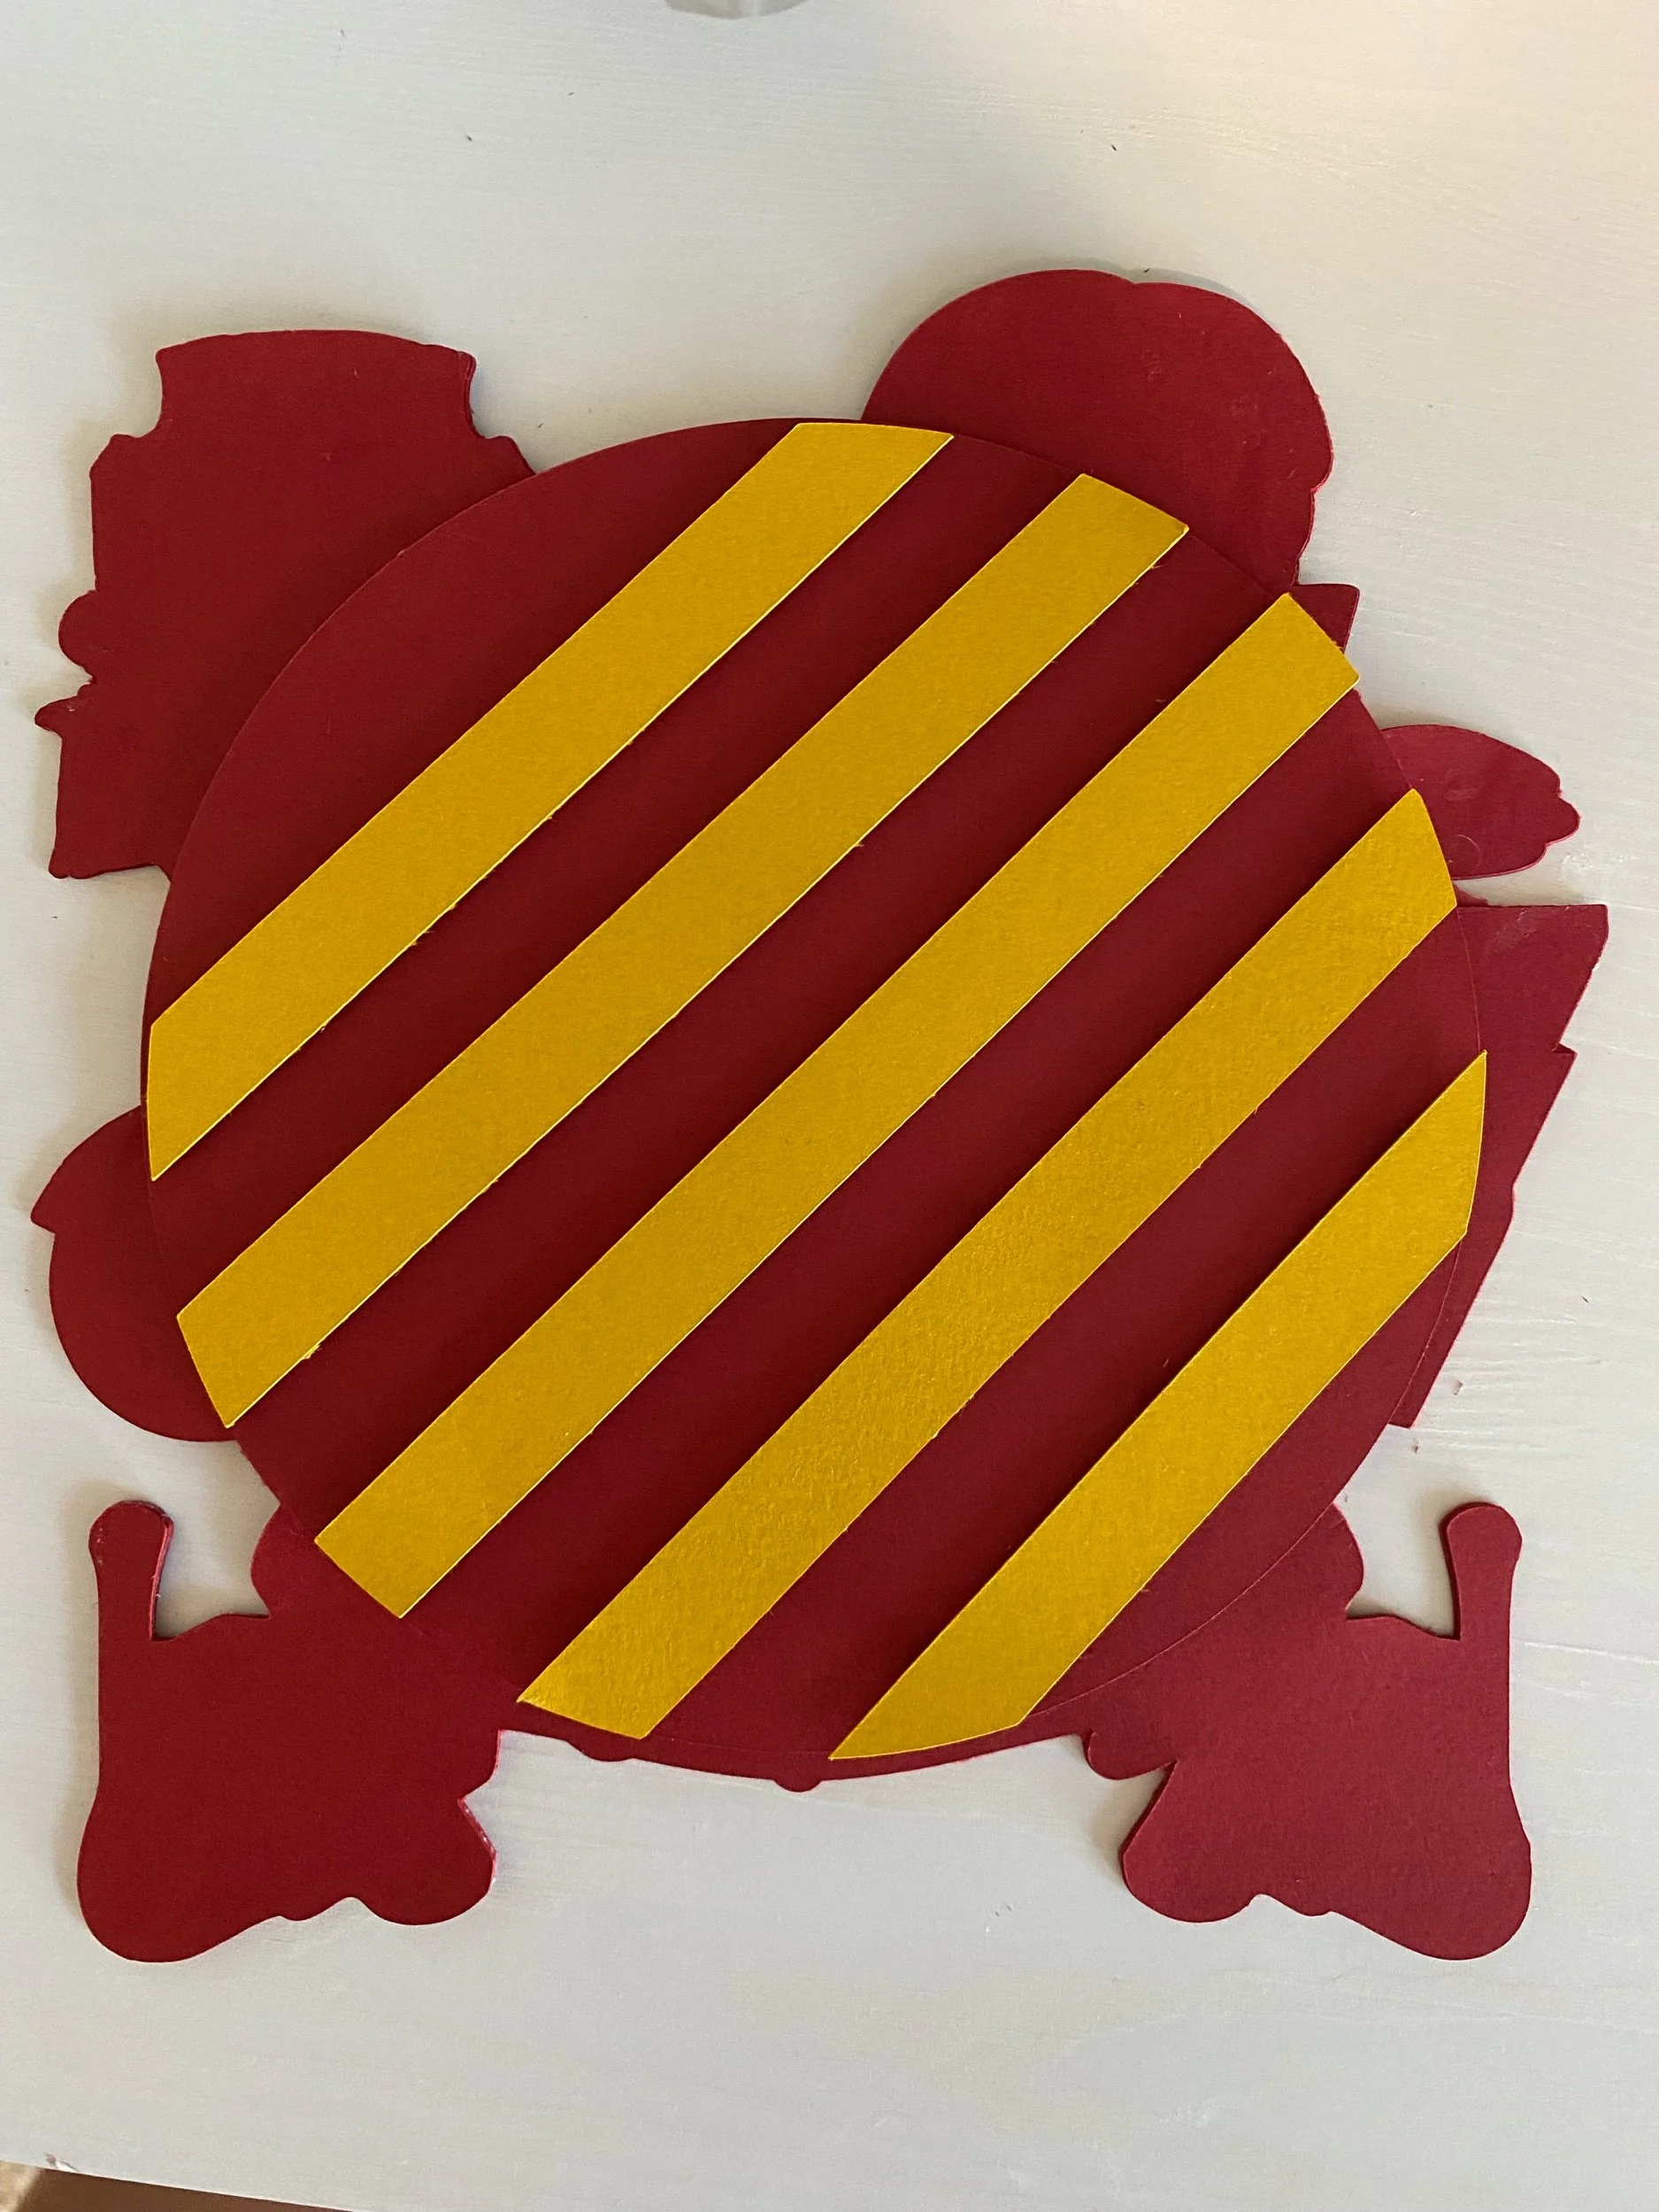
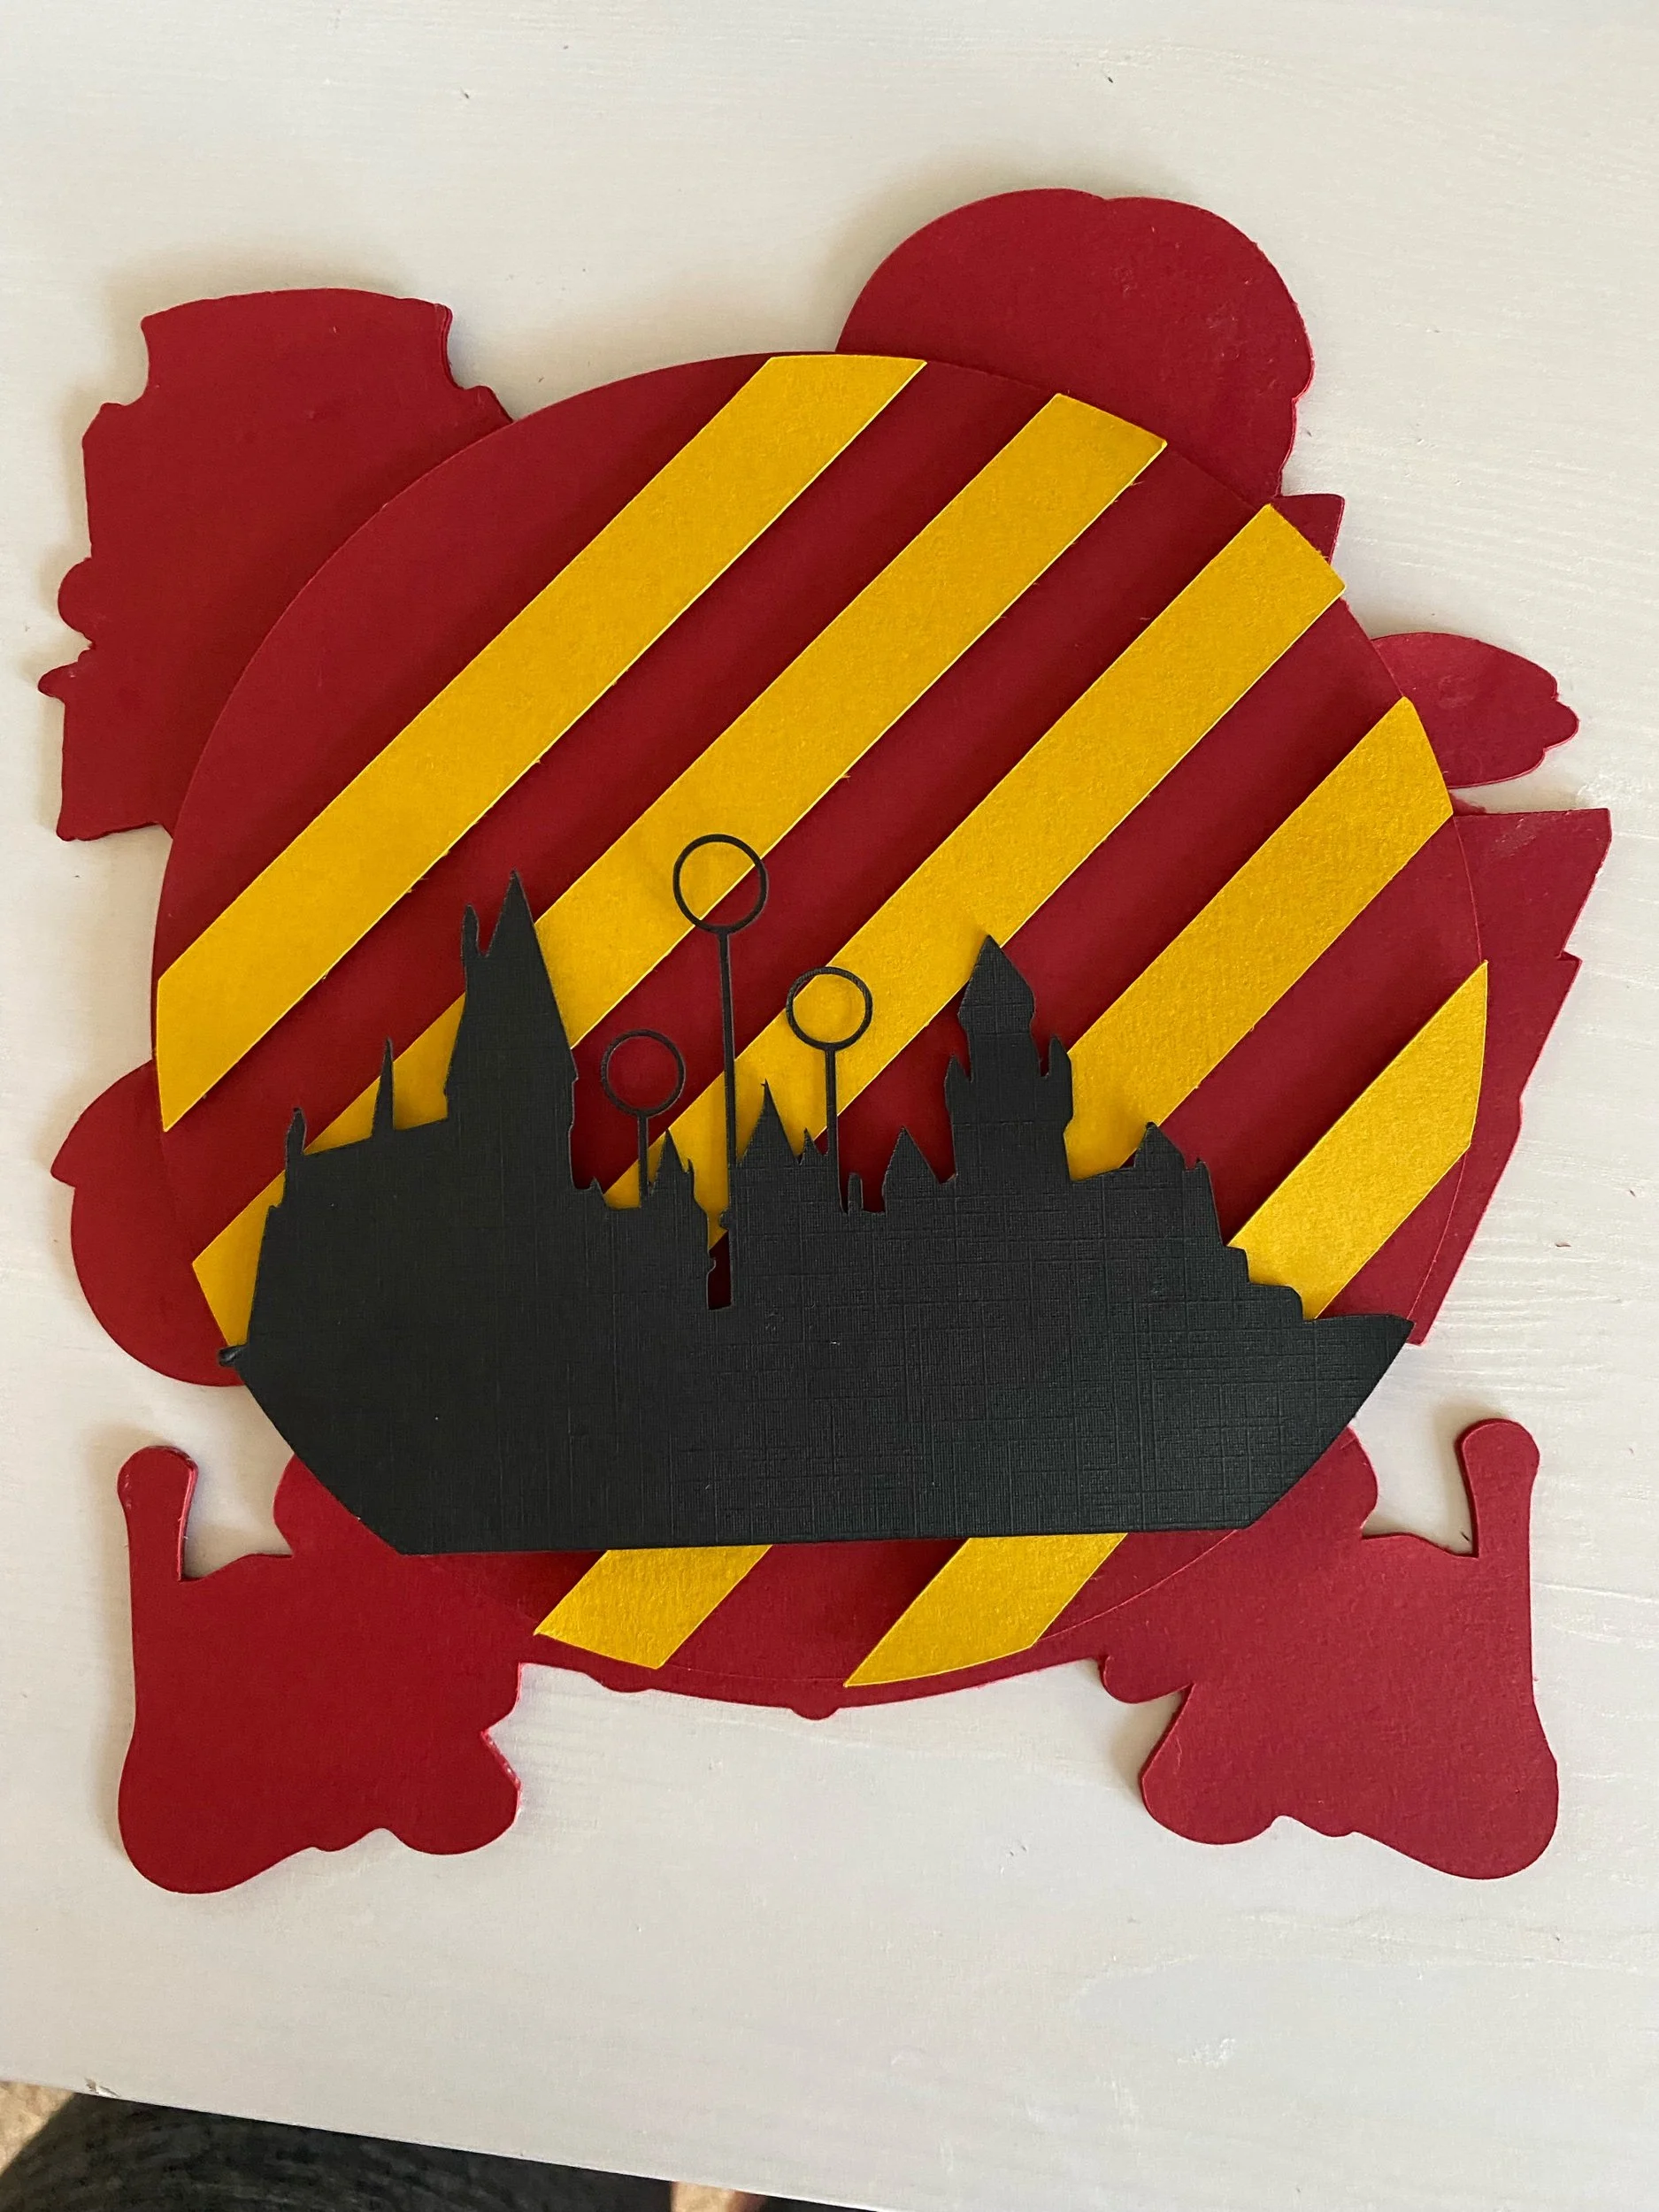
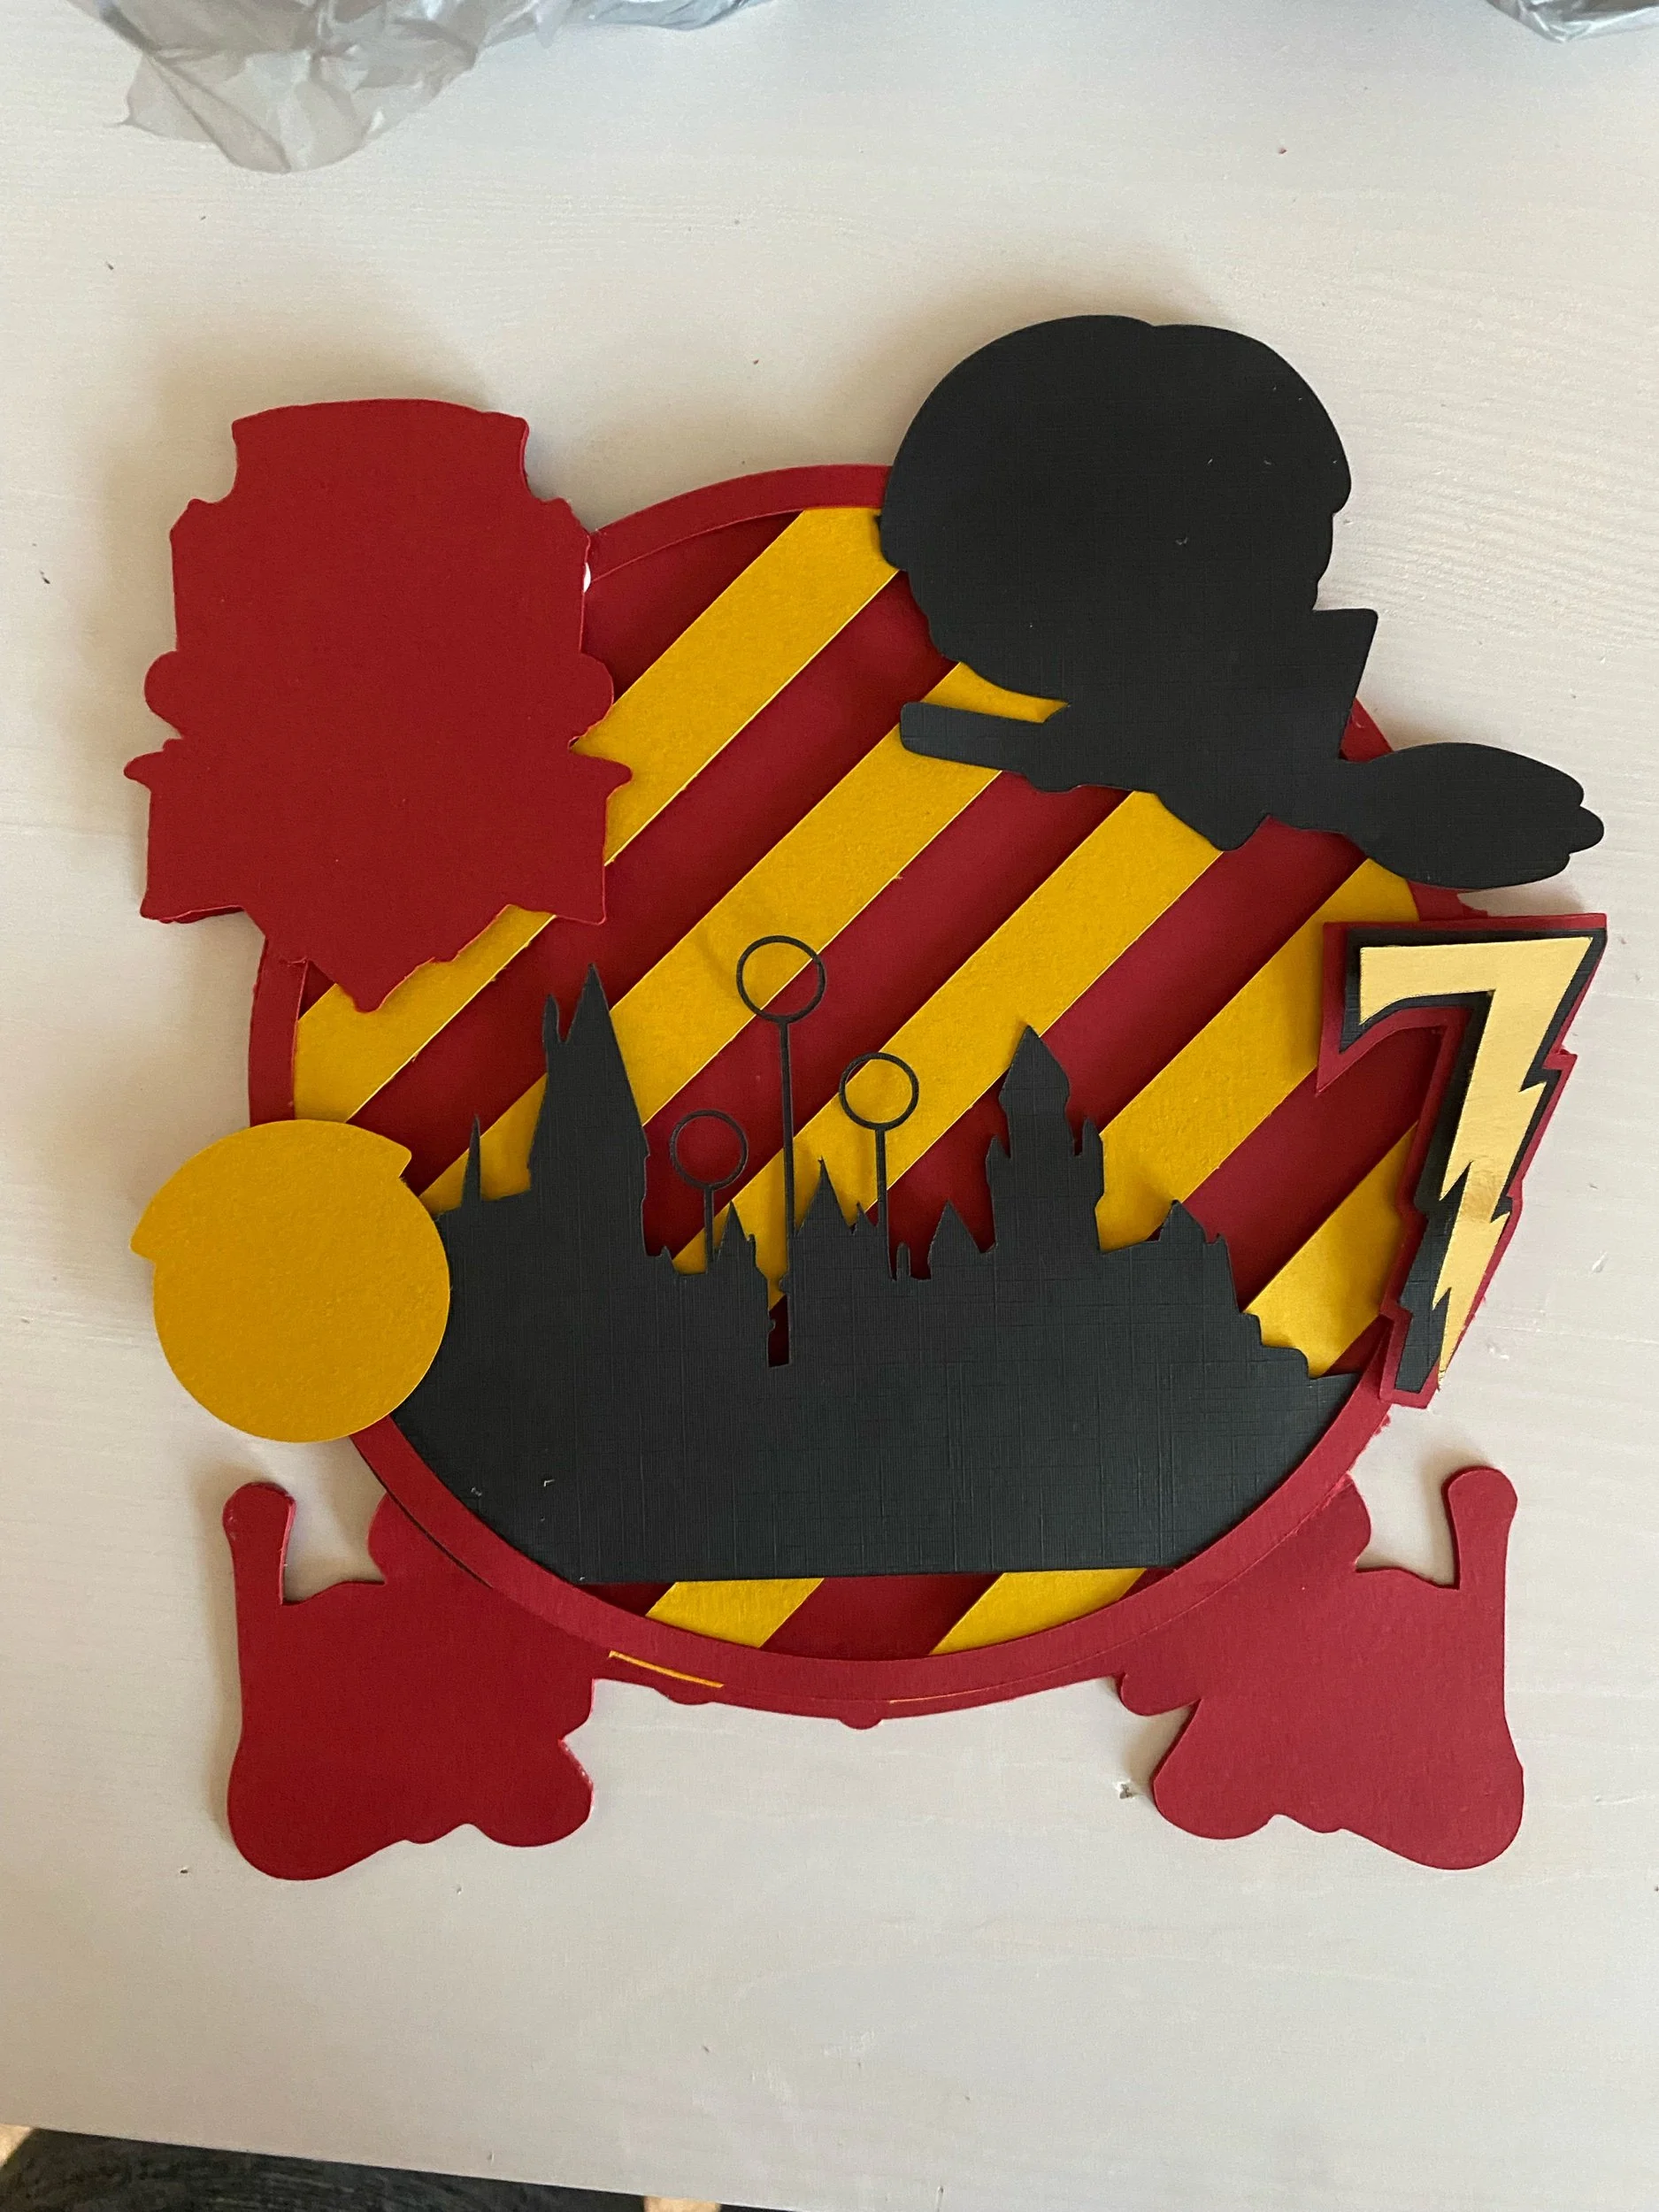
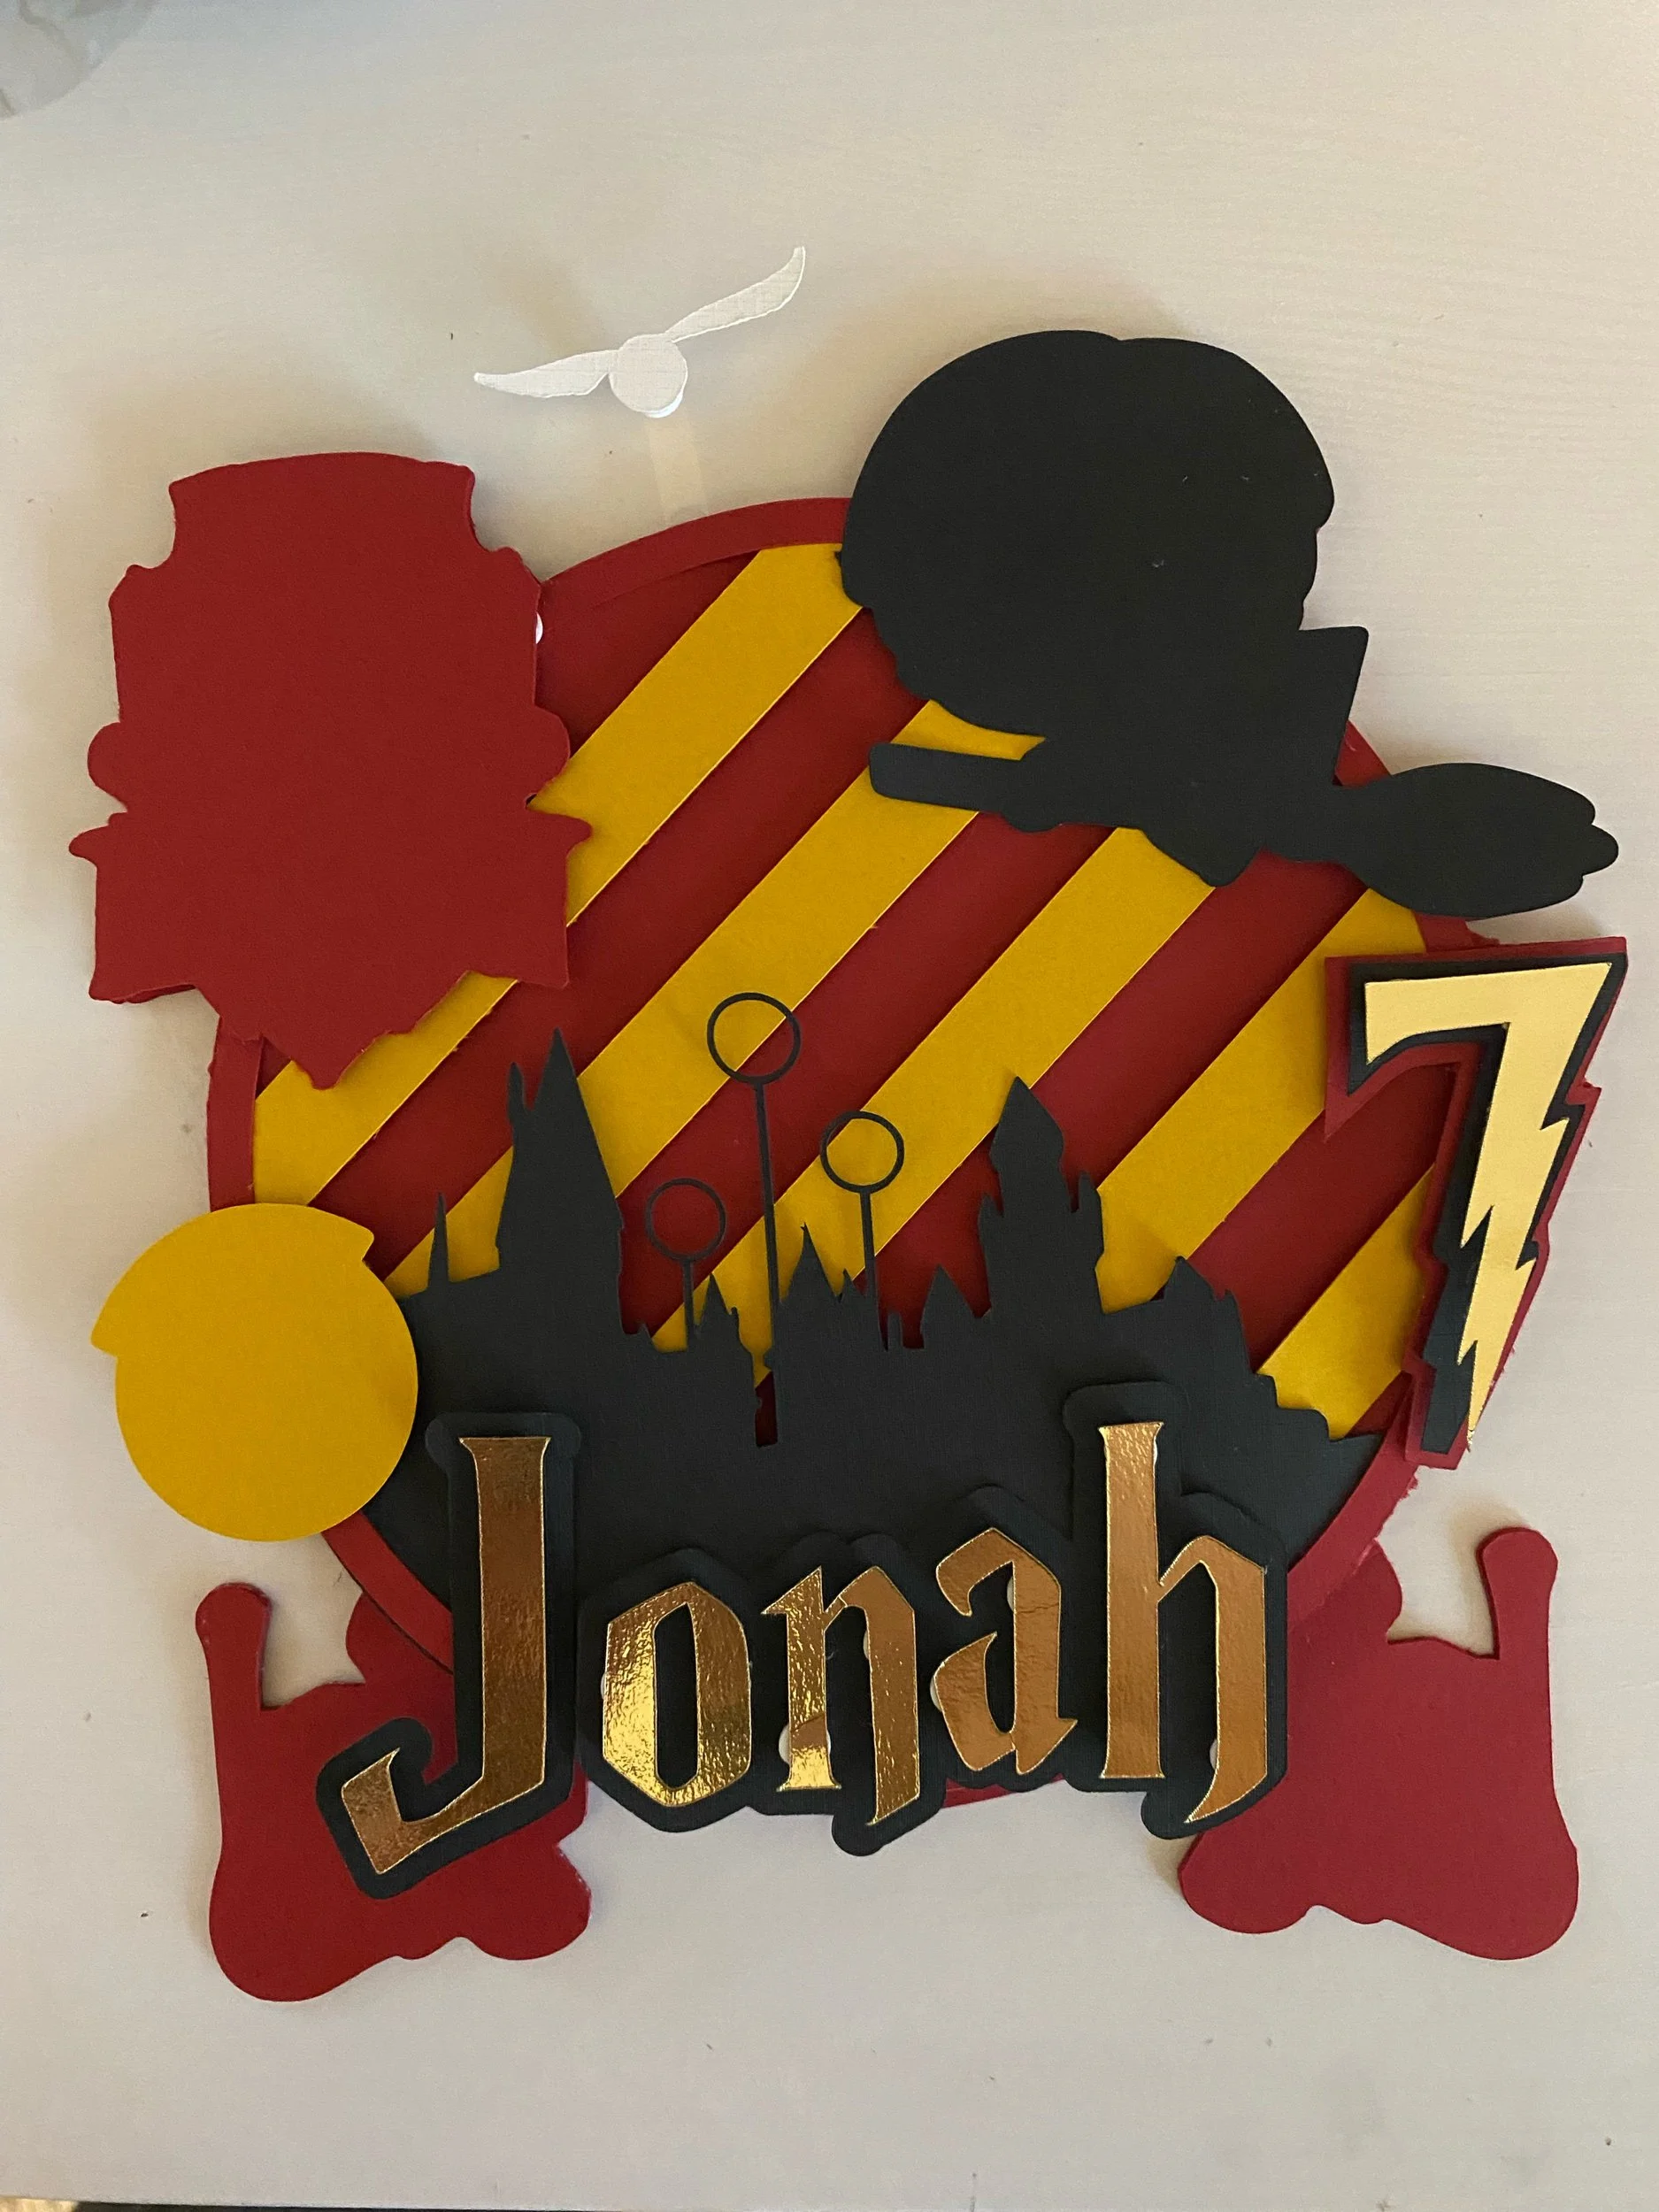

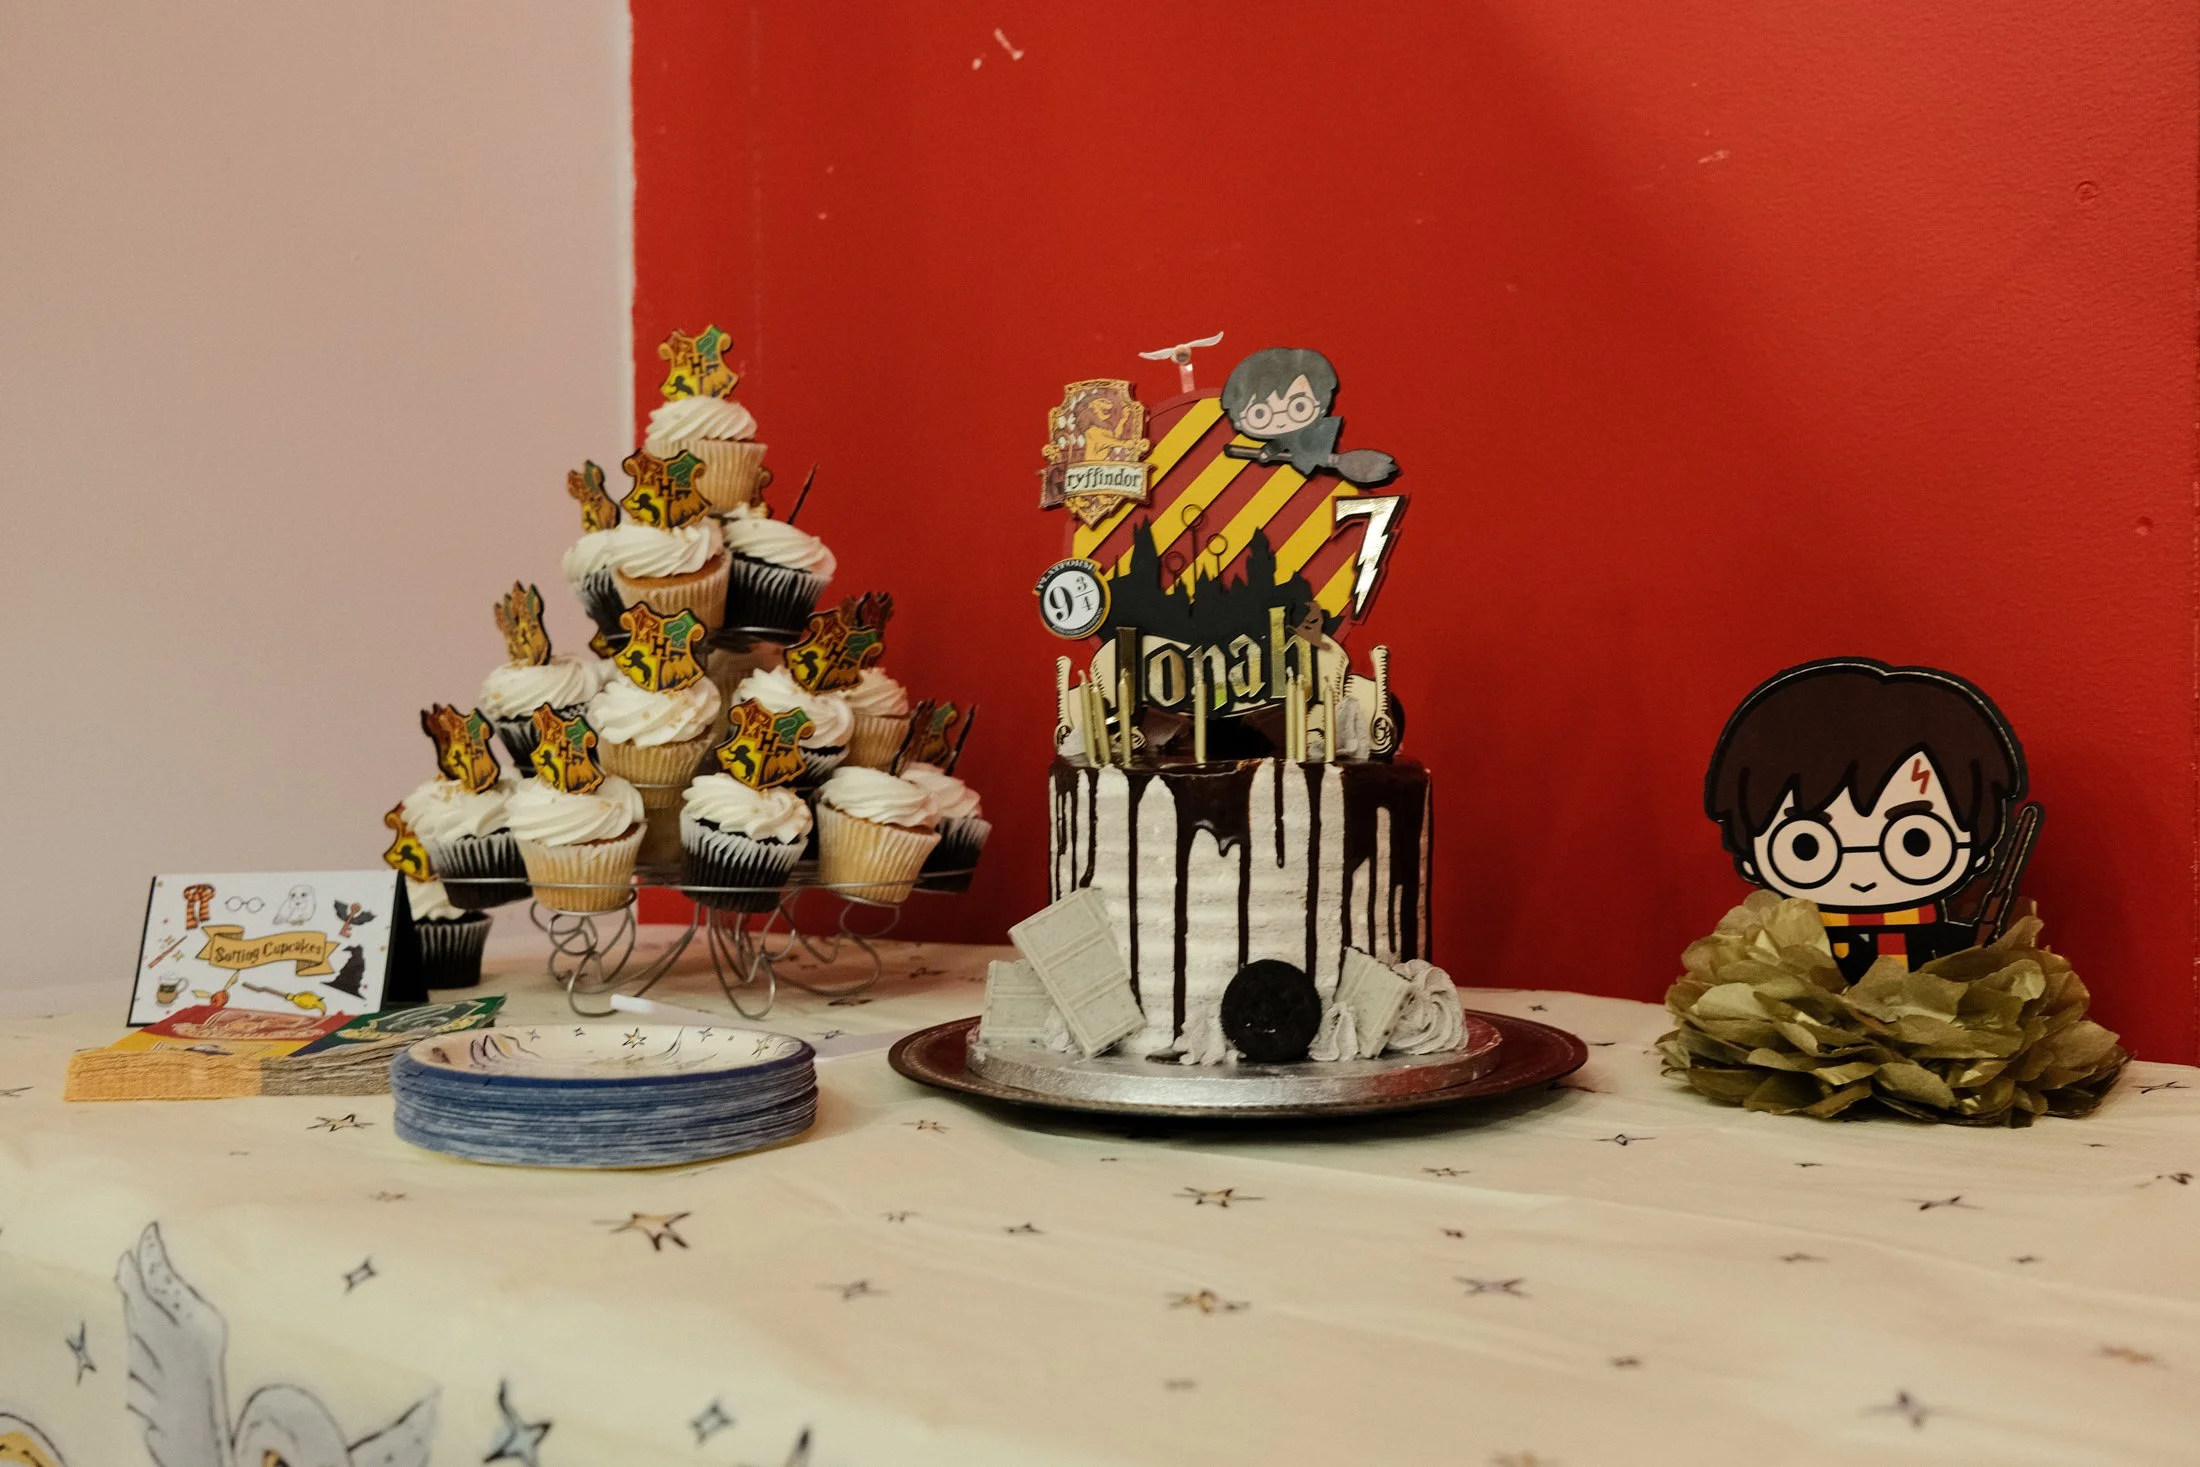
The Cake Topper
The design for the cake topper was the most time consuming of all of the projects for the party. The most tedious part was making sure all of the cut pieces were layered in the correct order. The images above show the progression from the 4-layer cardstock base (created last during the design phase by grouping all of the items as one layer and using the offset feature) to the final Print Then Cut details. I used metallic gold cardstock for the name and numbers, which I added to the design using the same Text Generator I used when designing the invitations.
Here is the Cricut Design Space link for his Cake topper.
The Cookies & Cream Hero cake was ordered from Publix.
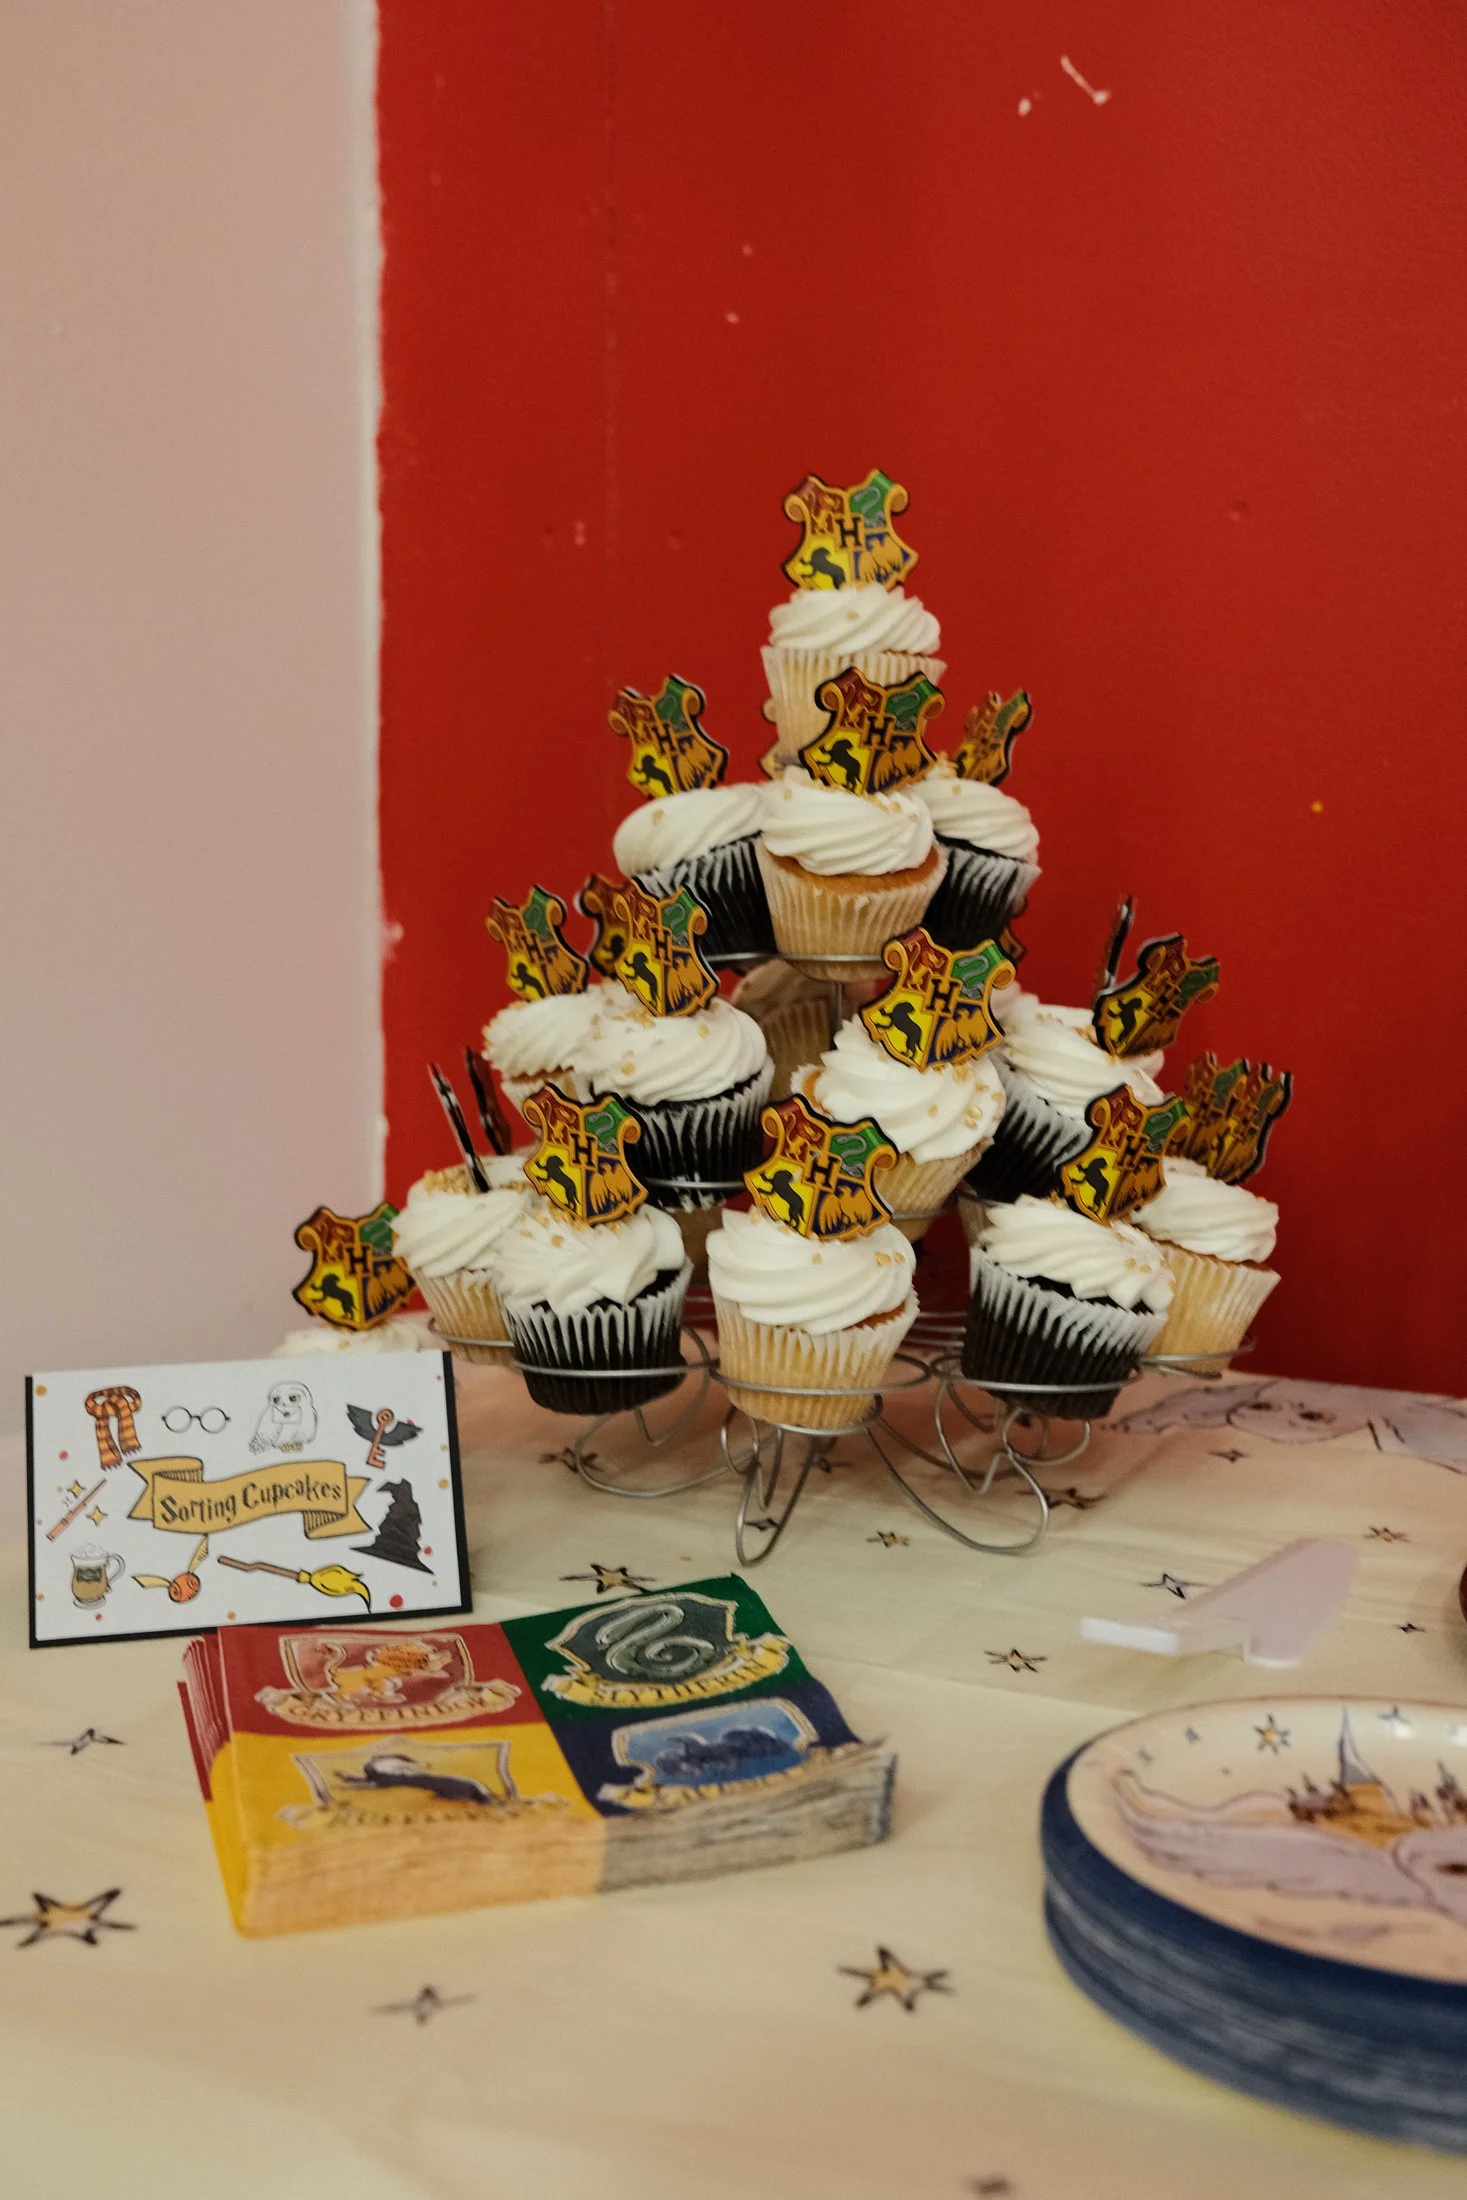
Cupcakes Toppers
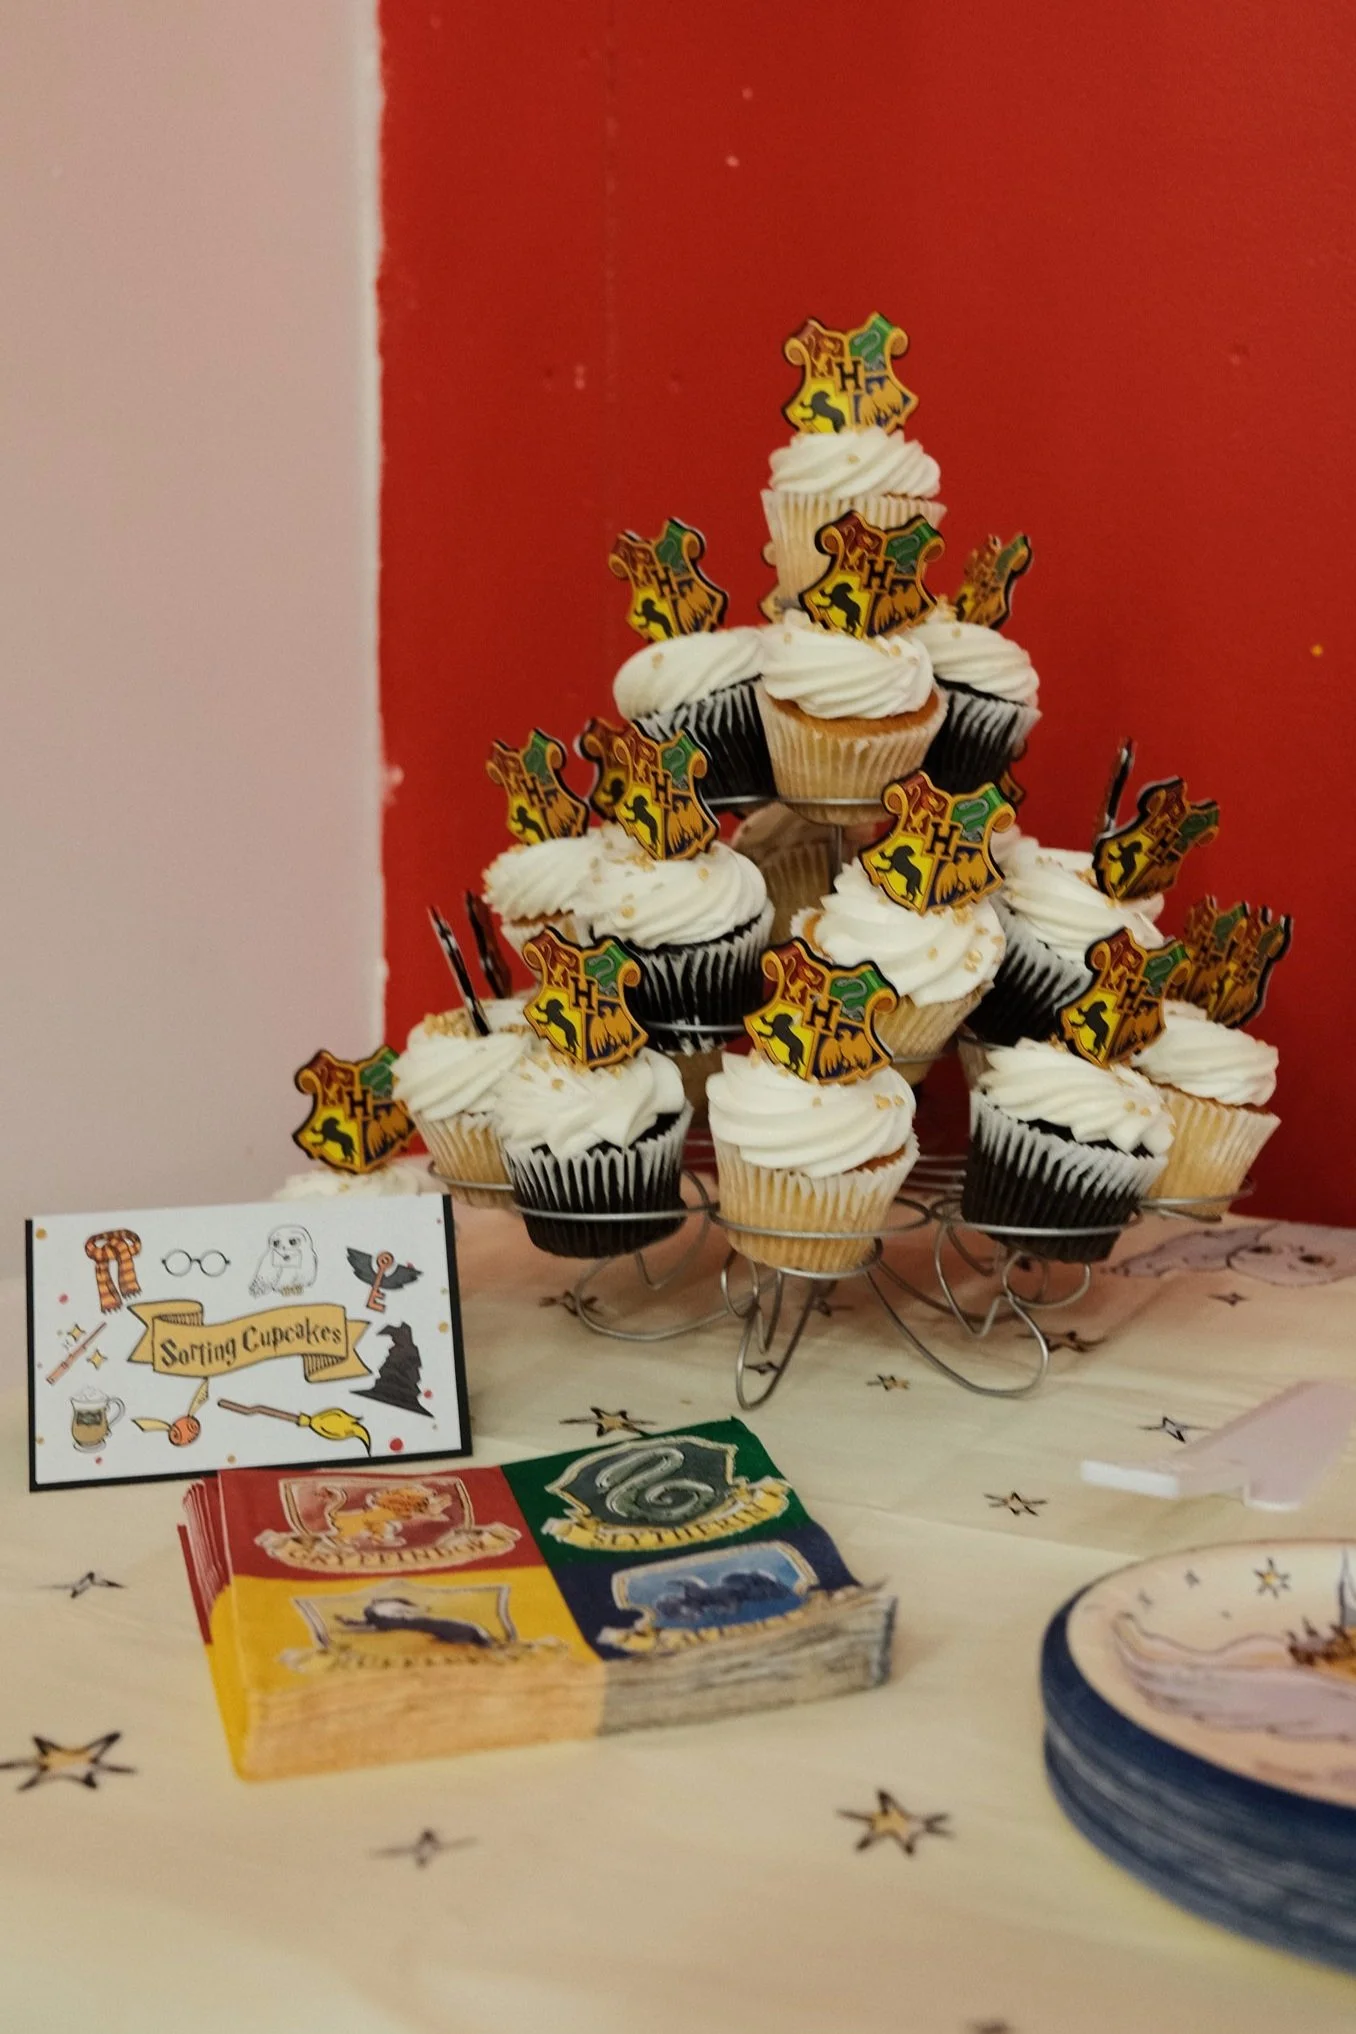
Since most of the guest list were first graders and probably hadn’t already been sorted into a Hogwarts house, we knew we needed a sorting ceremony. We figured cupcakes were the best way to do that. We ordered two dozen cupcakes (half chocolate, half vanilla). Then we asked that they be filled with a spot of buttercream (red, green, blue and yellow, 6 of each - 3 vanilla, 3 chocolate). The woman who took our order wasn’t familliar with Harry Potter, but when I compared what we wanted to a gender reveal (with either pink or blue in the middle but not visible until it was bitten or cut into), she understood what we wanted. We then asked for white buttercream on top of the cupcakes and gold sprinkles if they had them.
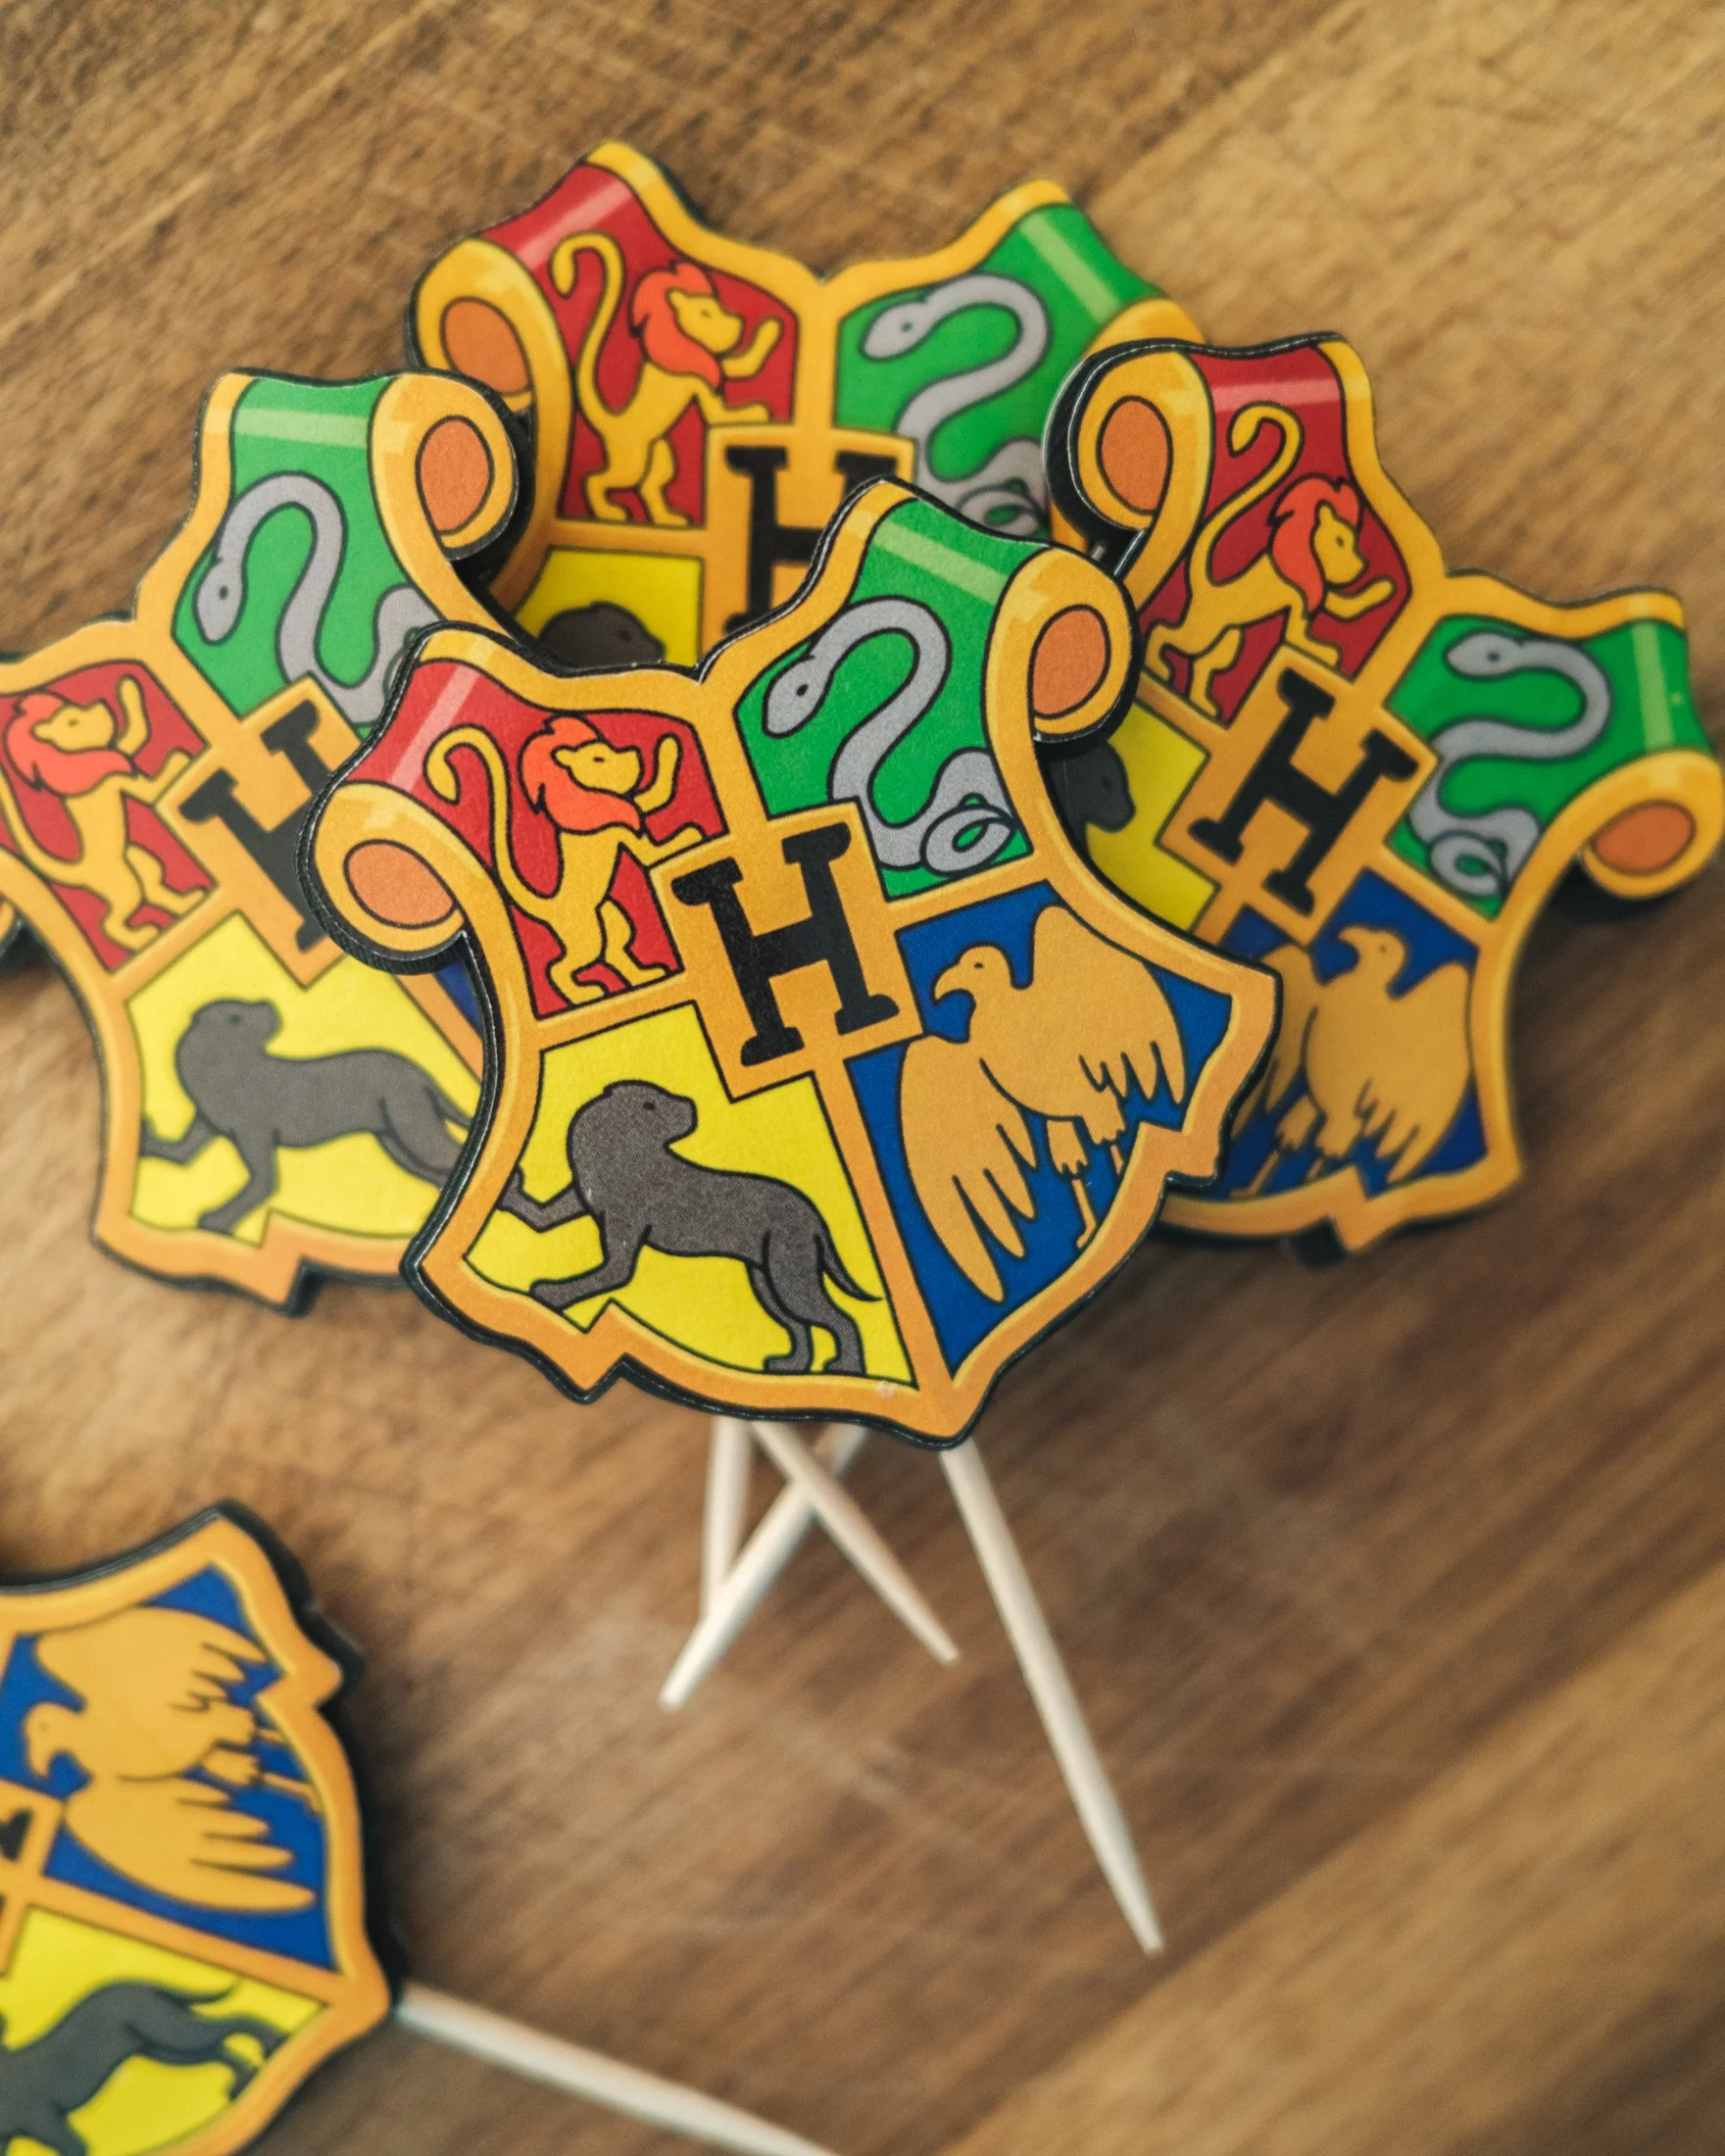
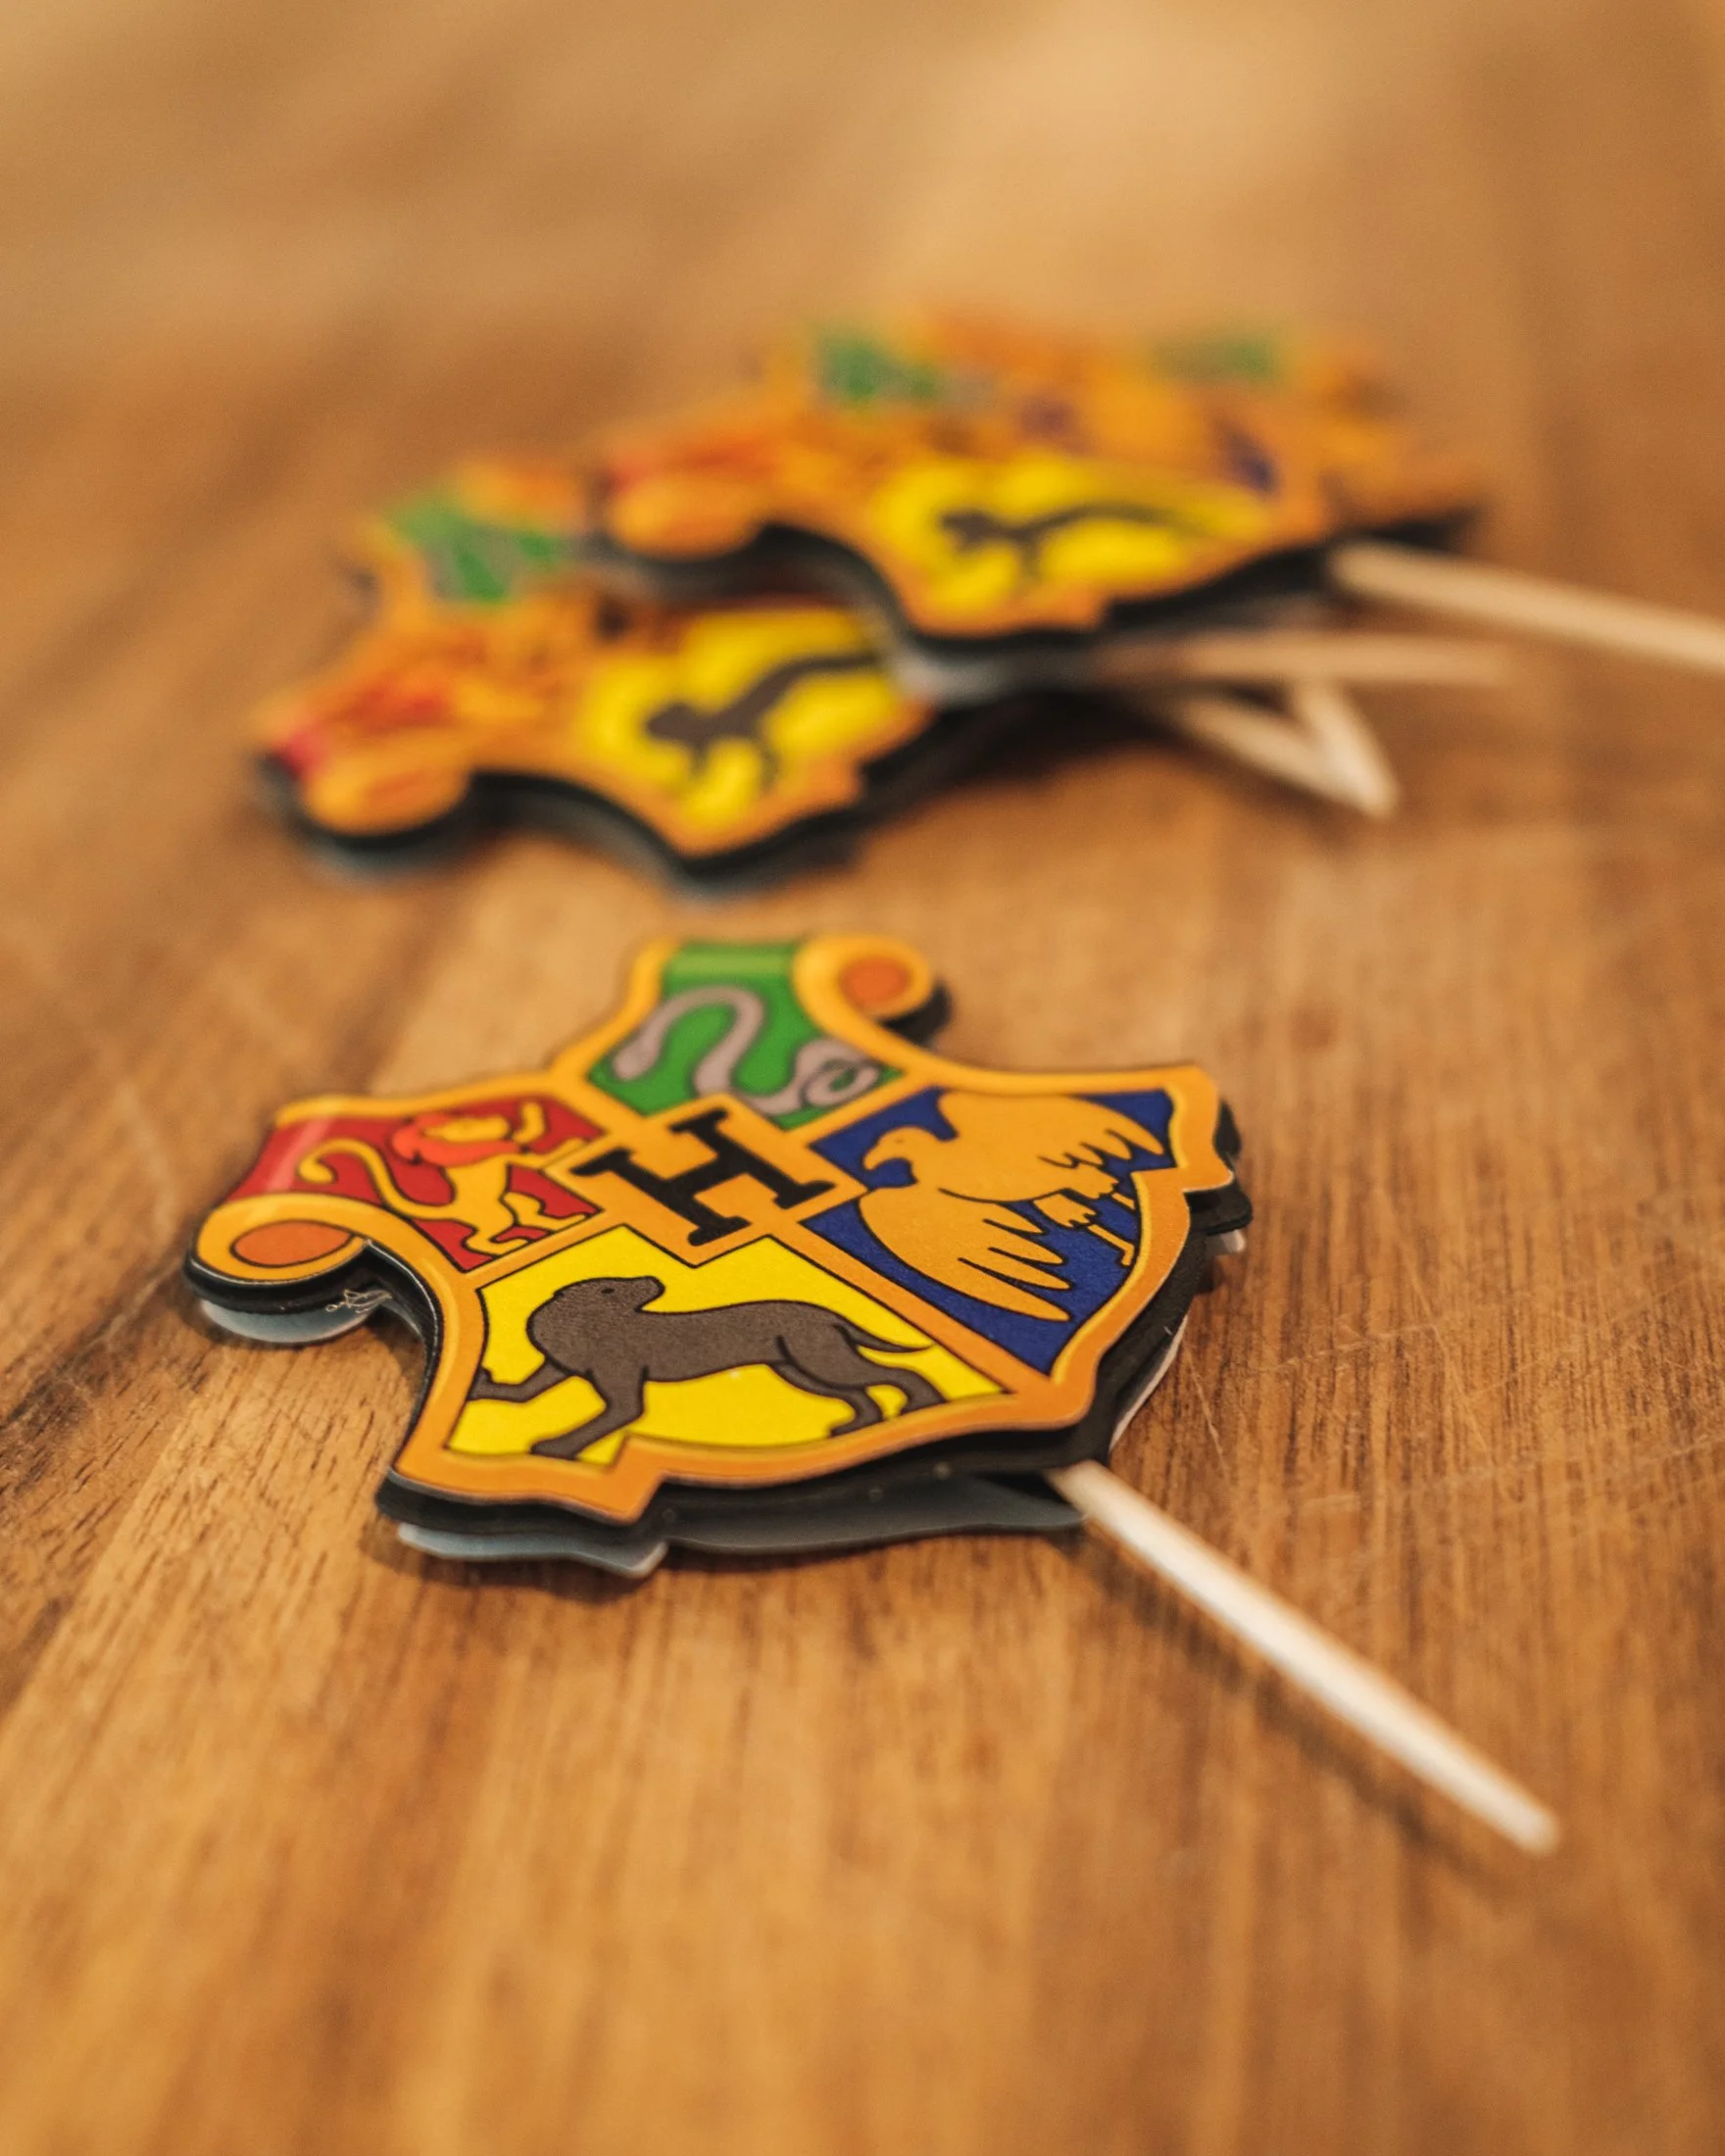
Here is the Cricut Design Space link for the Hogwarts toppers.
Class Cupcakes Donuts
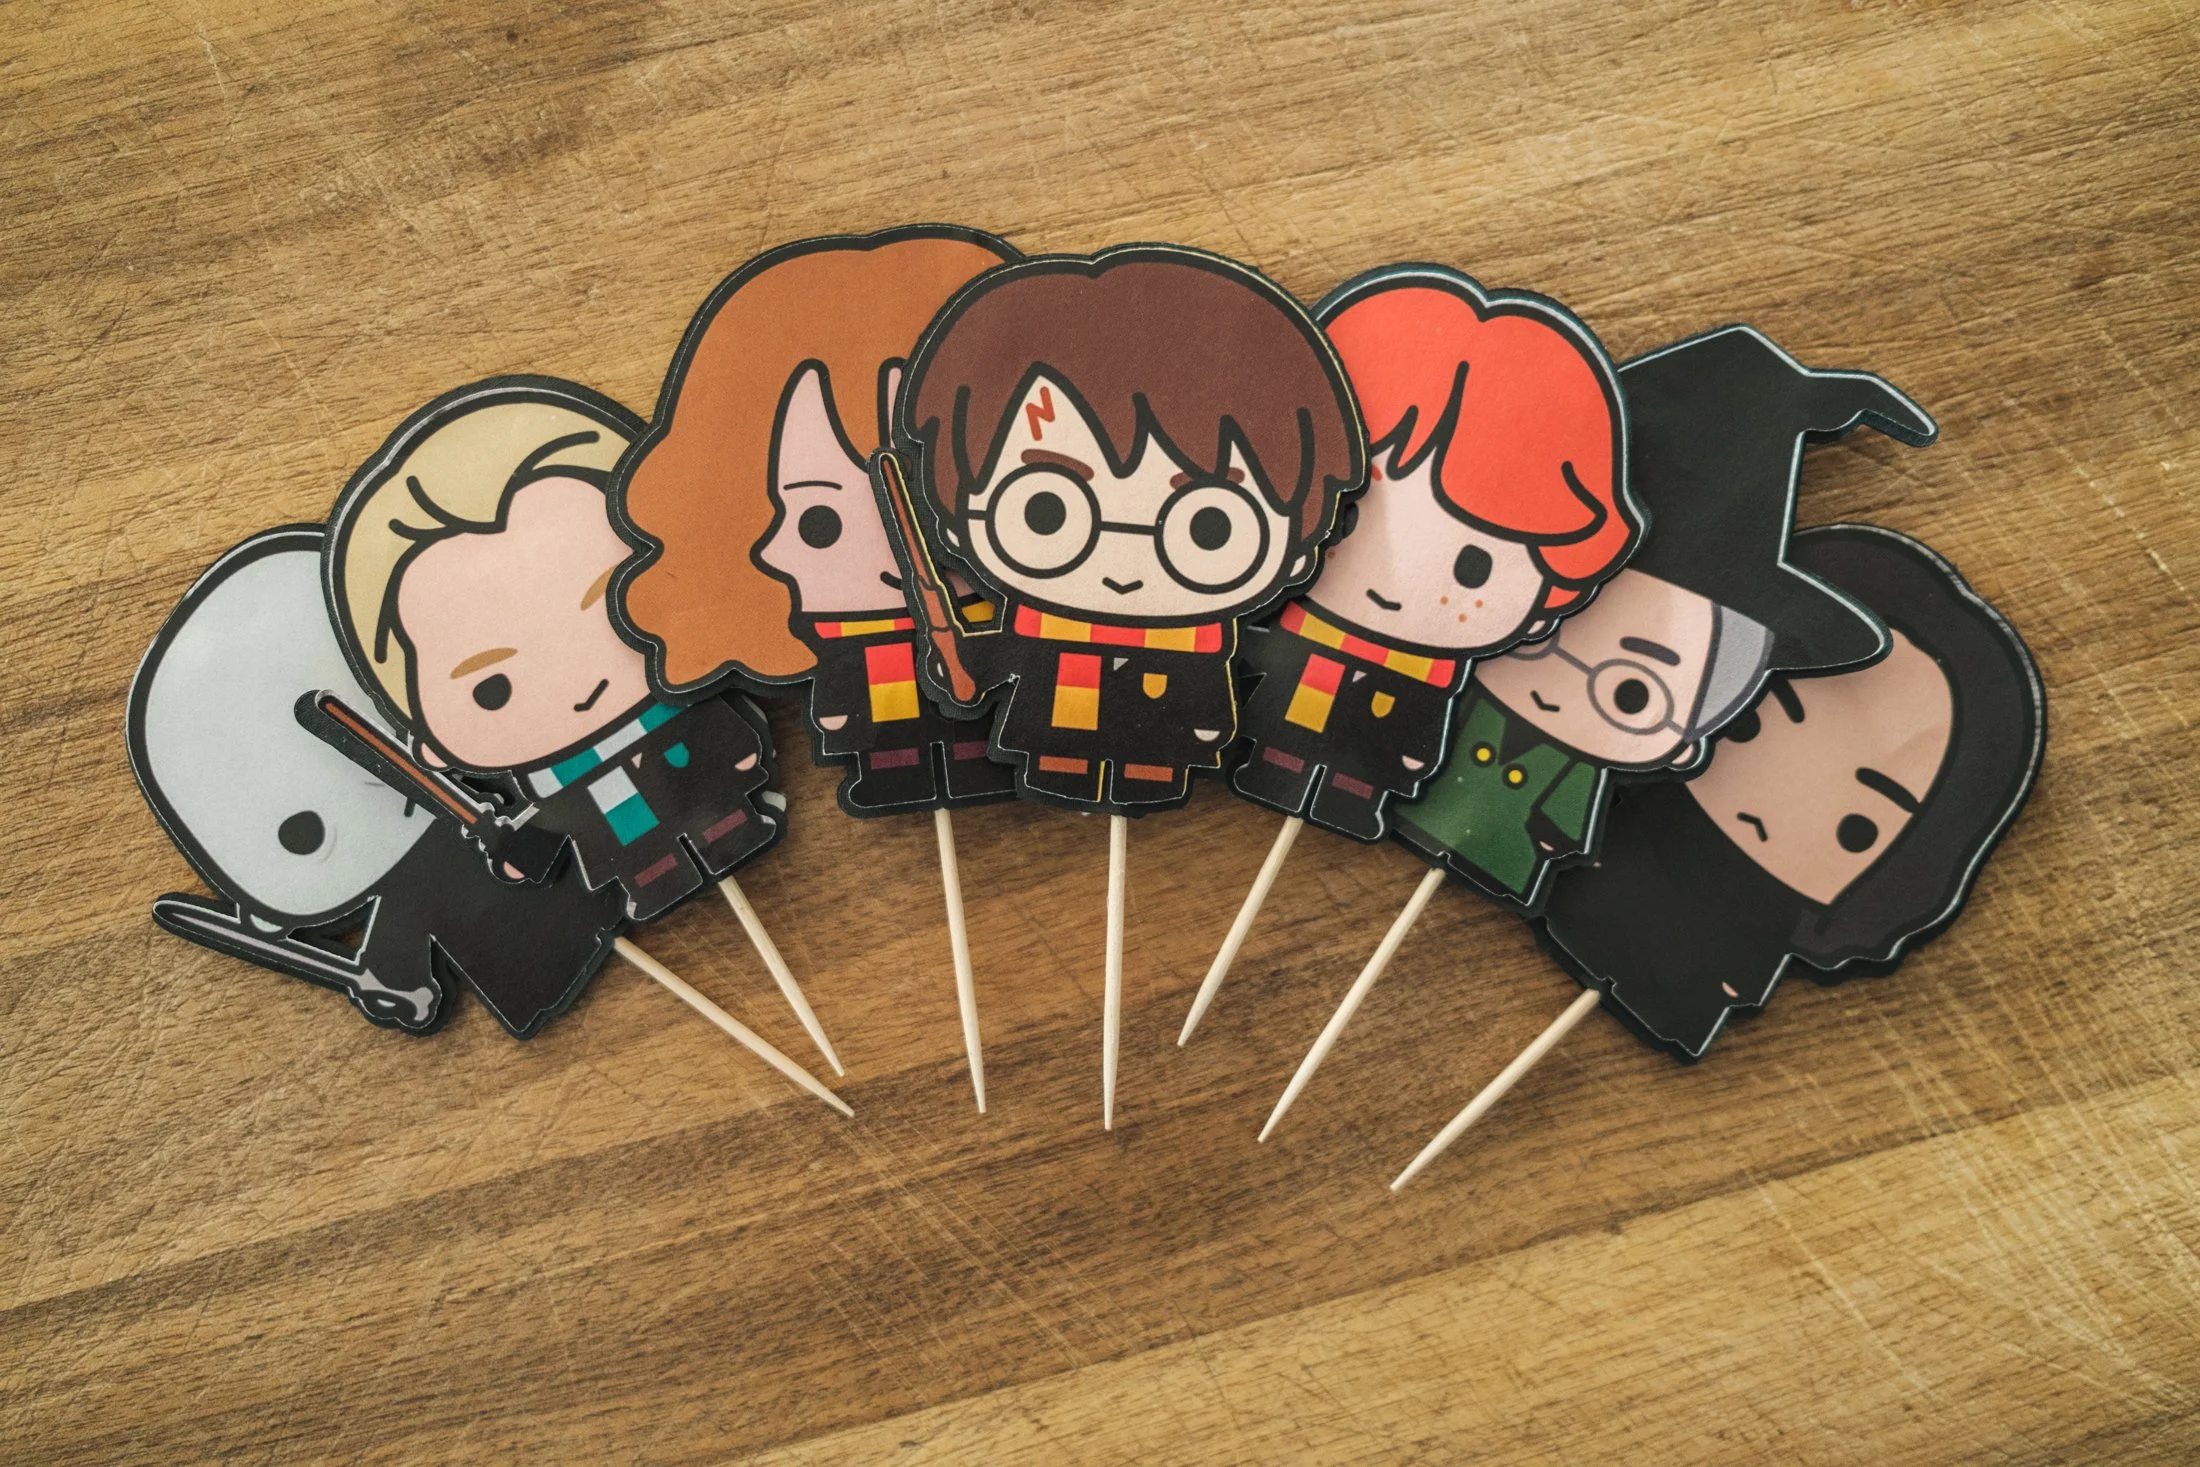
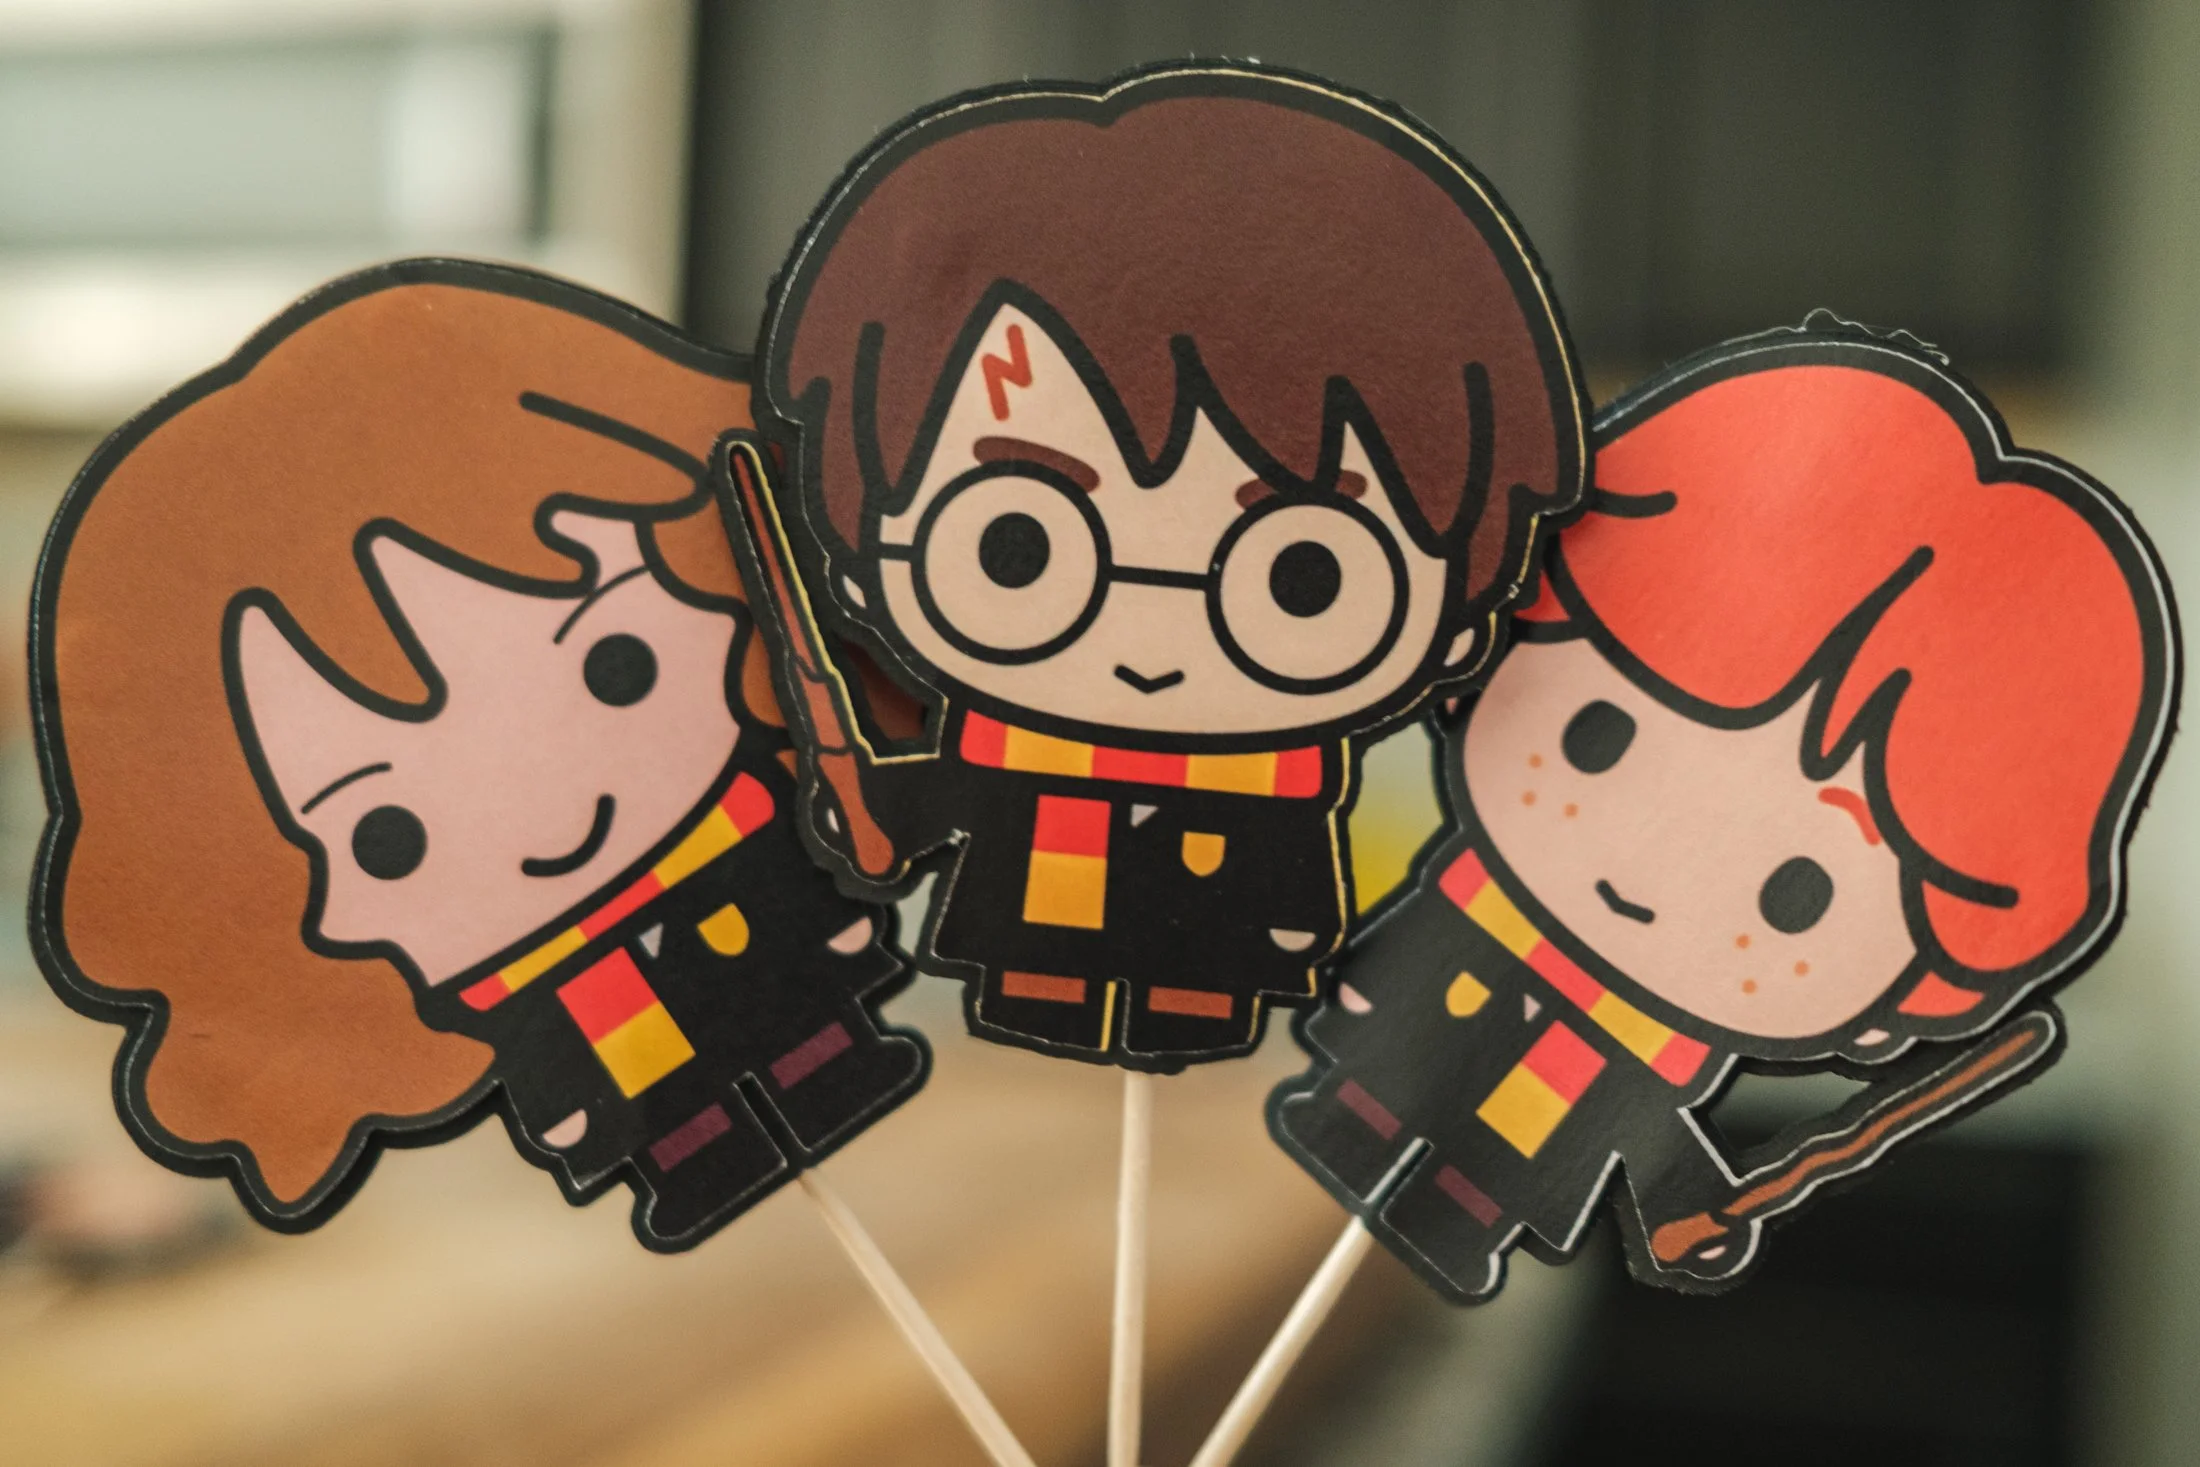
Since Jonah had invited his classmates and he was bringing in treats to school the day before, he decided he wanted to save the sorting ceremony for his birthday party and go with characters for the class cupcake toppers. The toppers were made using almost the same process as the banner: two layers of cardstock made using the offset feature for each uploaded character. Then a second image of each character flipped horizontally.
A toothpick was secured to the first layer of cardstock using hot glue. School glue was drawn around the edges of the character and a line of hot glue squeezed on top of the toothpick before placing the second cardstock layer on top and the edges pinched together tightly. After the glue dried, the character pieces were added to each side of the toppers using the same foam sticker dots for the 3D effect.
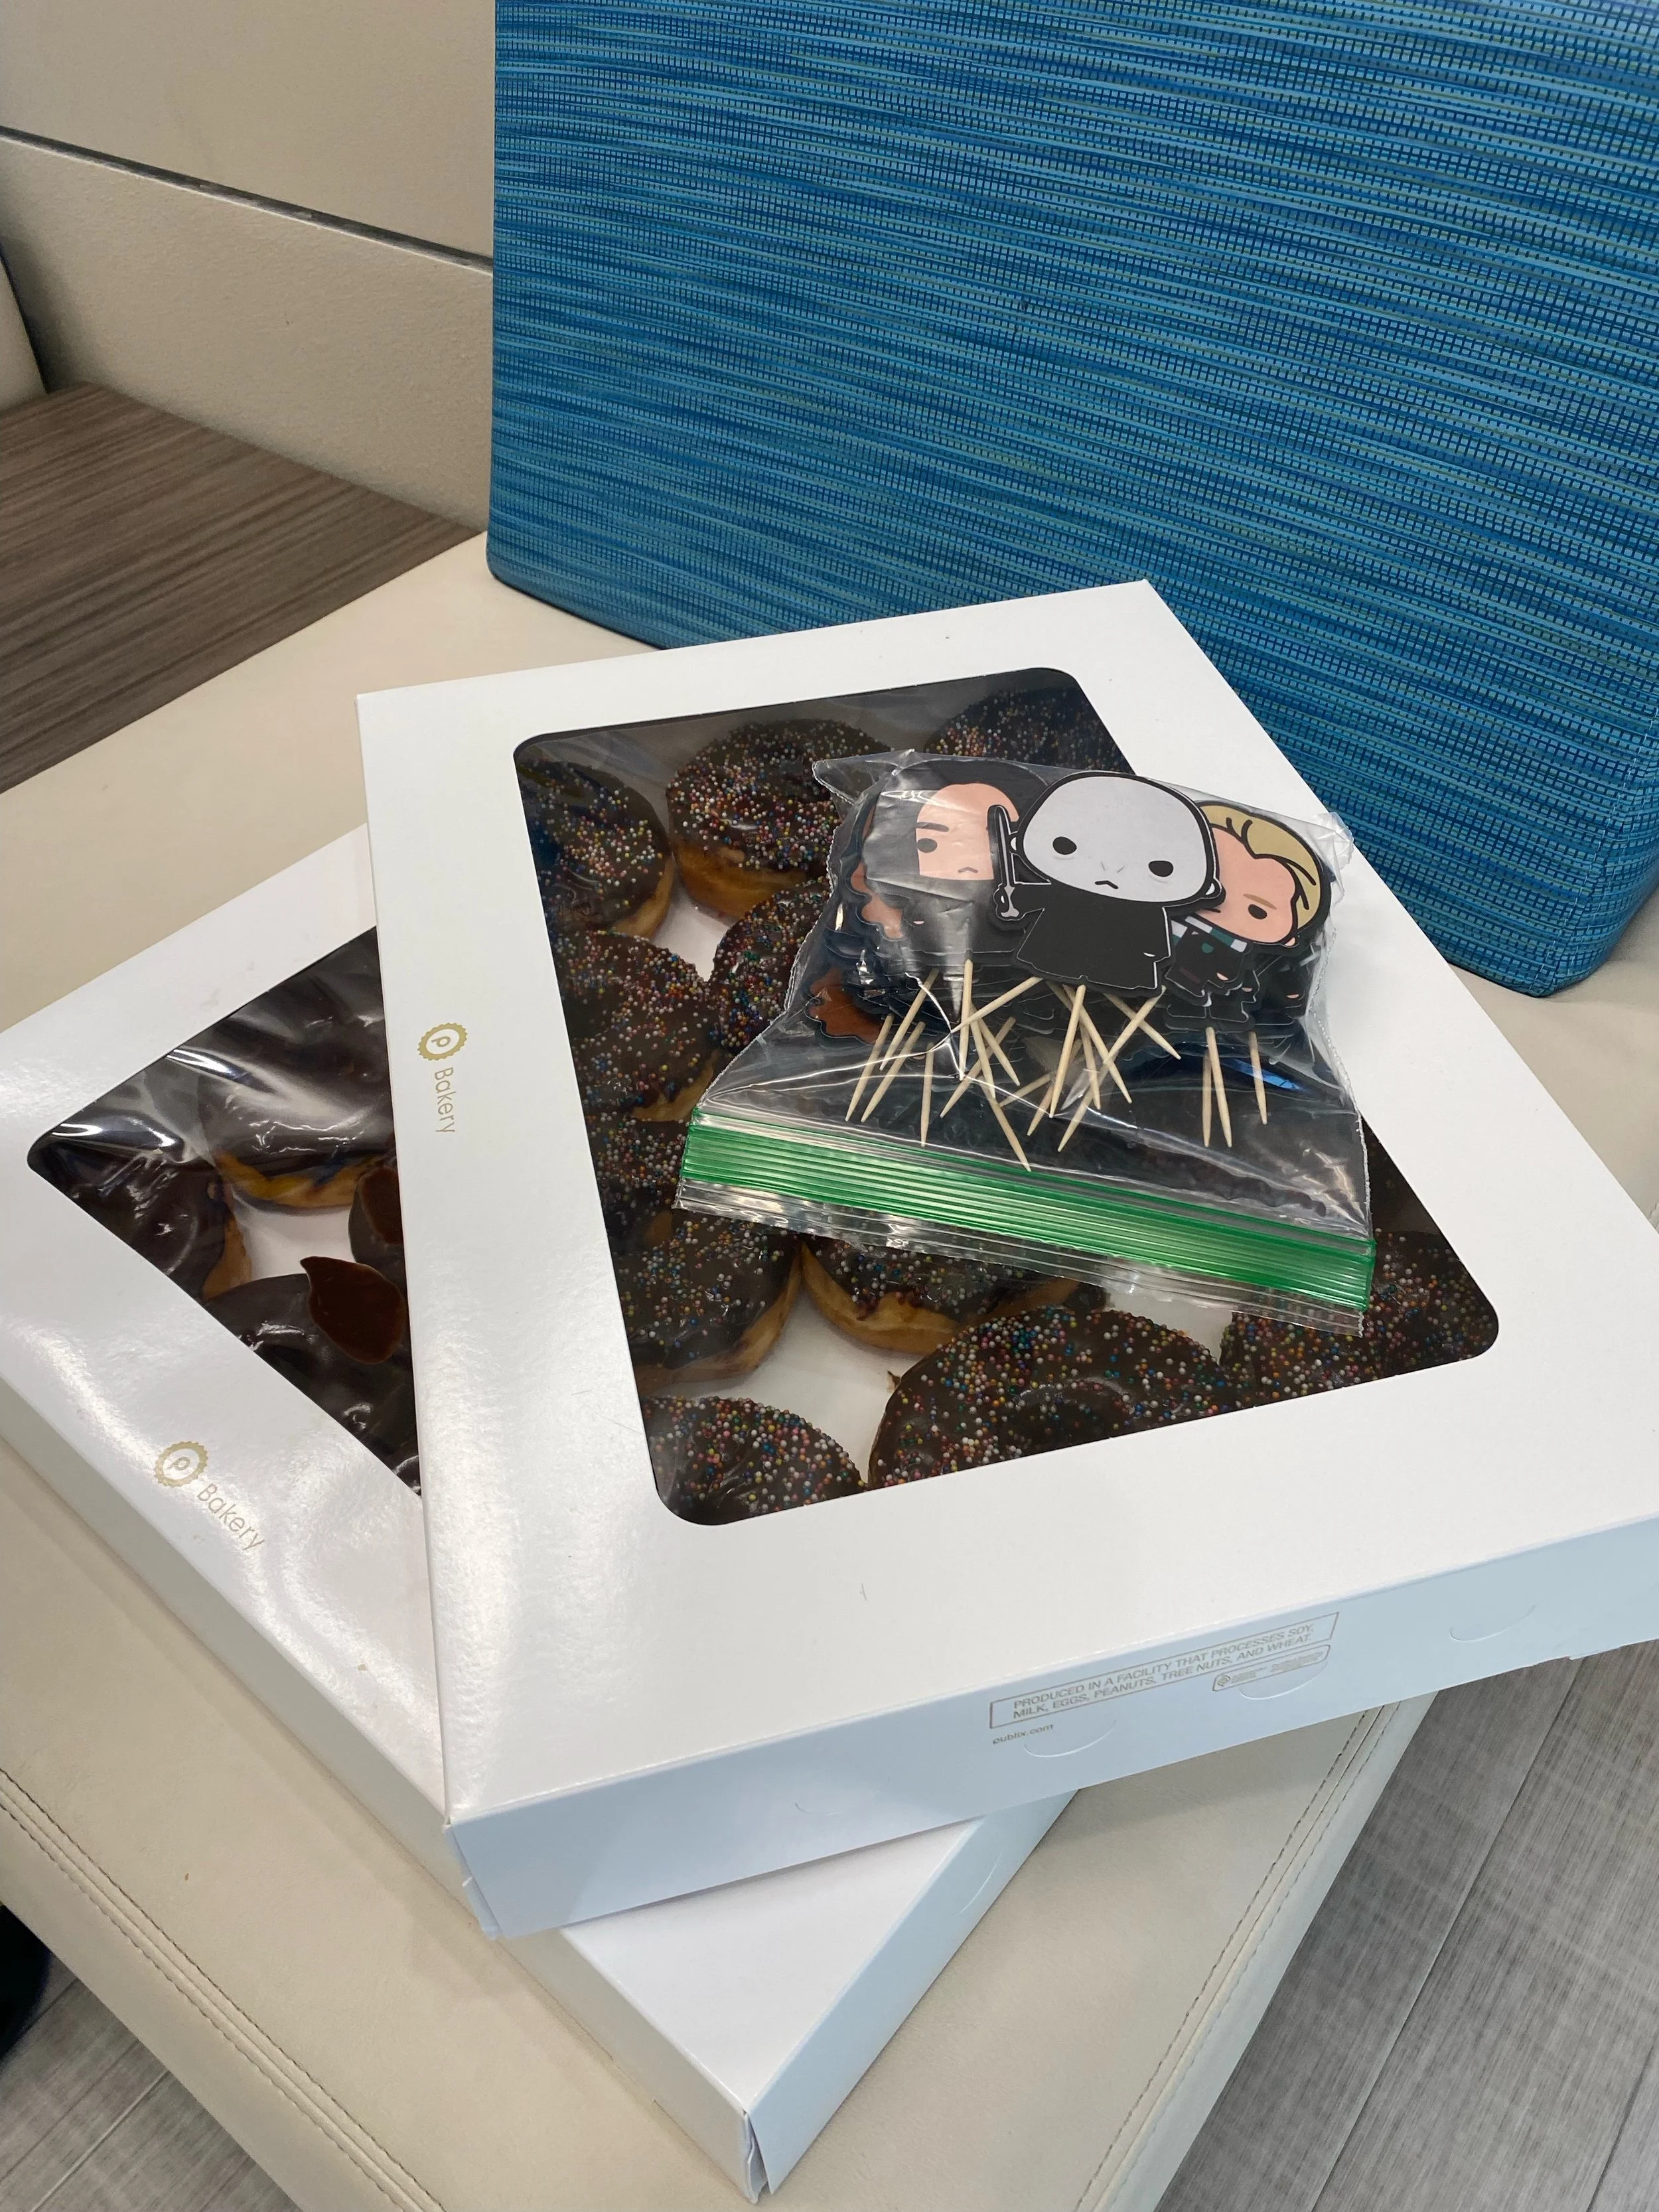
After we designed the cupcake toppers, Jonah also decided he wanted to bring in frosted donuts instead. While the toothpicks are a little tall for the donuts, it made him happy and that was my only goal. We ordered those at the same time as the cake and cupcakes, also from Publix.
Here is the Cricut Design Space link for the HP Friends toppers.
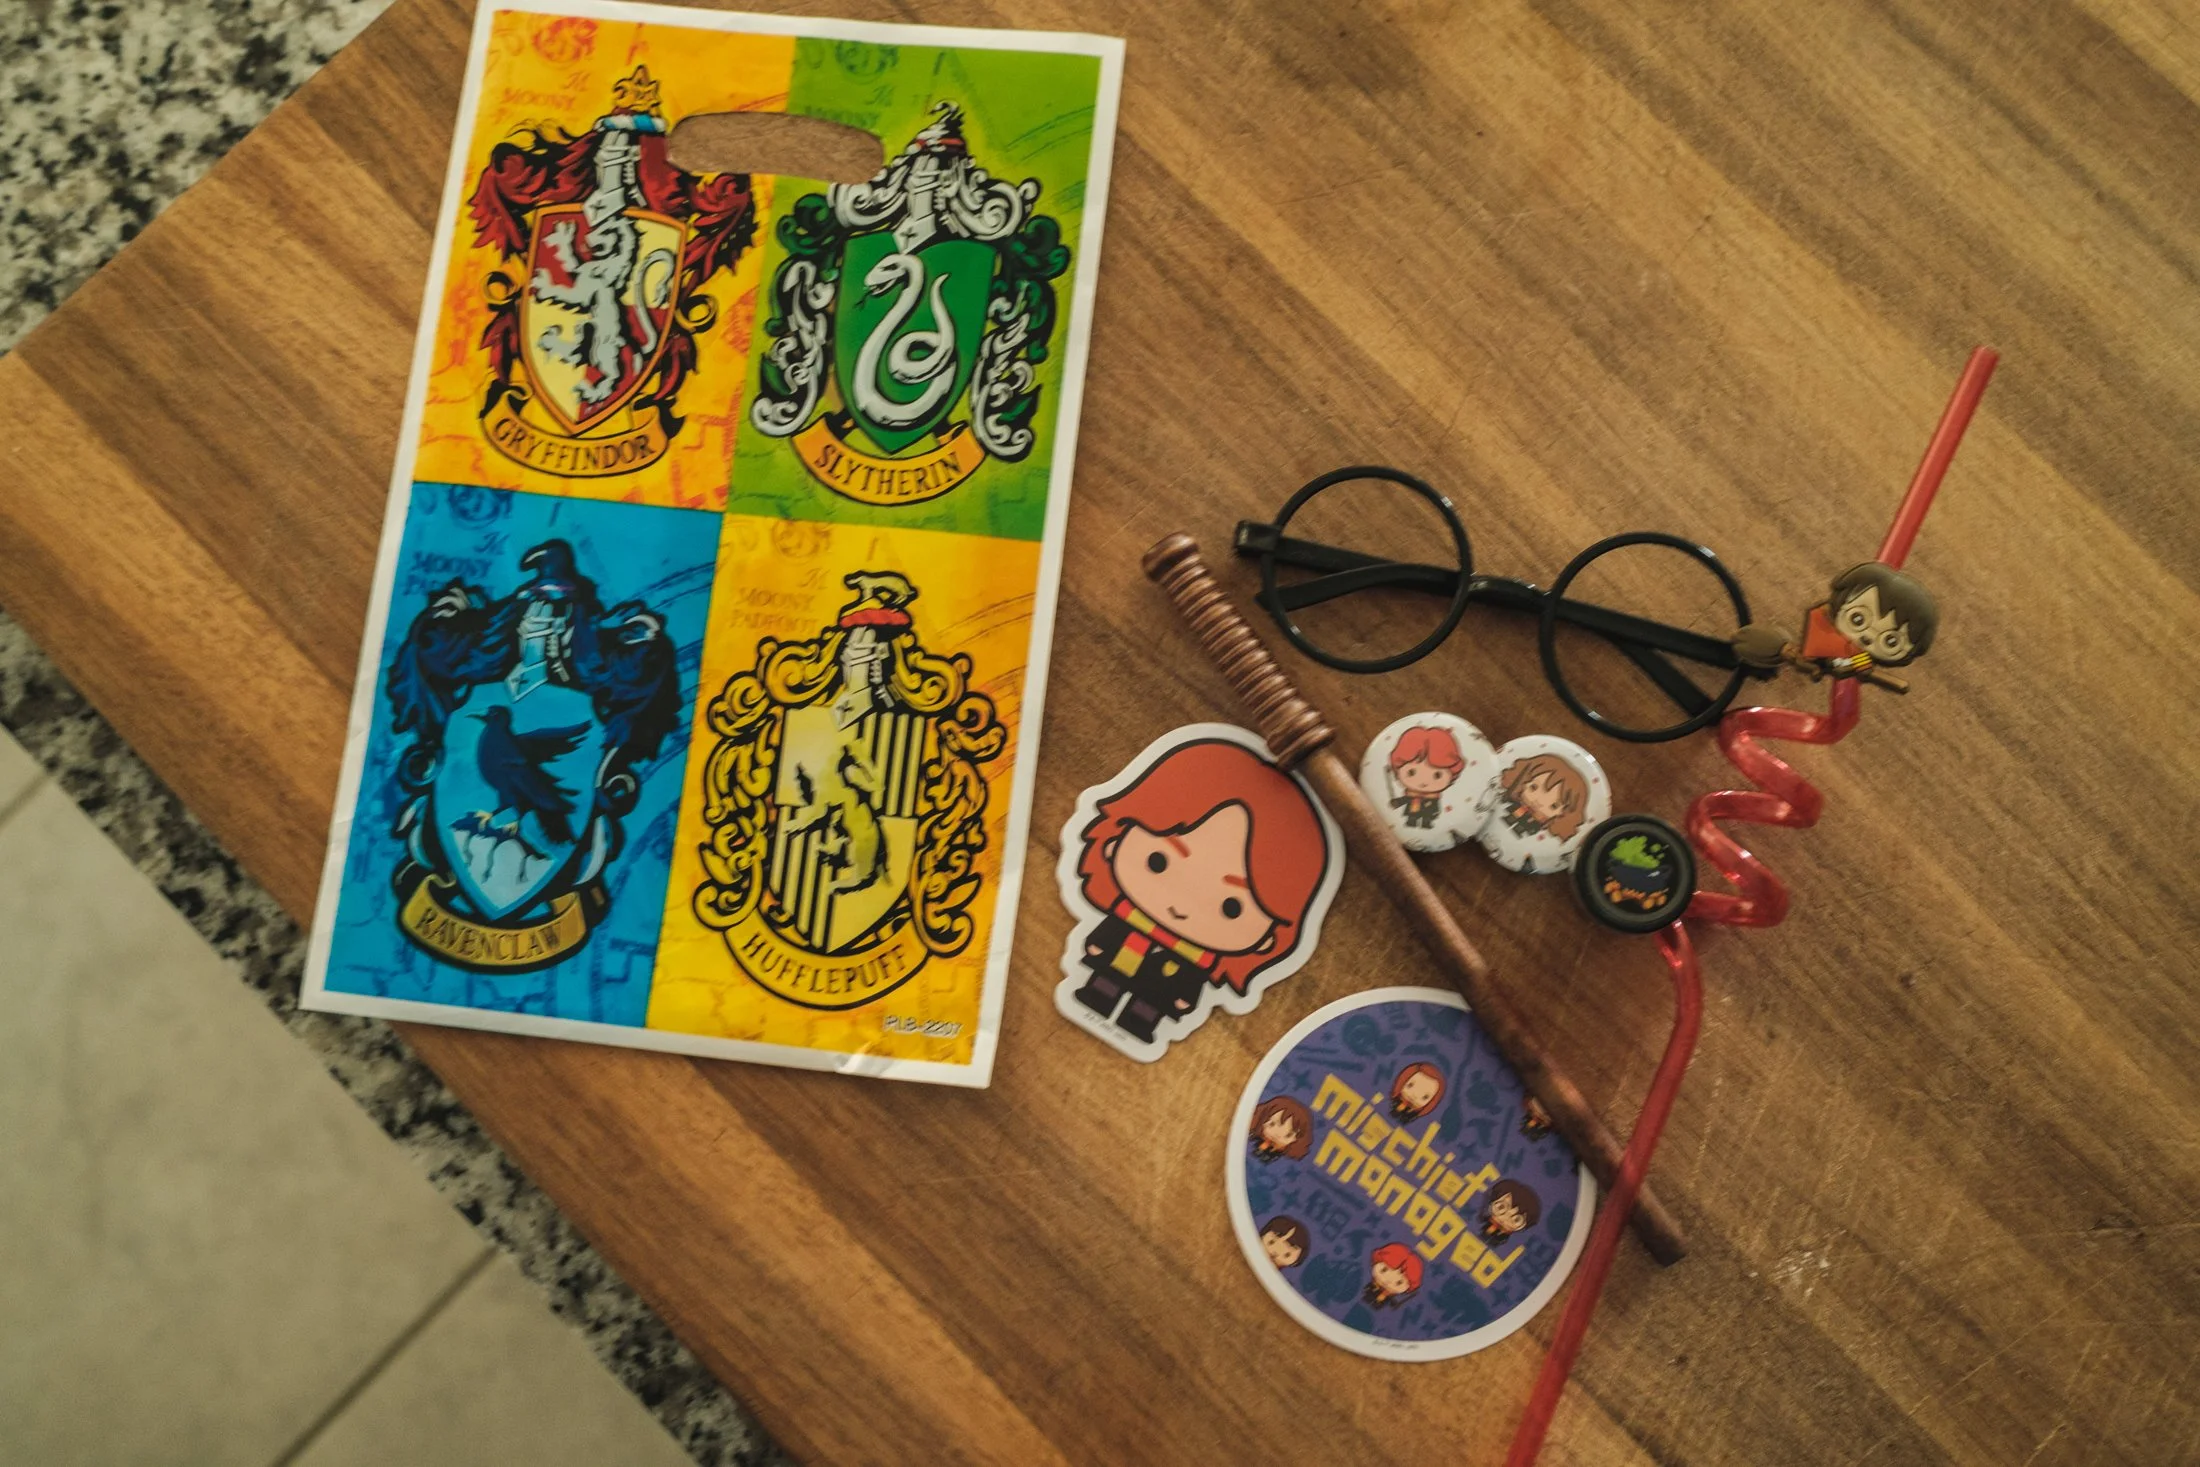
Party Favors
Buttons (below)
Buttons
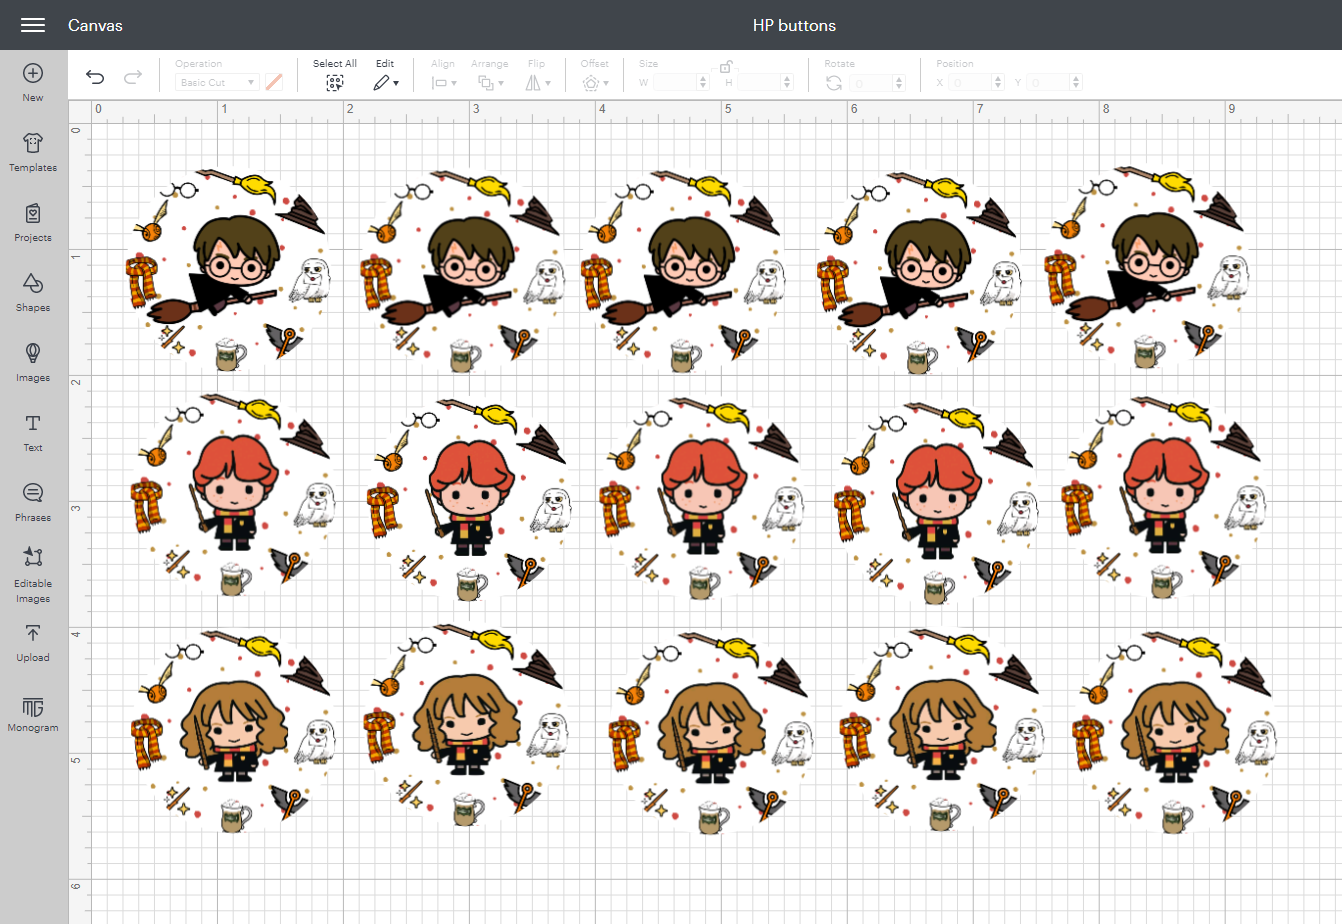
Using the same Canva graphics, I created a 3” x 3” square design and then imported them as a Print then Cut image in Cricut Design Space. Then, I used the splice feature to cut out 1.63” circles and printed the mat design using a colored printer.
After the Cricut cut out my 1.63” circles, I used the 1.25” button maker to seal the designs between the plastic and metal pieces.

Overall, everything looked great and everyone had an amazing time. We’re proud of our little wizard and can’t believe he’s already 7.


Check out our Wizarding World of Harry Potter button challenge for visiting Universal Orlando and Islands of Adventure. Don’t forget the matching sleeve for your refillable Freestyle cup! The adjustable strap is the perfect place for your buttons.
