Super Mario Birthday Party
This year, Jacob decided he wanted to go all out for his birthday and we certainly did. He invited his entire class and the whole soccer team. We thought maybe half would RSVP yes, but he ended up with about 30 kids at our house and in a bouncehouse. It was absolute bananas and they all had a blast. Here’s what we did to plan his Super Mario birthday party…
The Invitations
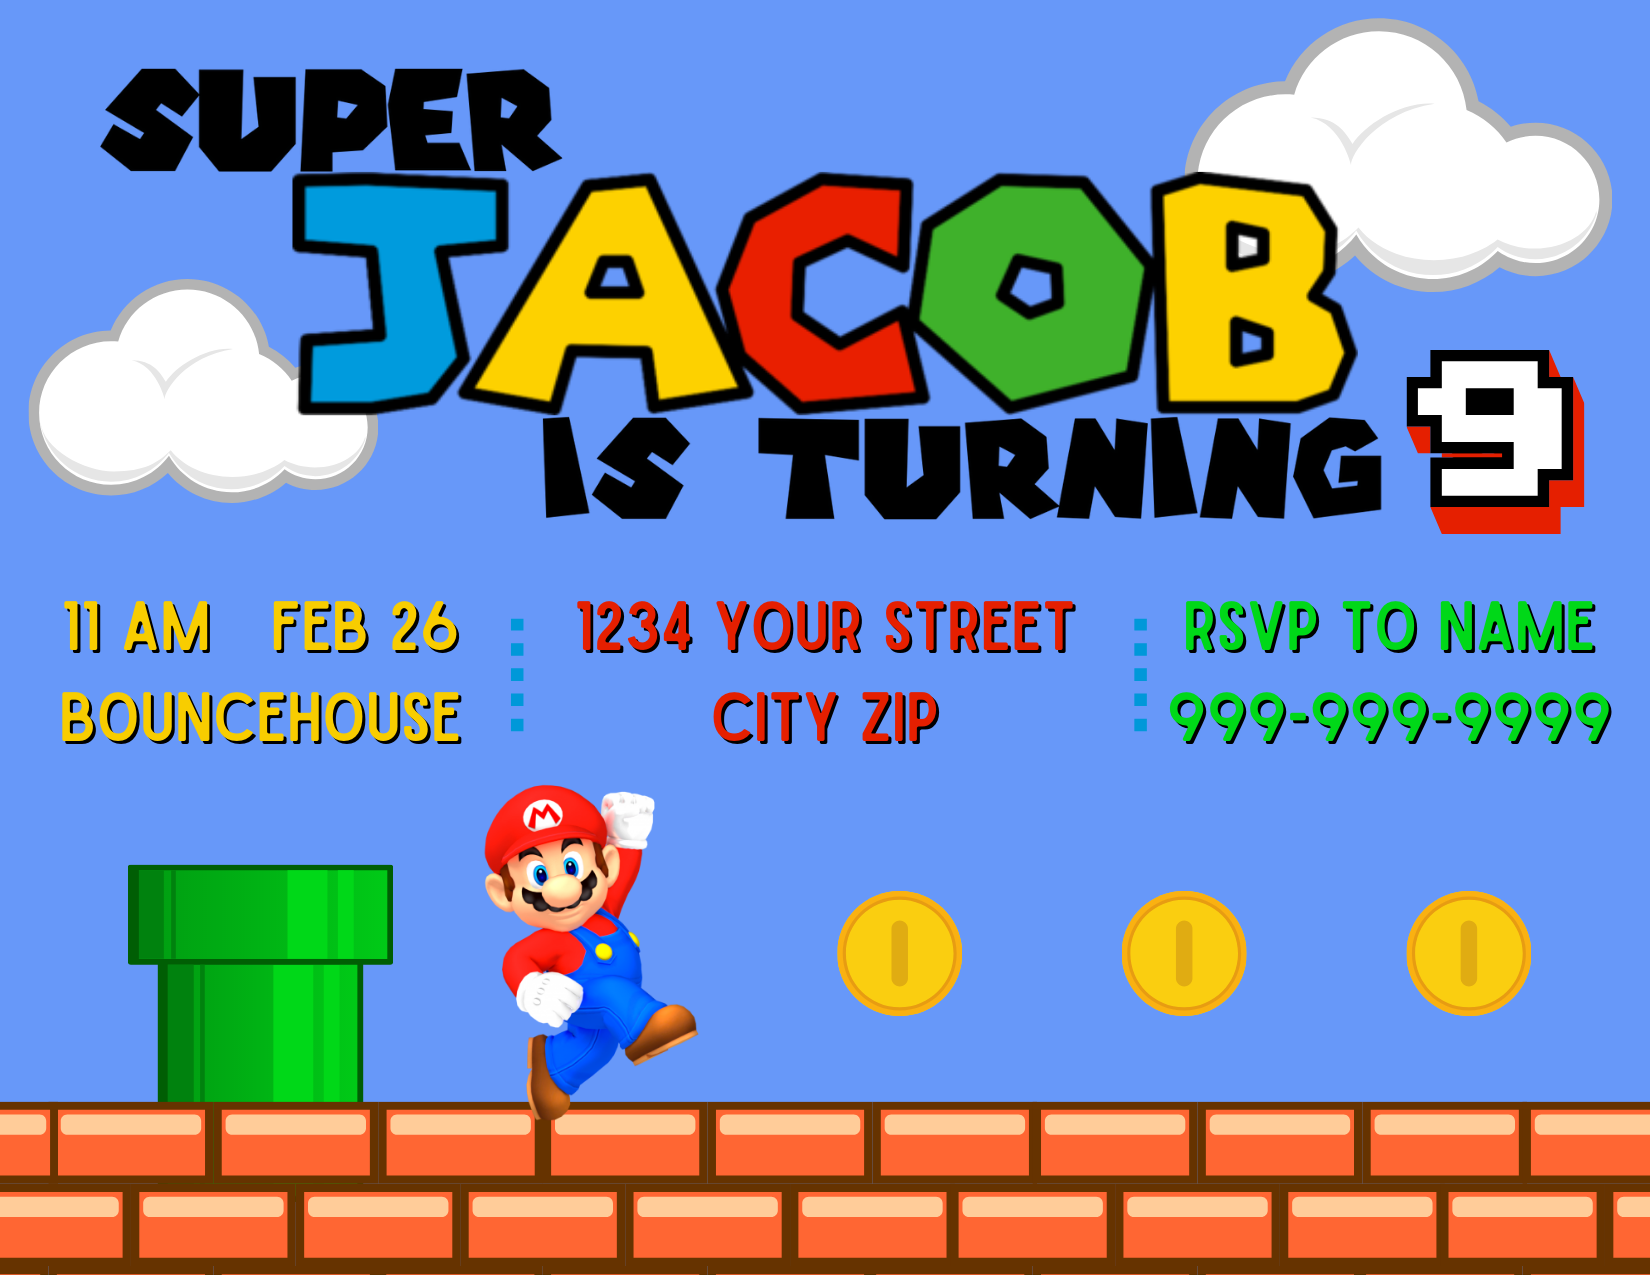
Dimensions: 5.5” x 4.25” postcard
Access the Canva Template using this link.
Update the time, date, address, and RSVP contact information.
In another tab, open the Super Mario font generator, type your child’s name in the text box, and click the generate button.
Once the image appears (below the box), right-click on the Mario font name and click copy.
Return to the Canva tab and paste the font image onto the invitation. Resize and place it where is looks best.
When you are ready to print/downloads your invitations, click on the “Share” box in the top right-hand corner.
Scroll down to the “Download” option, scroll down again and click on the purple “Download” button.
Open the PNG file from your downloads and either print it or attach it to your electronic invitation.

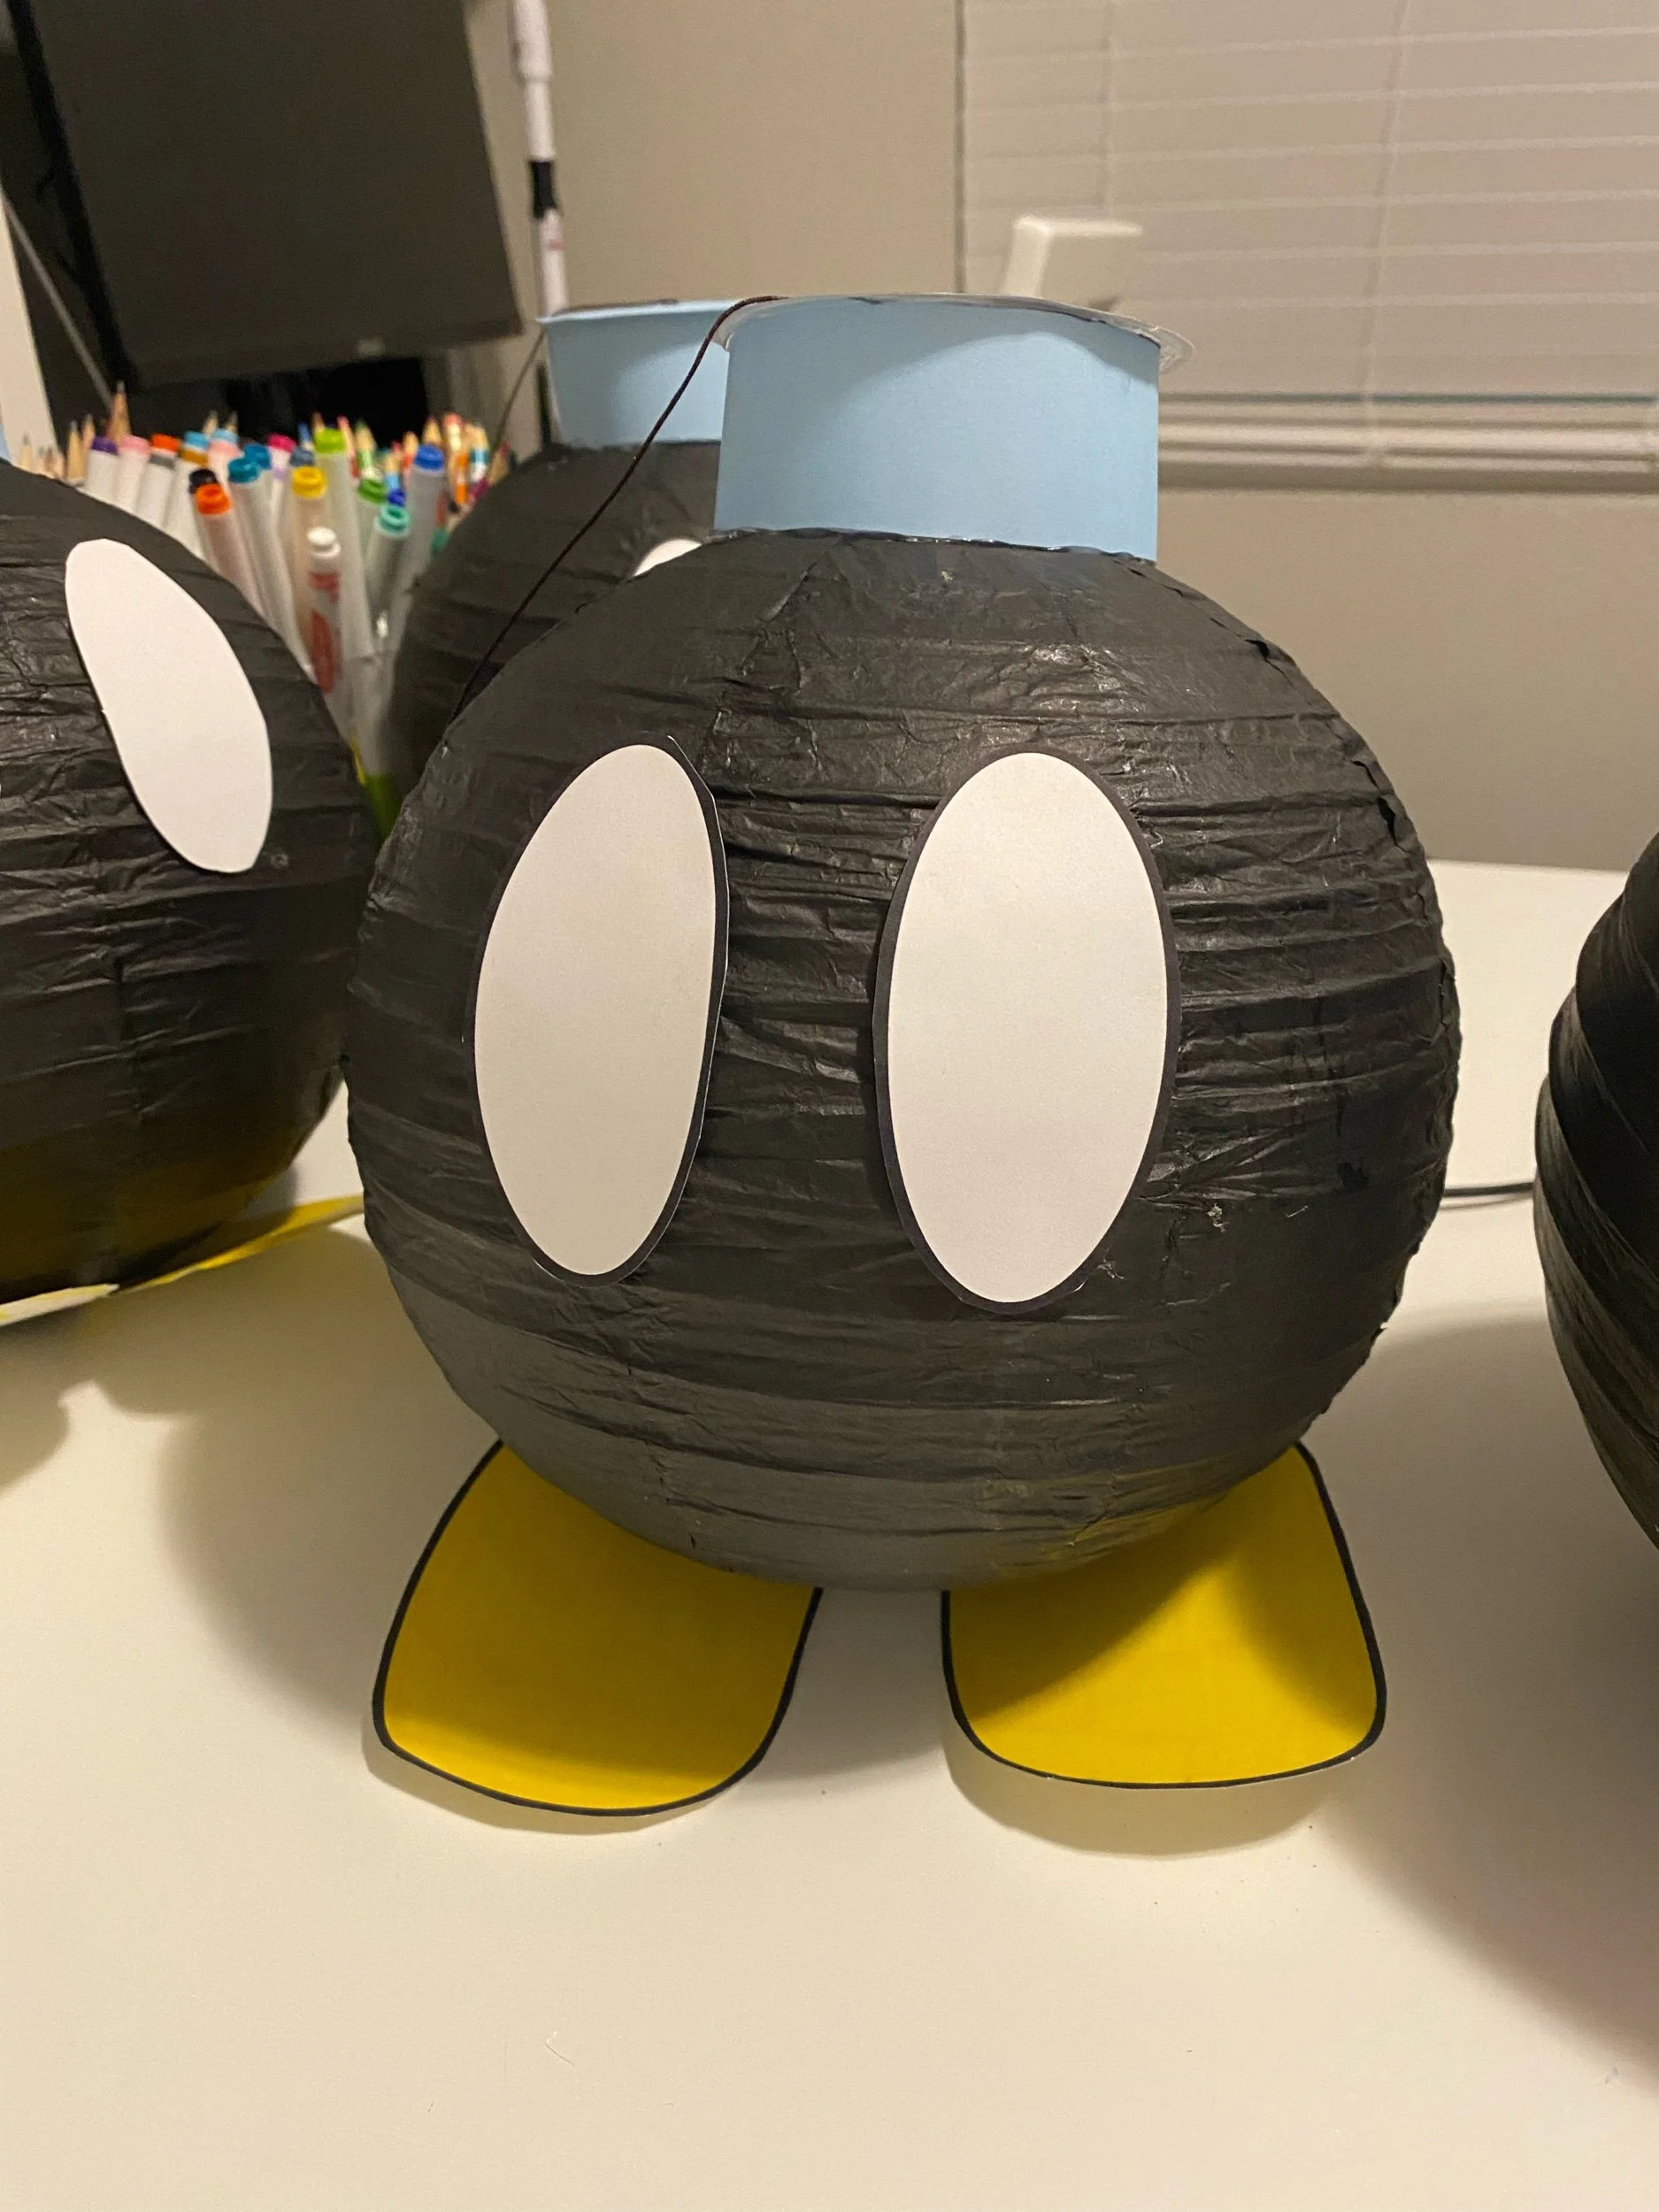
The Decorations
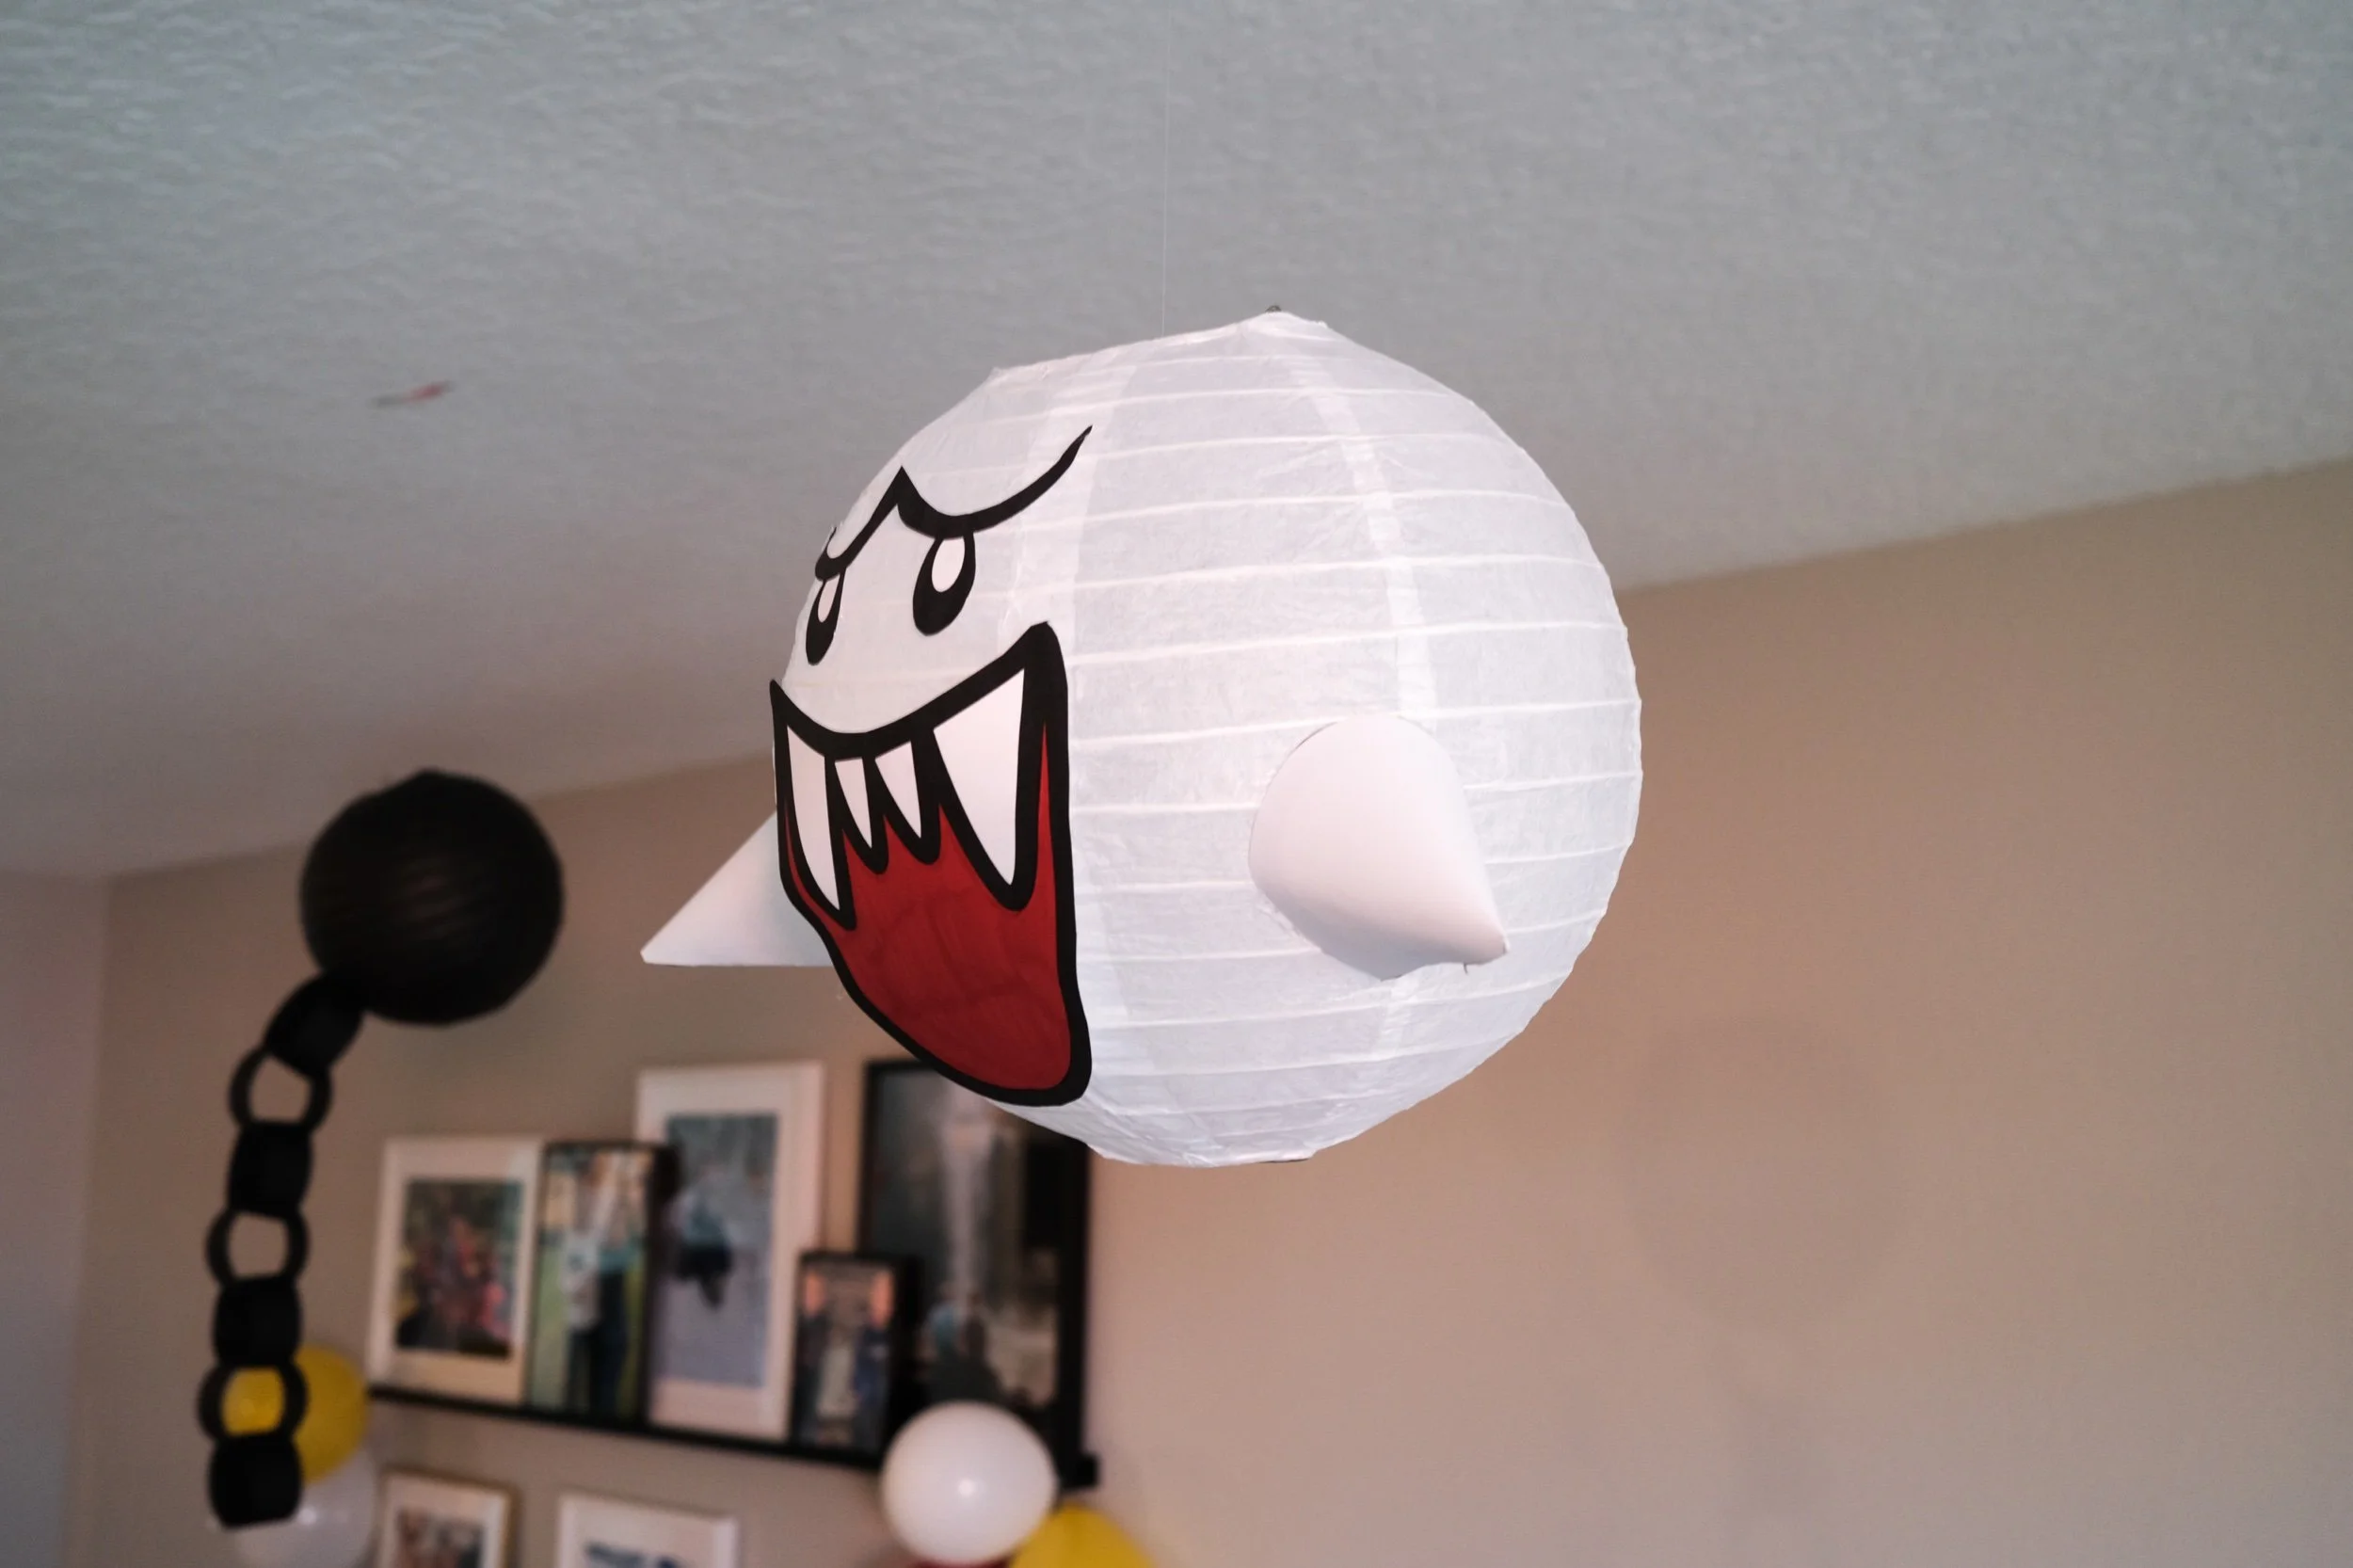
Paper lanterns
Bob-omb printable pieces
Mario boo ghost printable pieces
Cardstock banner with cloud, mushroom, and stars
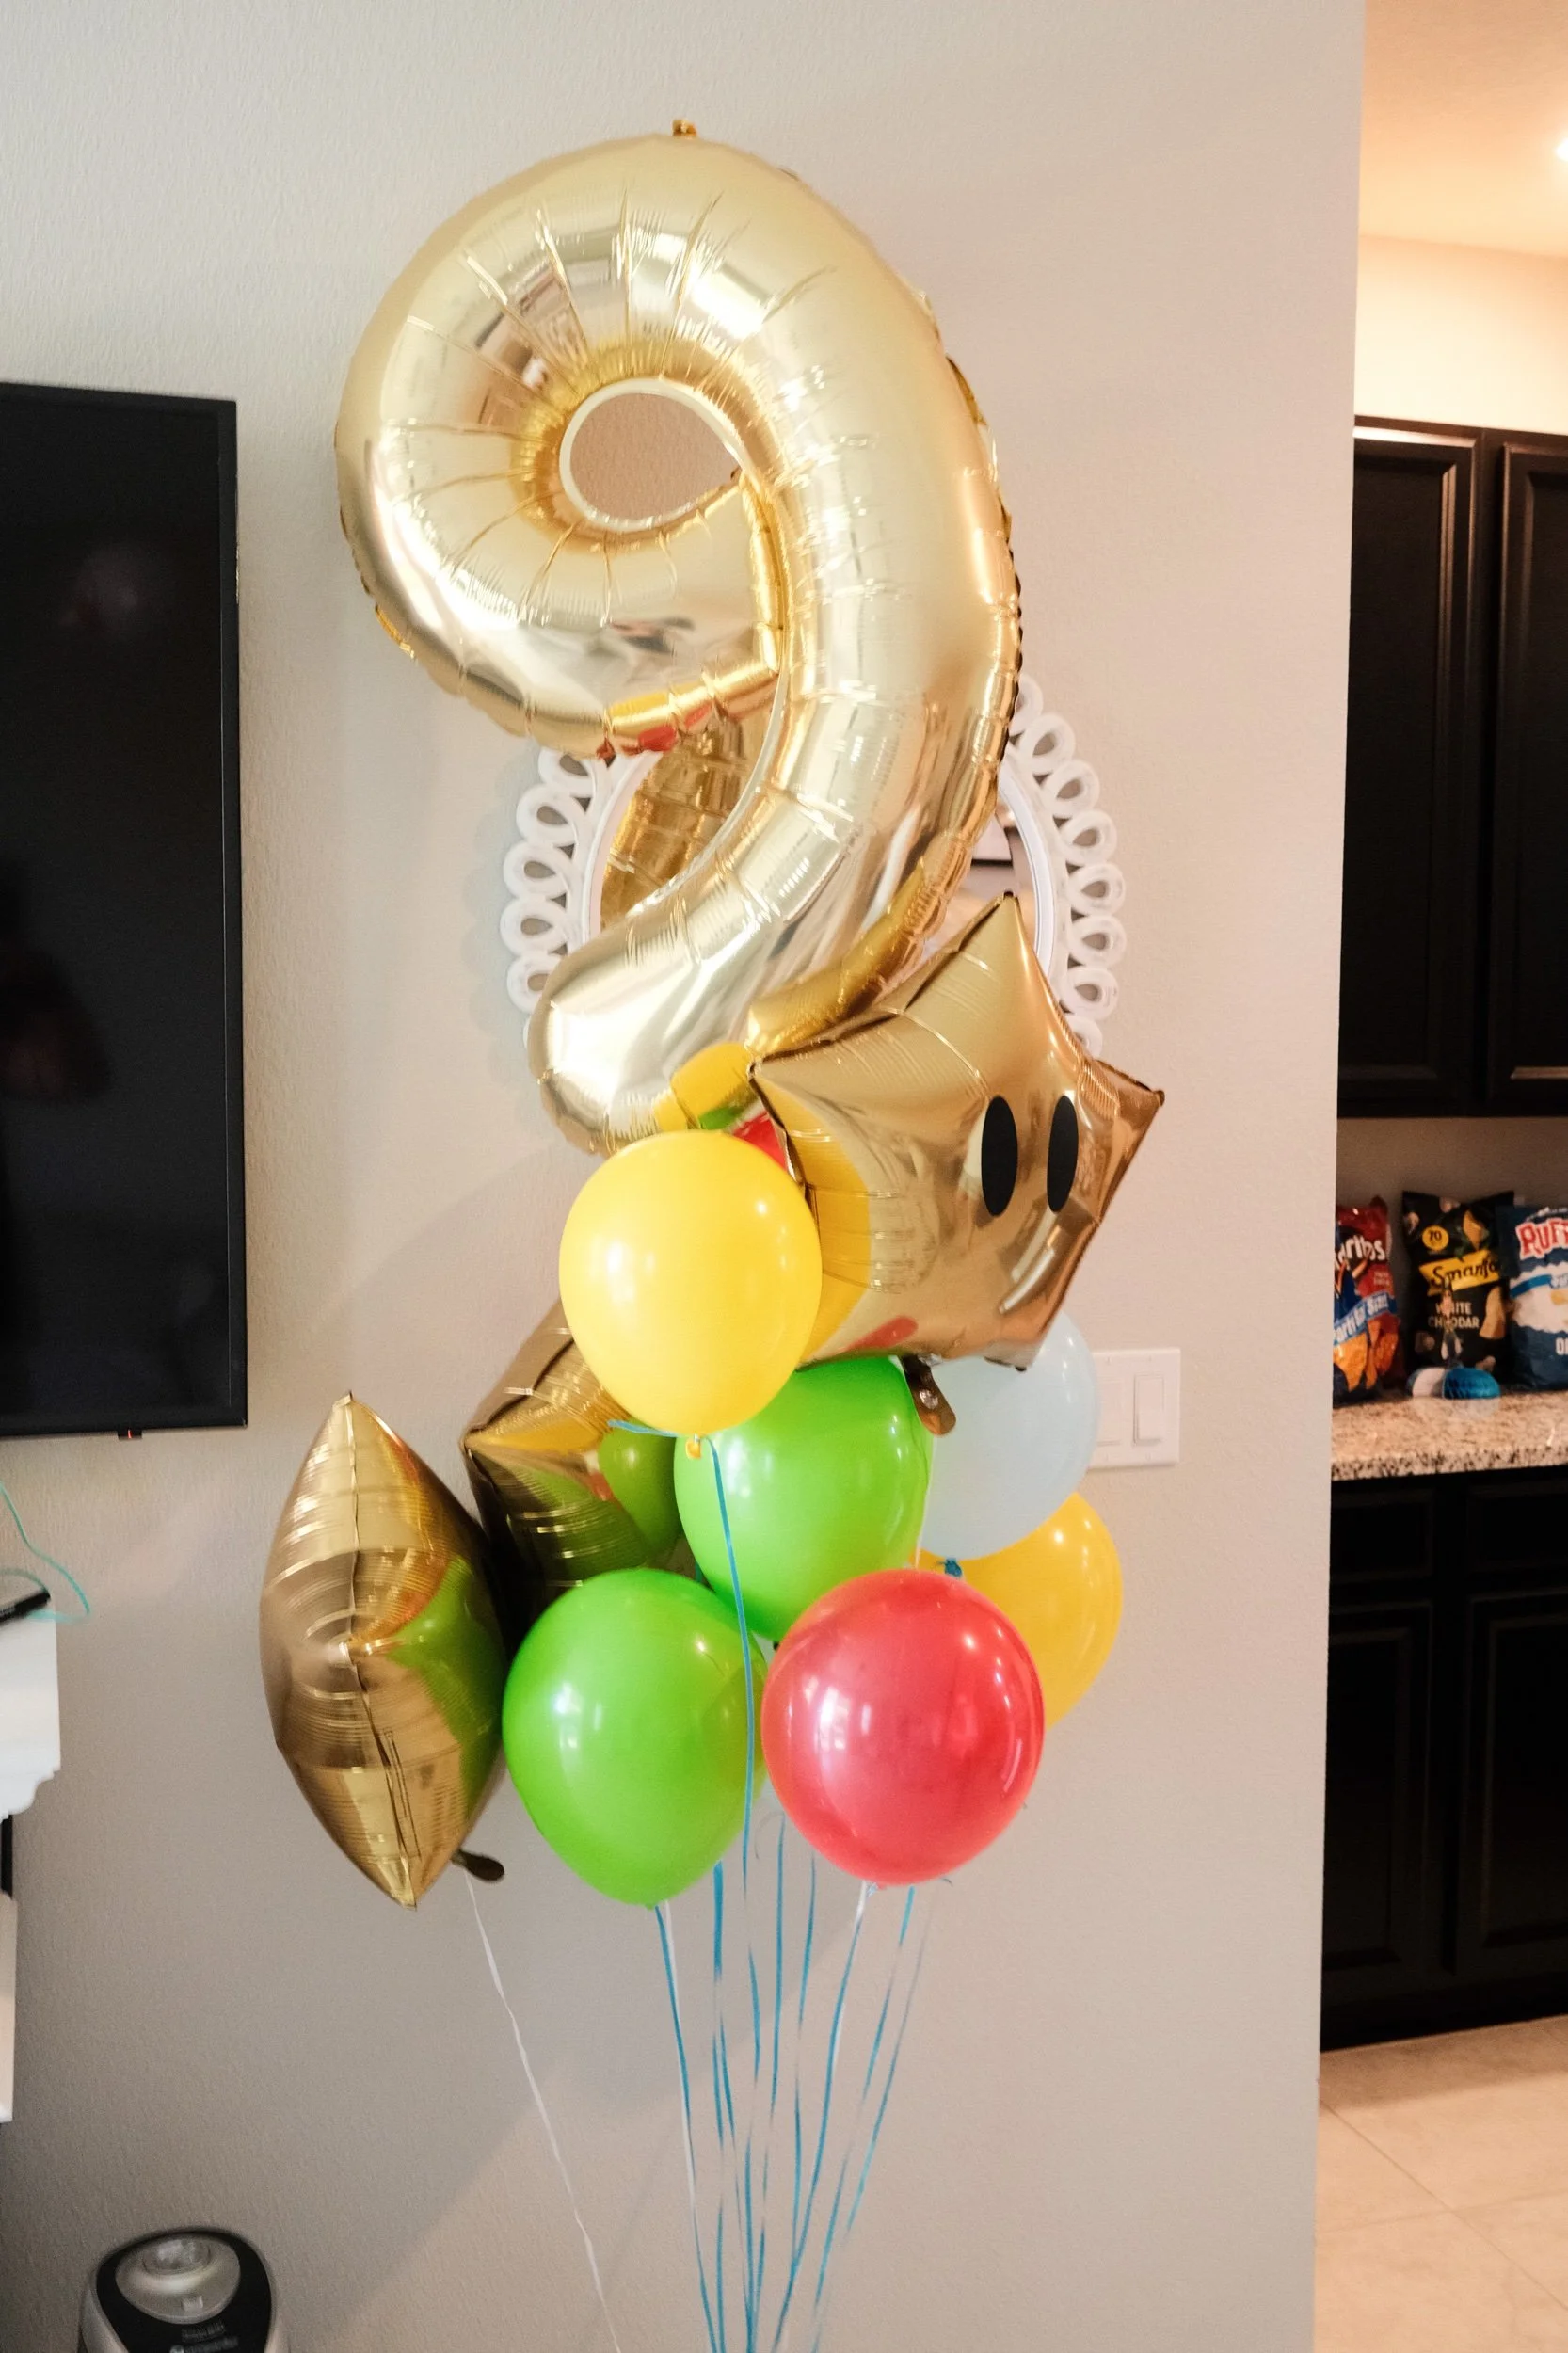
Gold foil star balloons from the Dollar Tree
Cricut Design Space project link to add vinyl eyes
From Amazon:

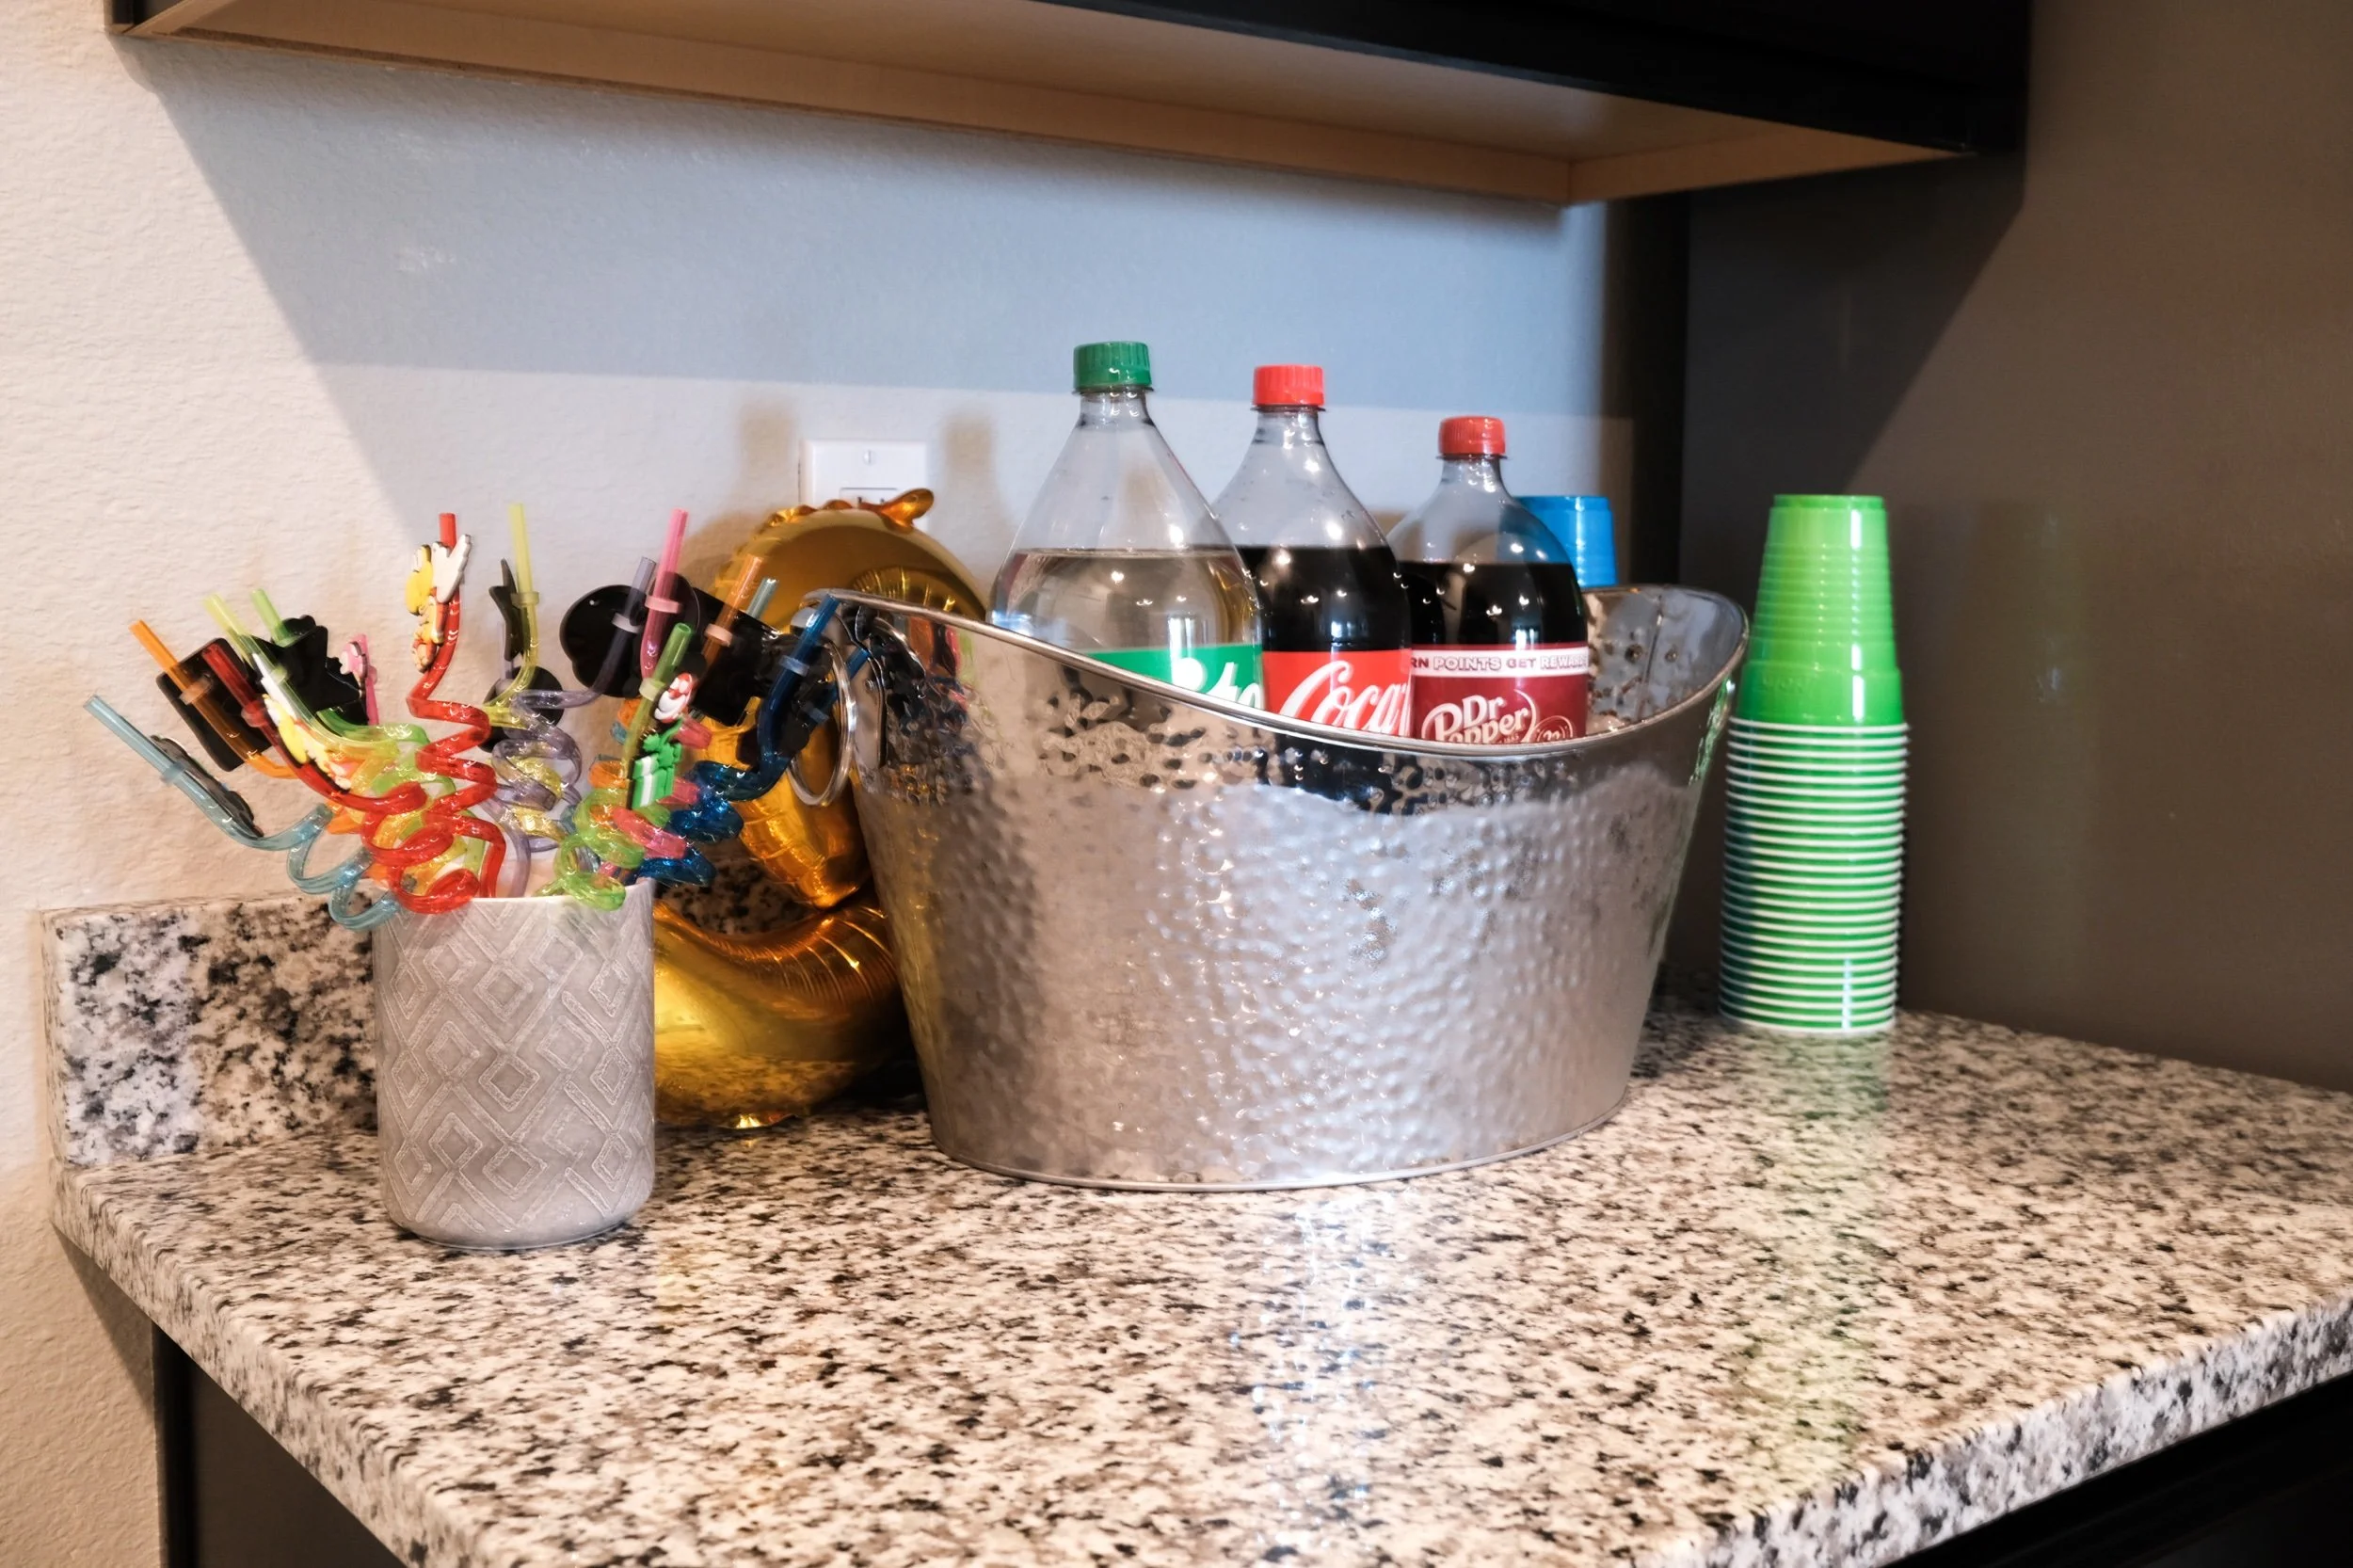
The Menu
Pizzas from Domino’s
Popcorn chicken from Publix
Fruit Salad: strawberries, blueberries, mandarine oranges, sliced grapes and pineapple stars with a honey lime dressing
Mystery Cubes: Colby Jack and cheddar cheese blocks
Fire Power: cheese balls
Pasta Salad - noodles, Italian dressing, shredded carrots, cherry tomatoes, black olives, red onions
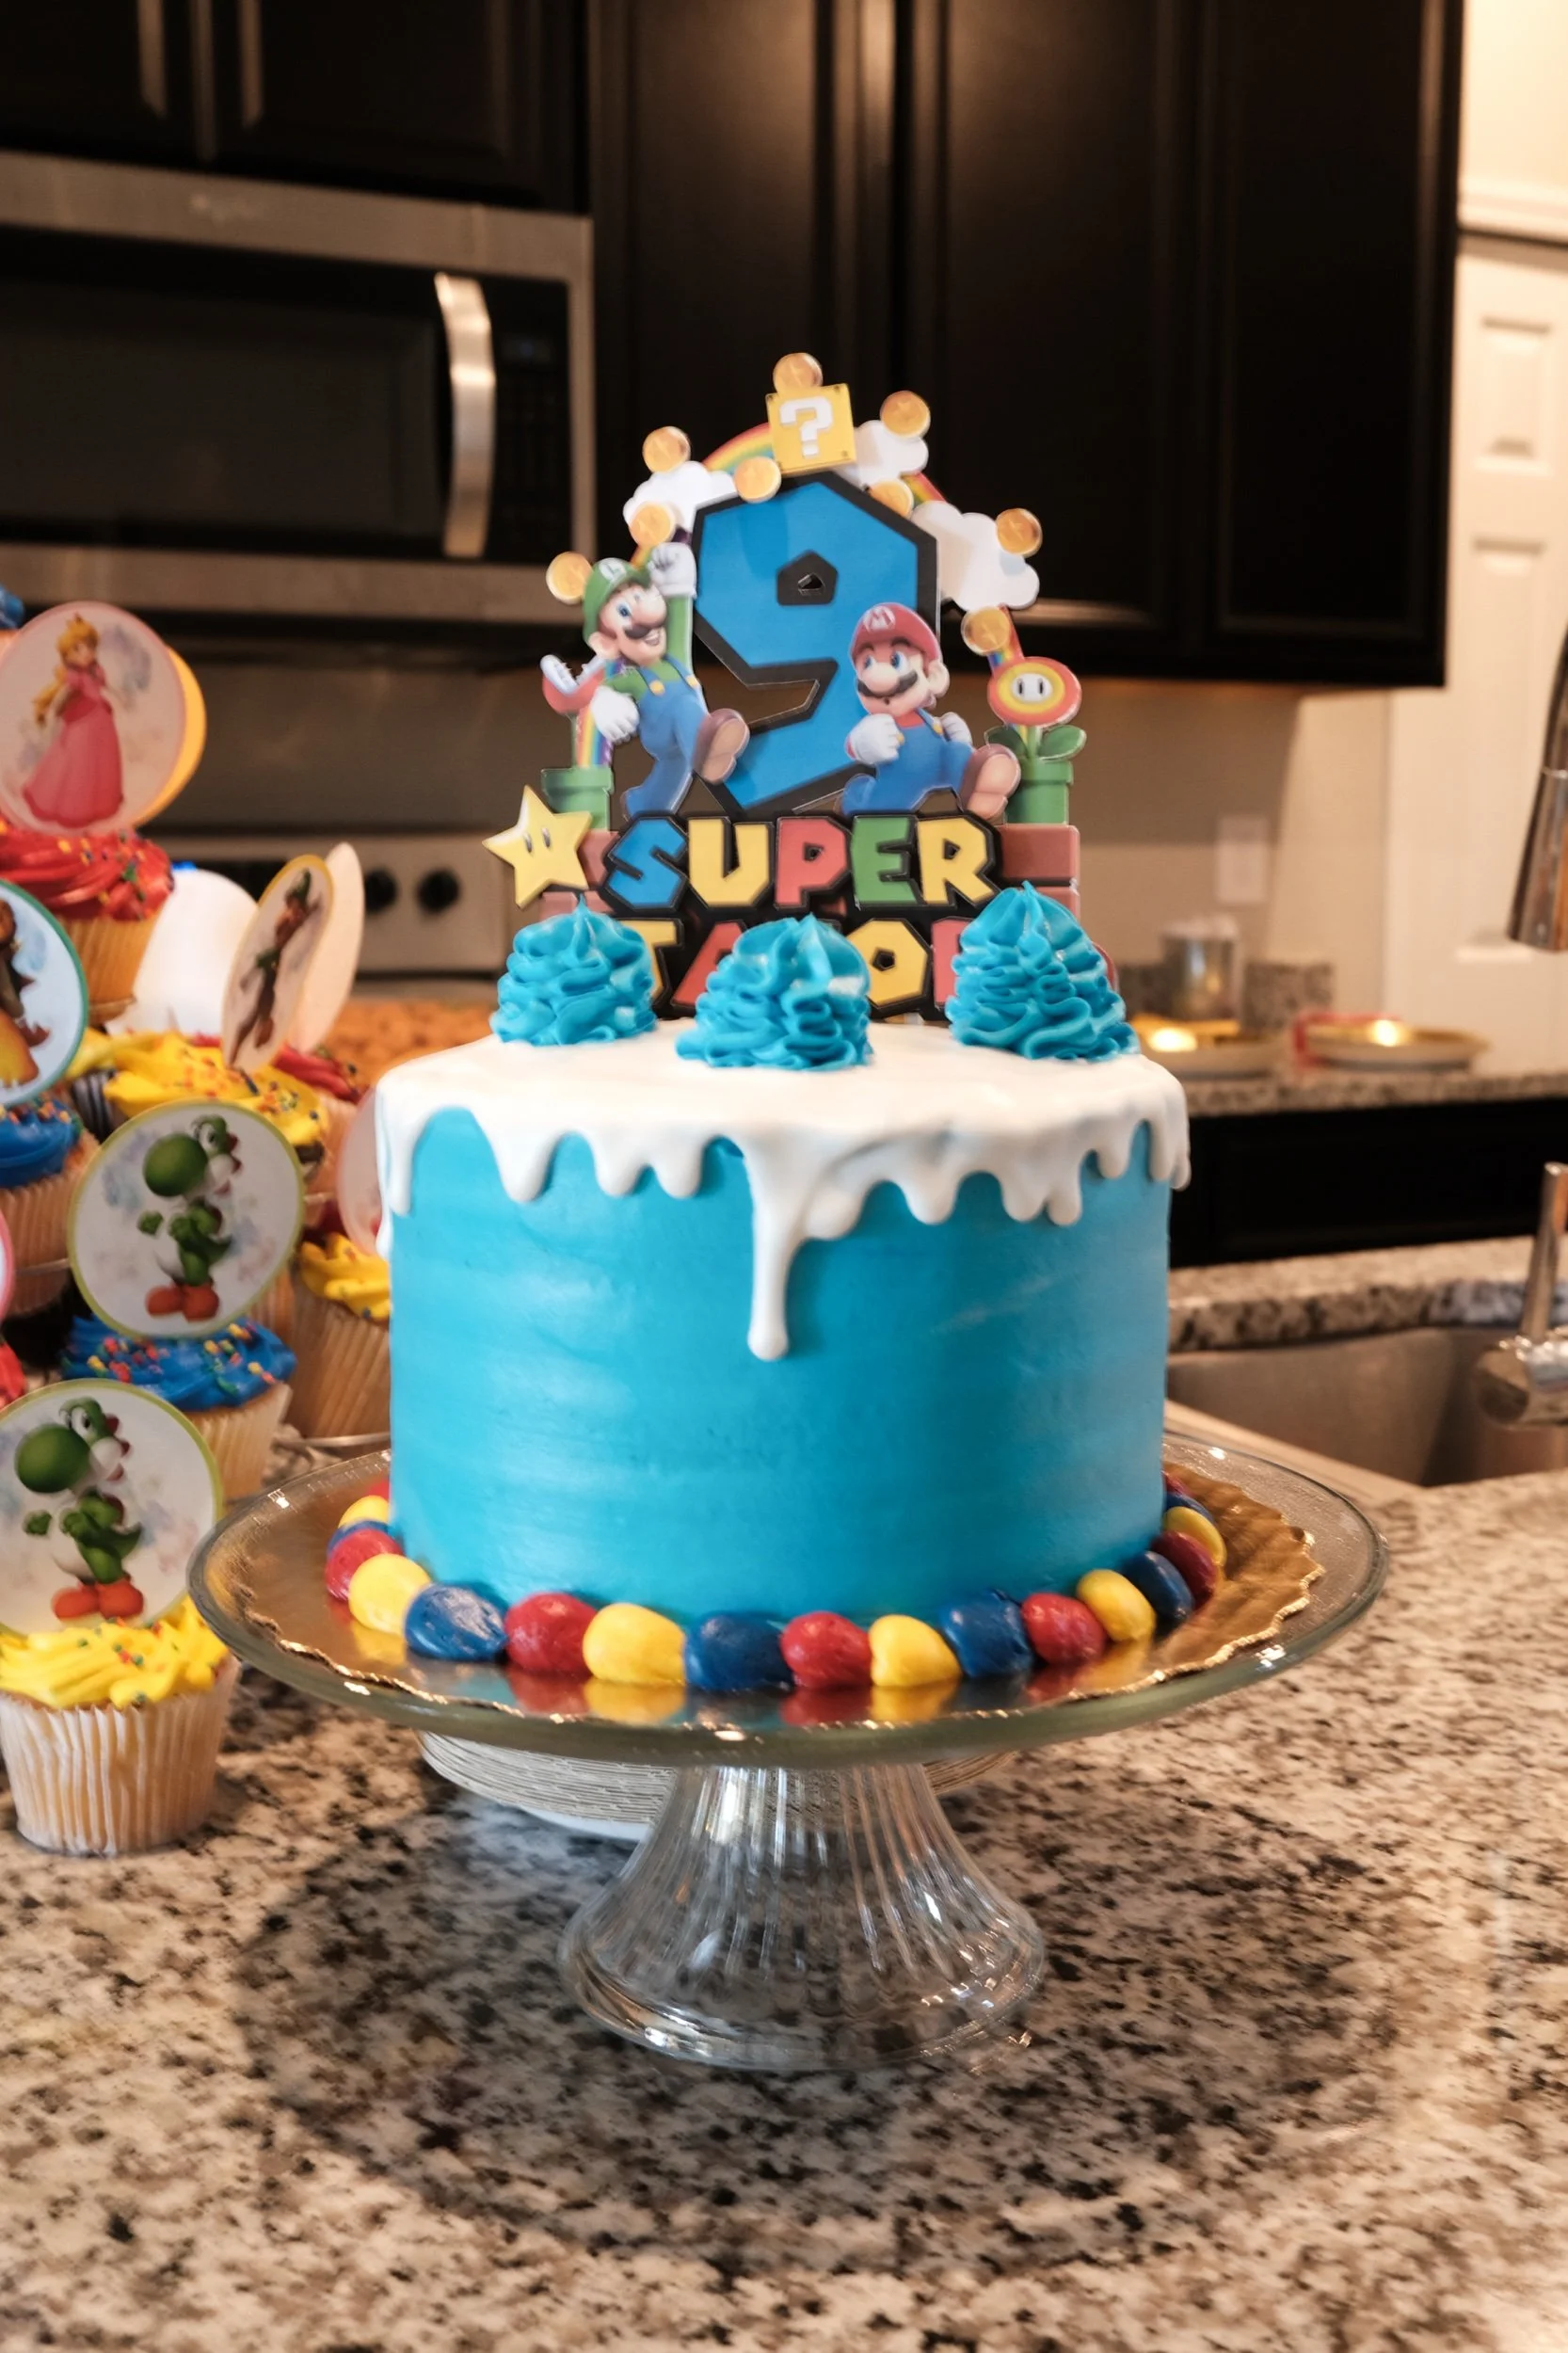
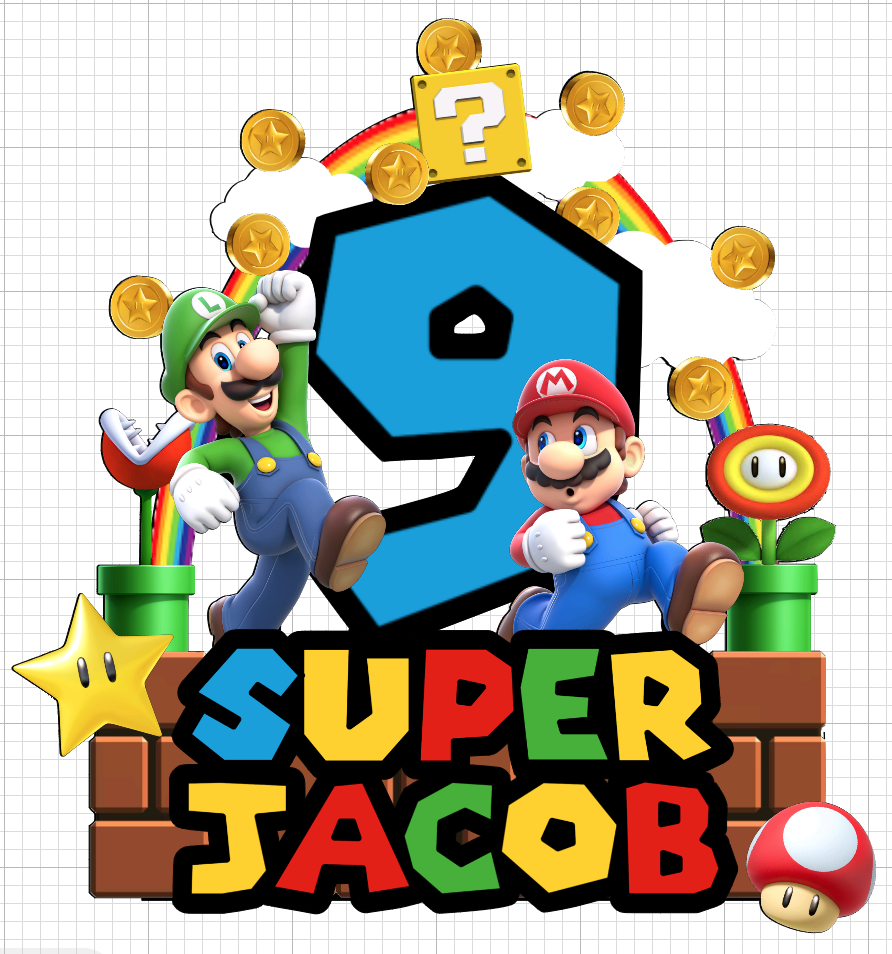
The Cake
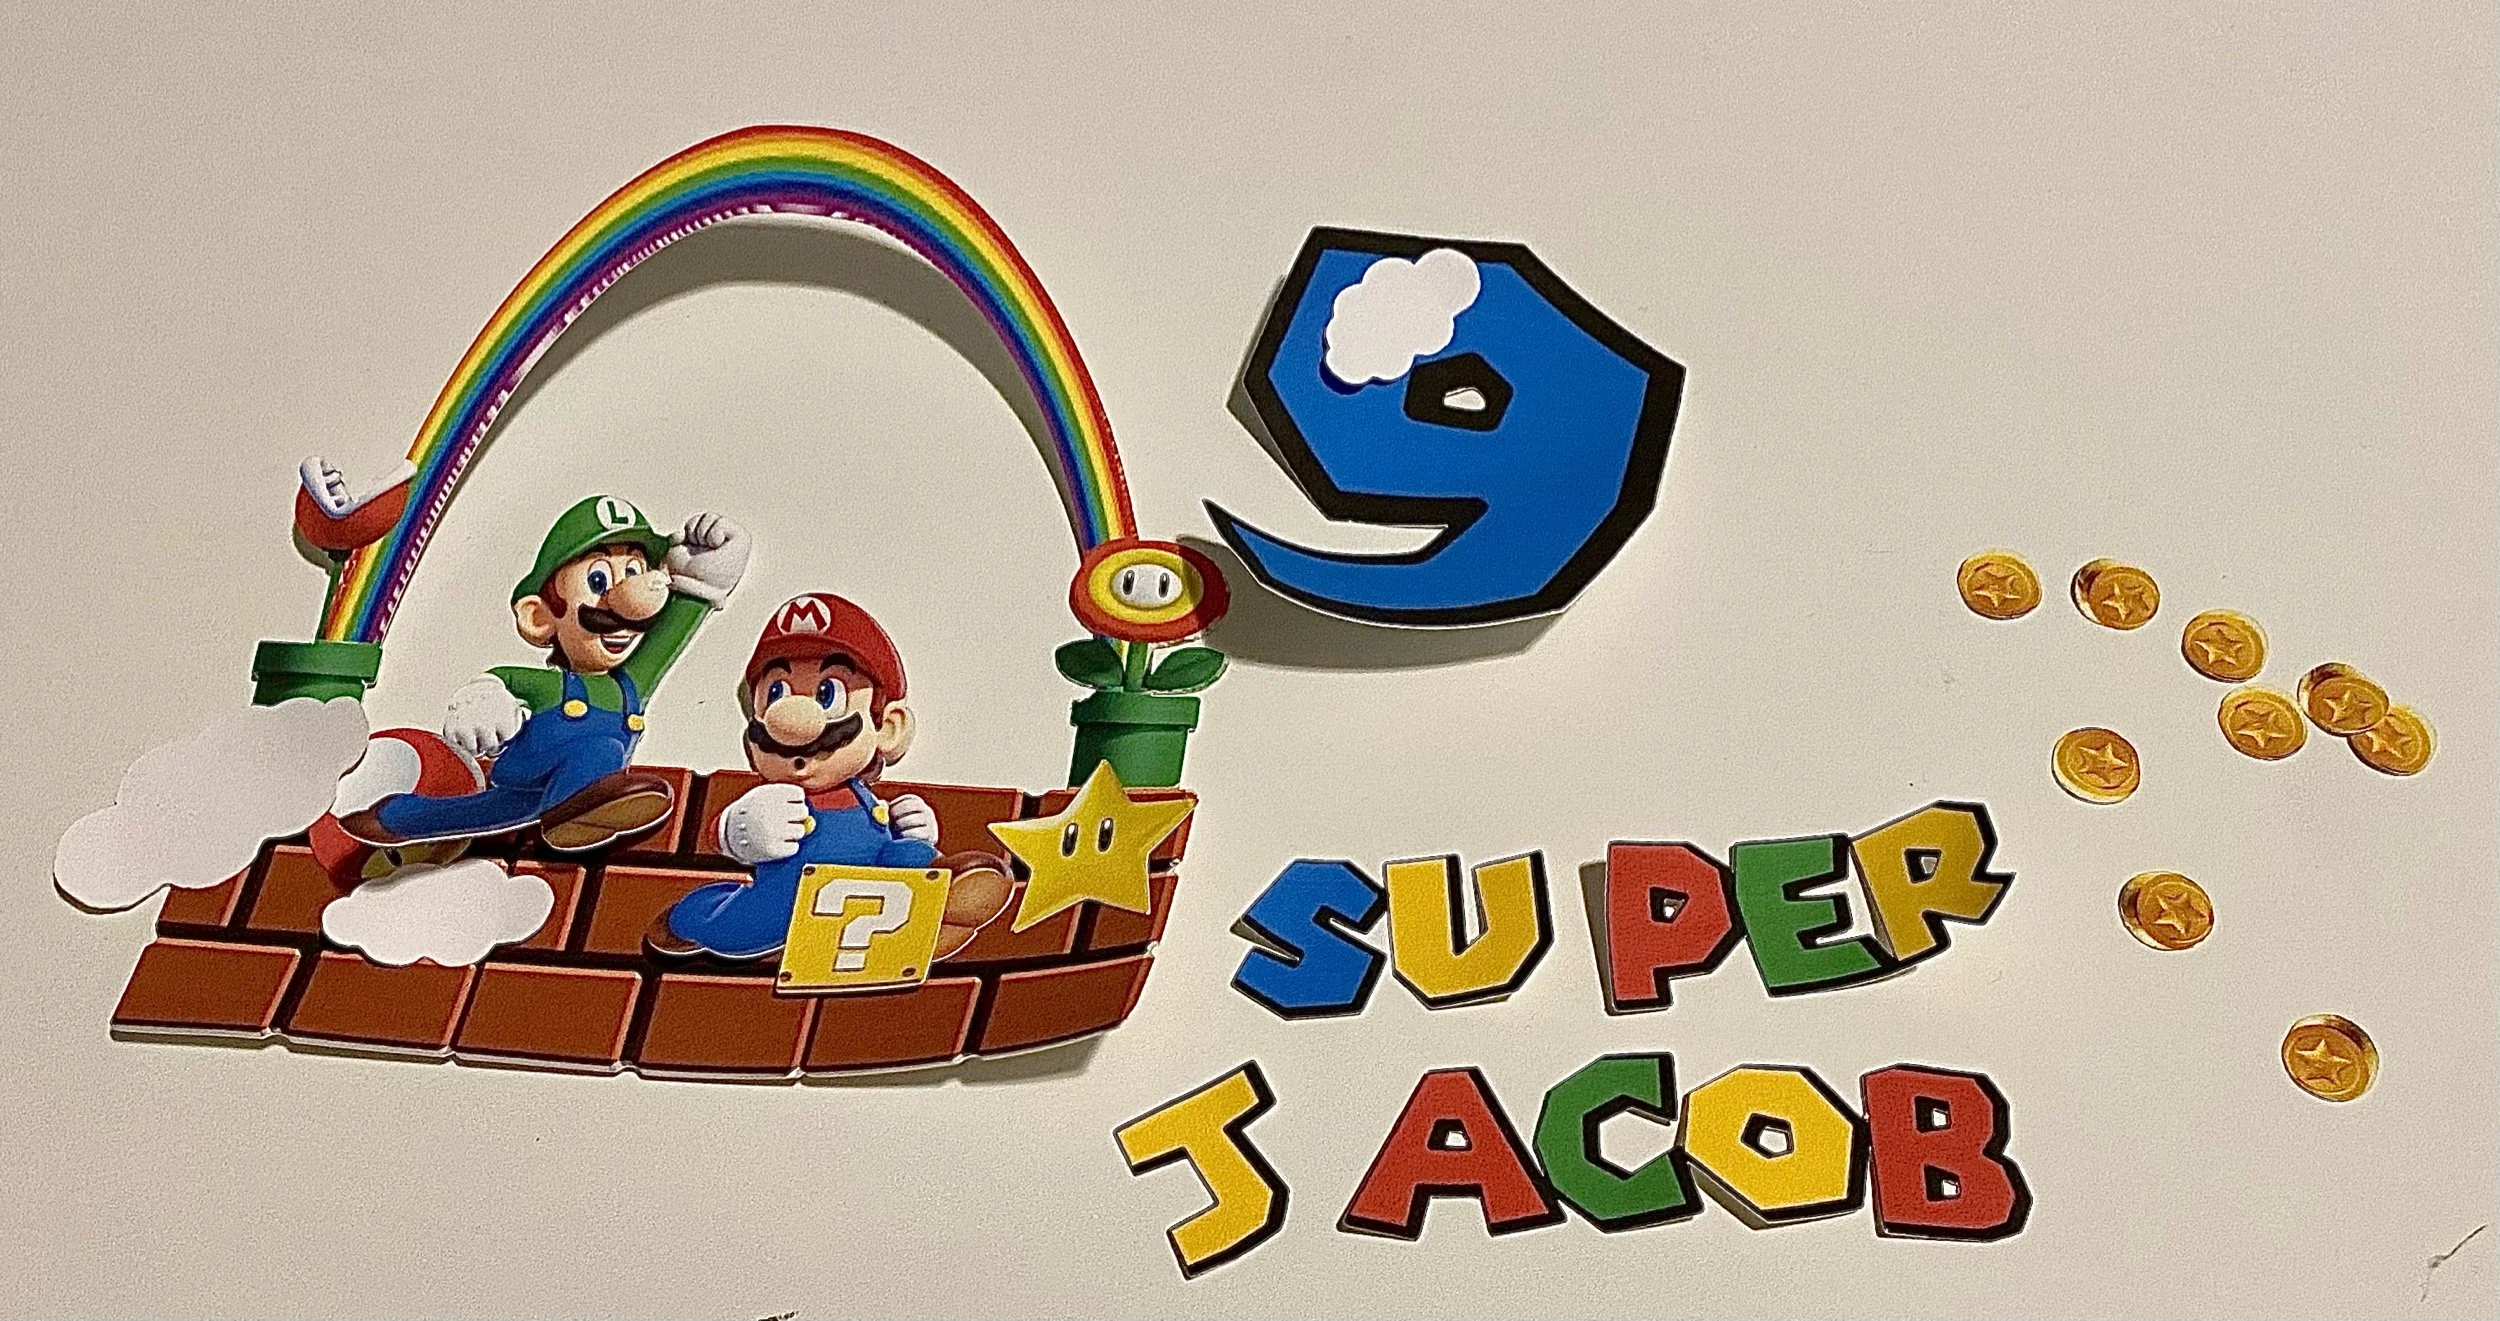
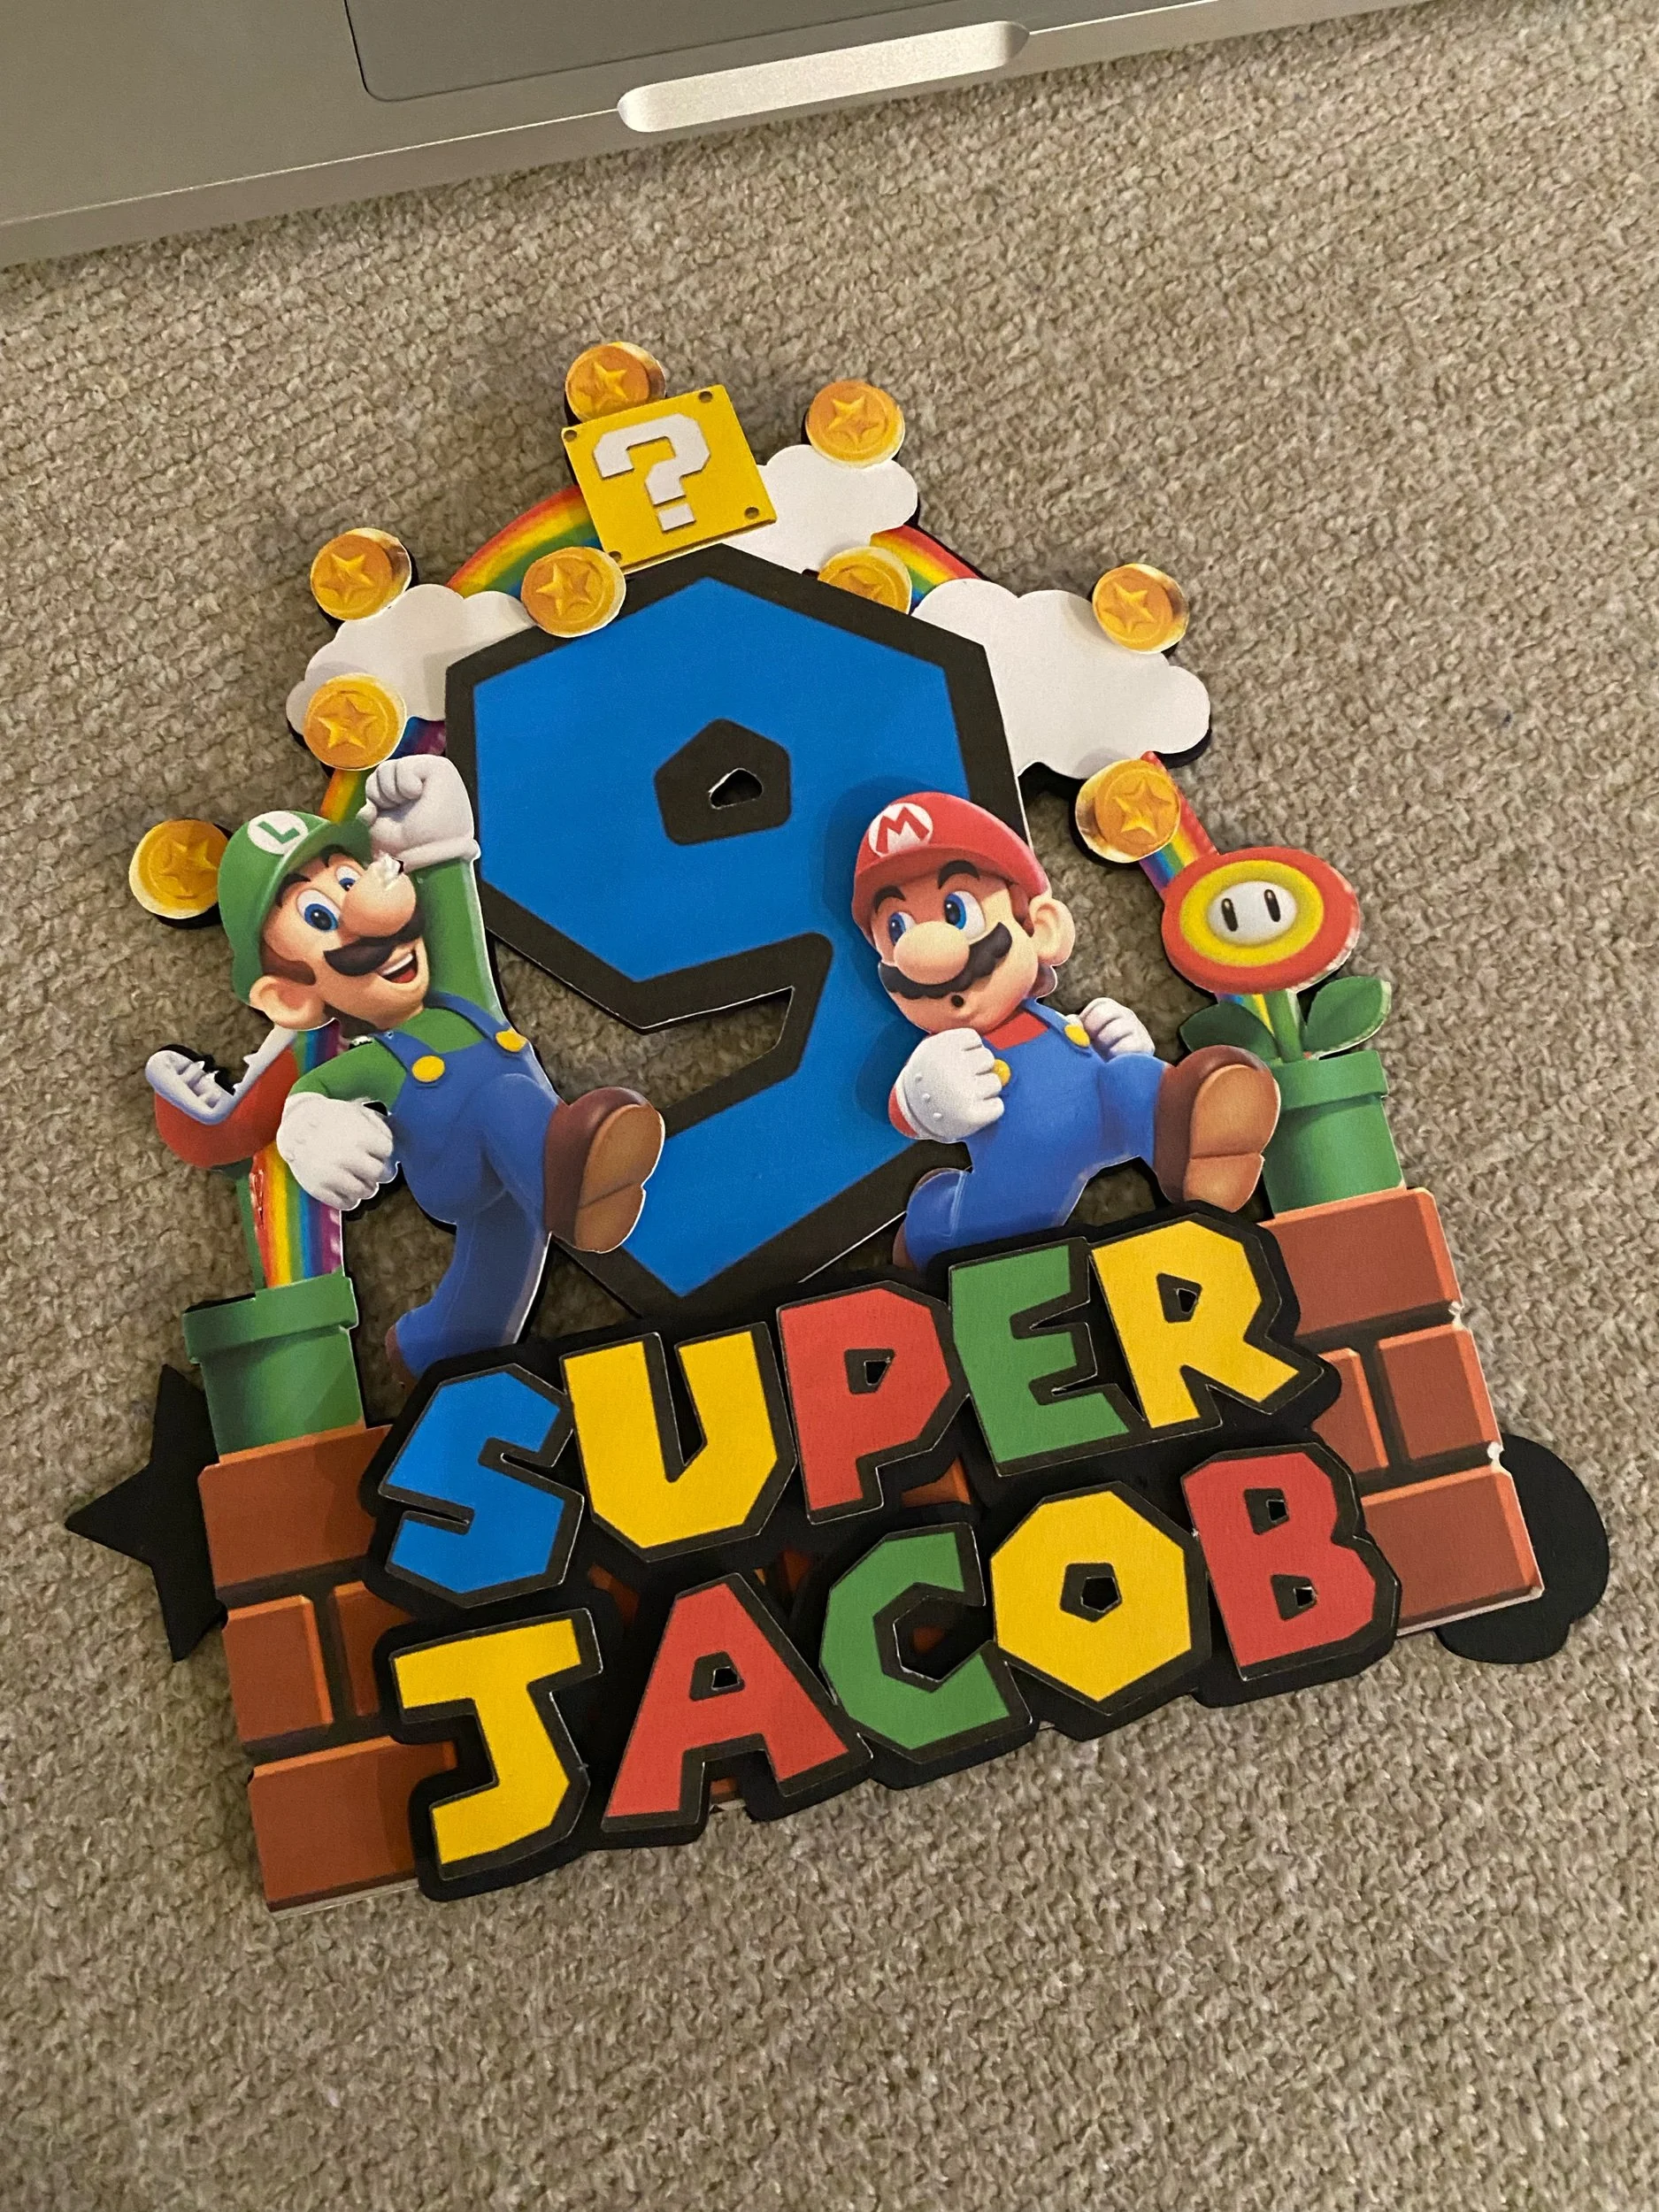
In a project with more layers than I’ve ever created, this cake topper was a fun challenge. I used the offset feature to creature a solid background to hold all the pieces together.
Here is the link to the Cricut Design Space project.
The trick with this project was making sure that all the layers were the appropriate setting: Print Then Cut or Basic Cut.
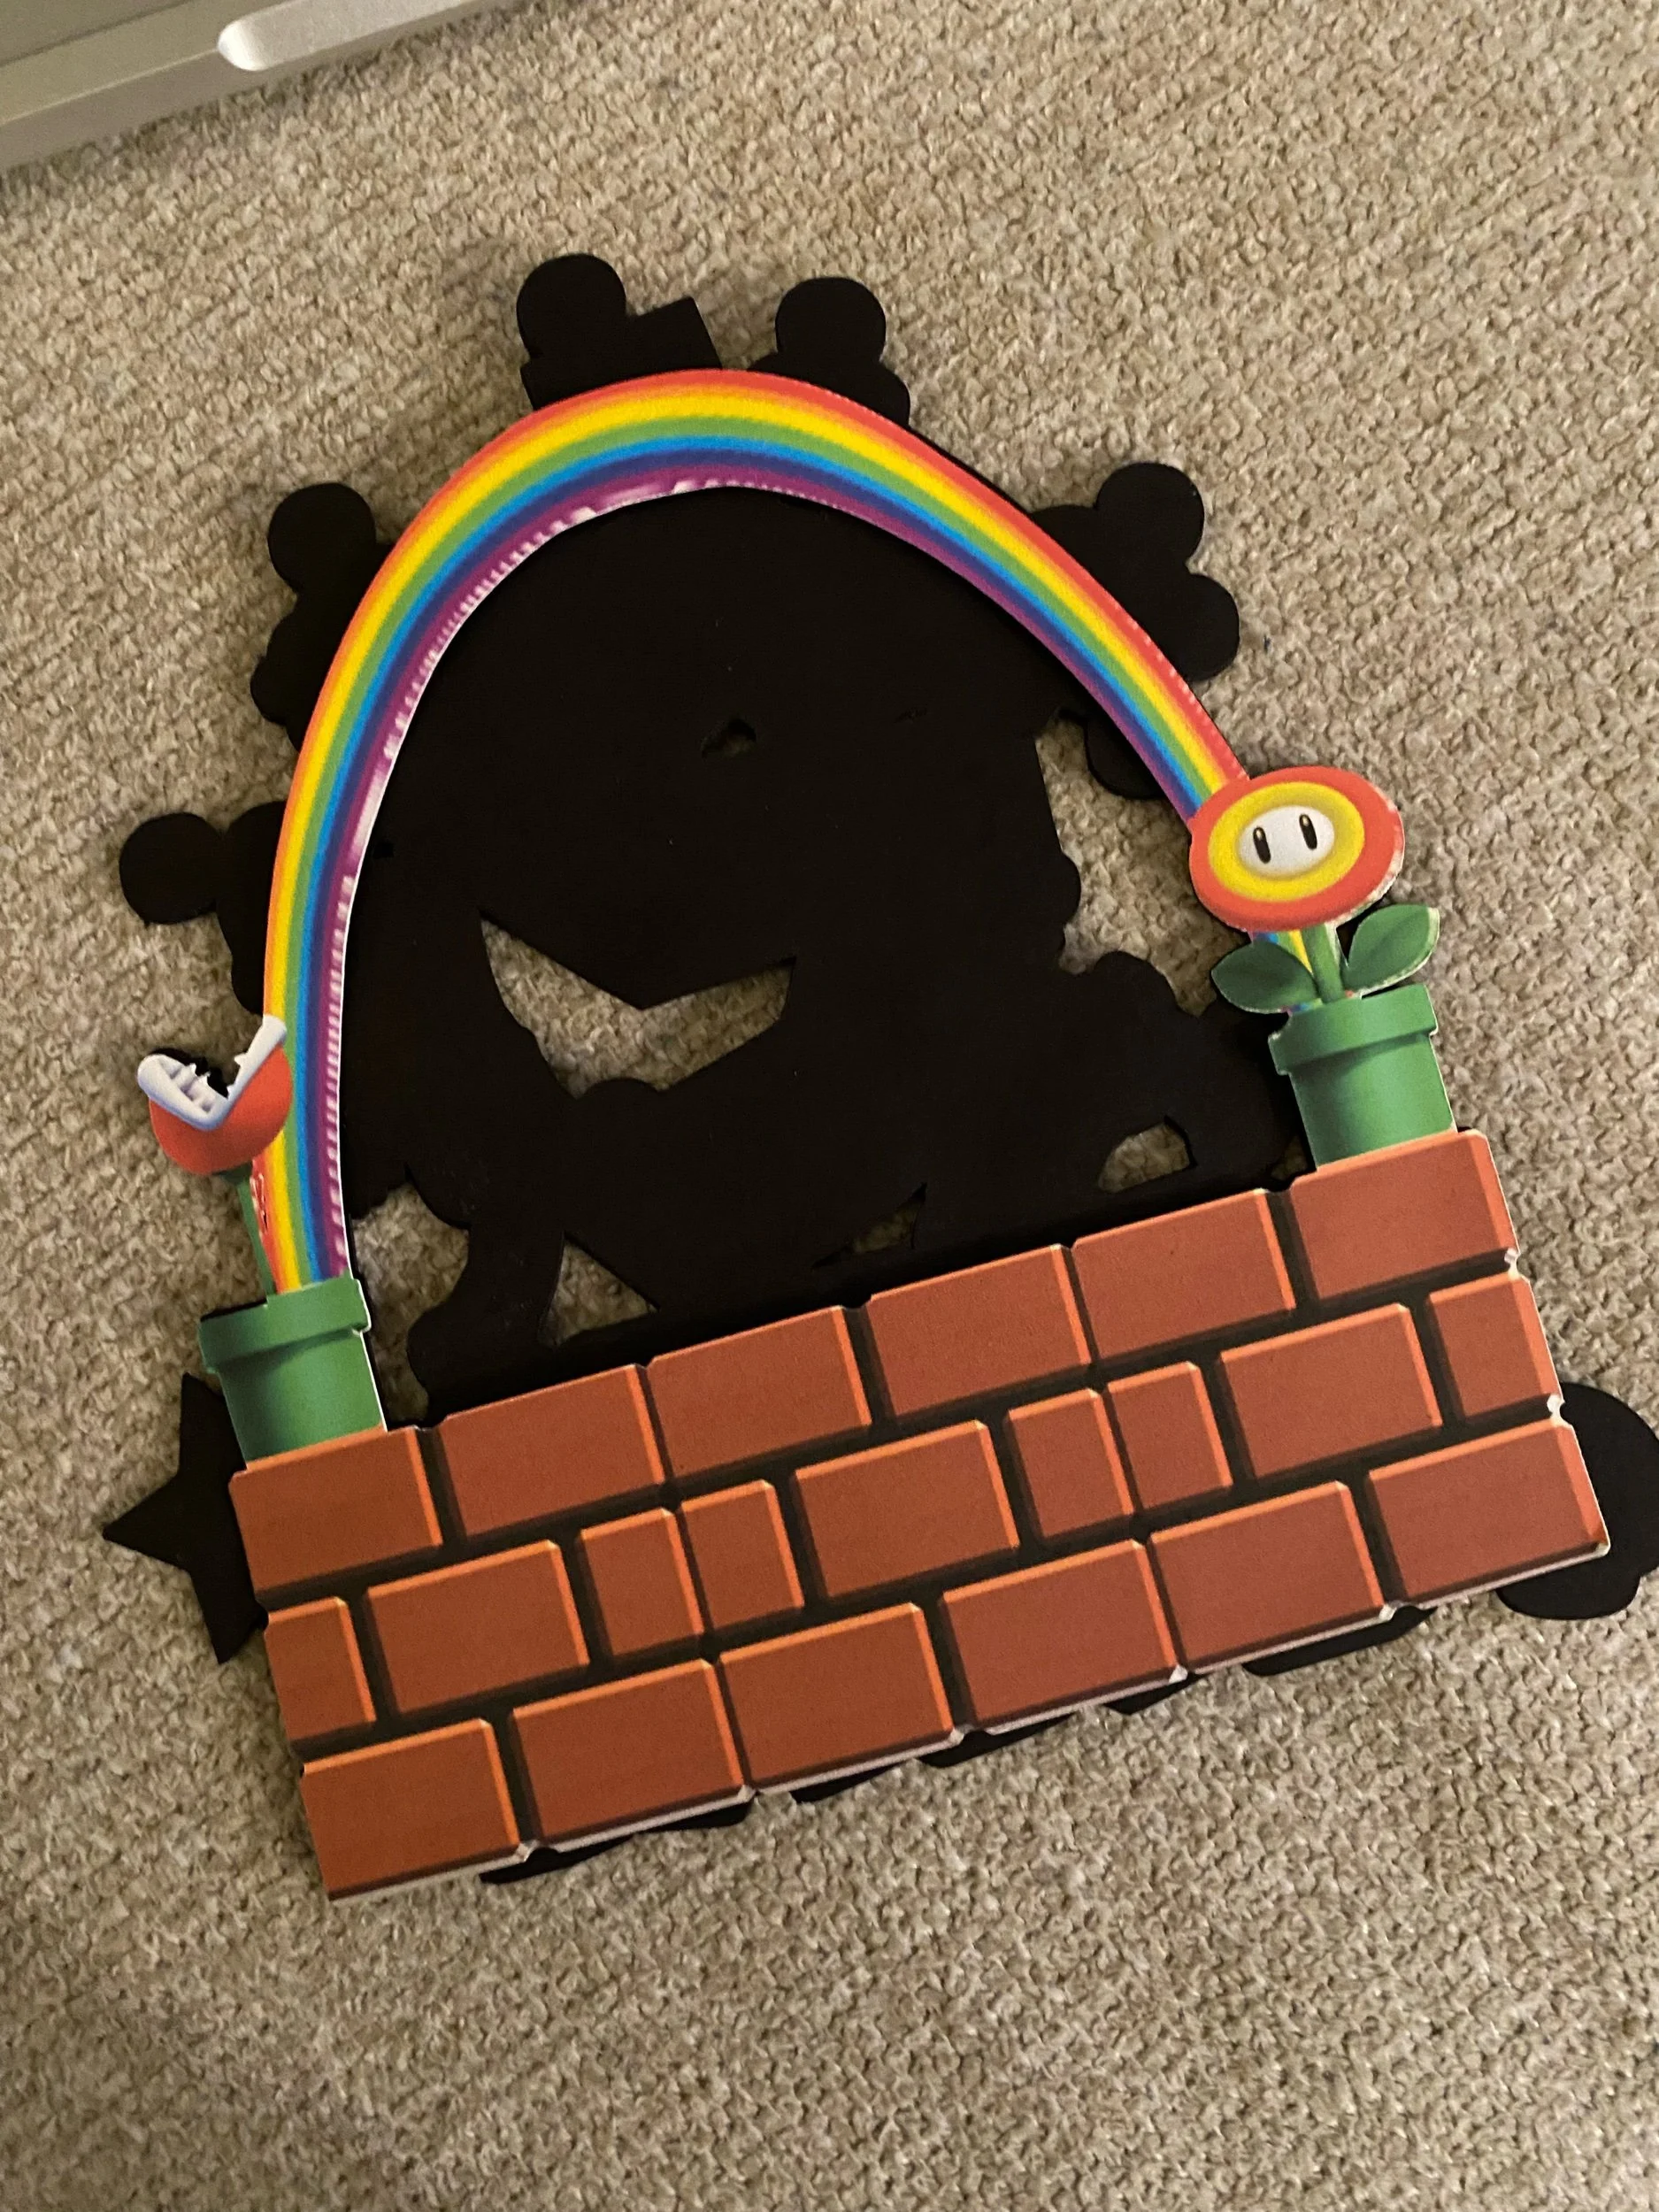
Once each of the pieces are cut from the cardstock, the base layers are assembled first.
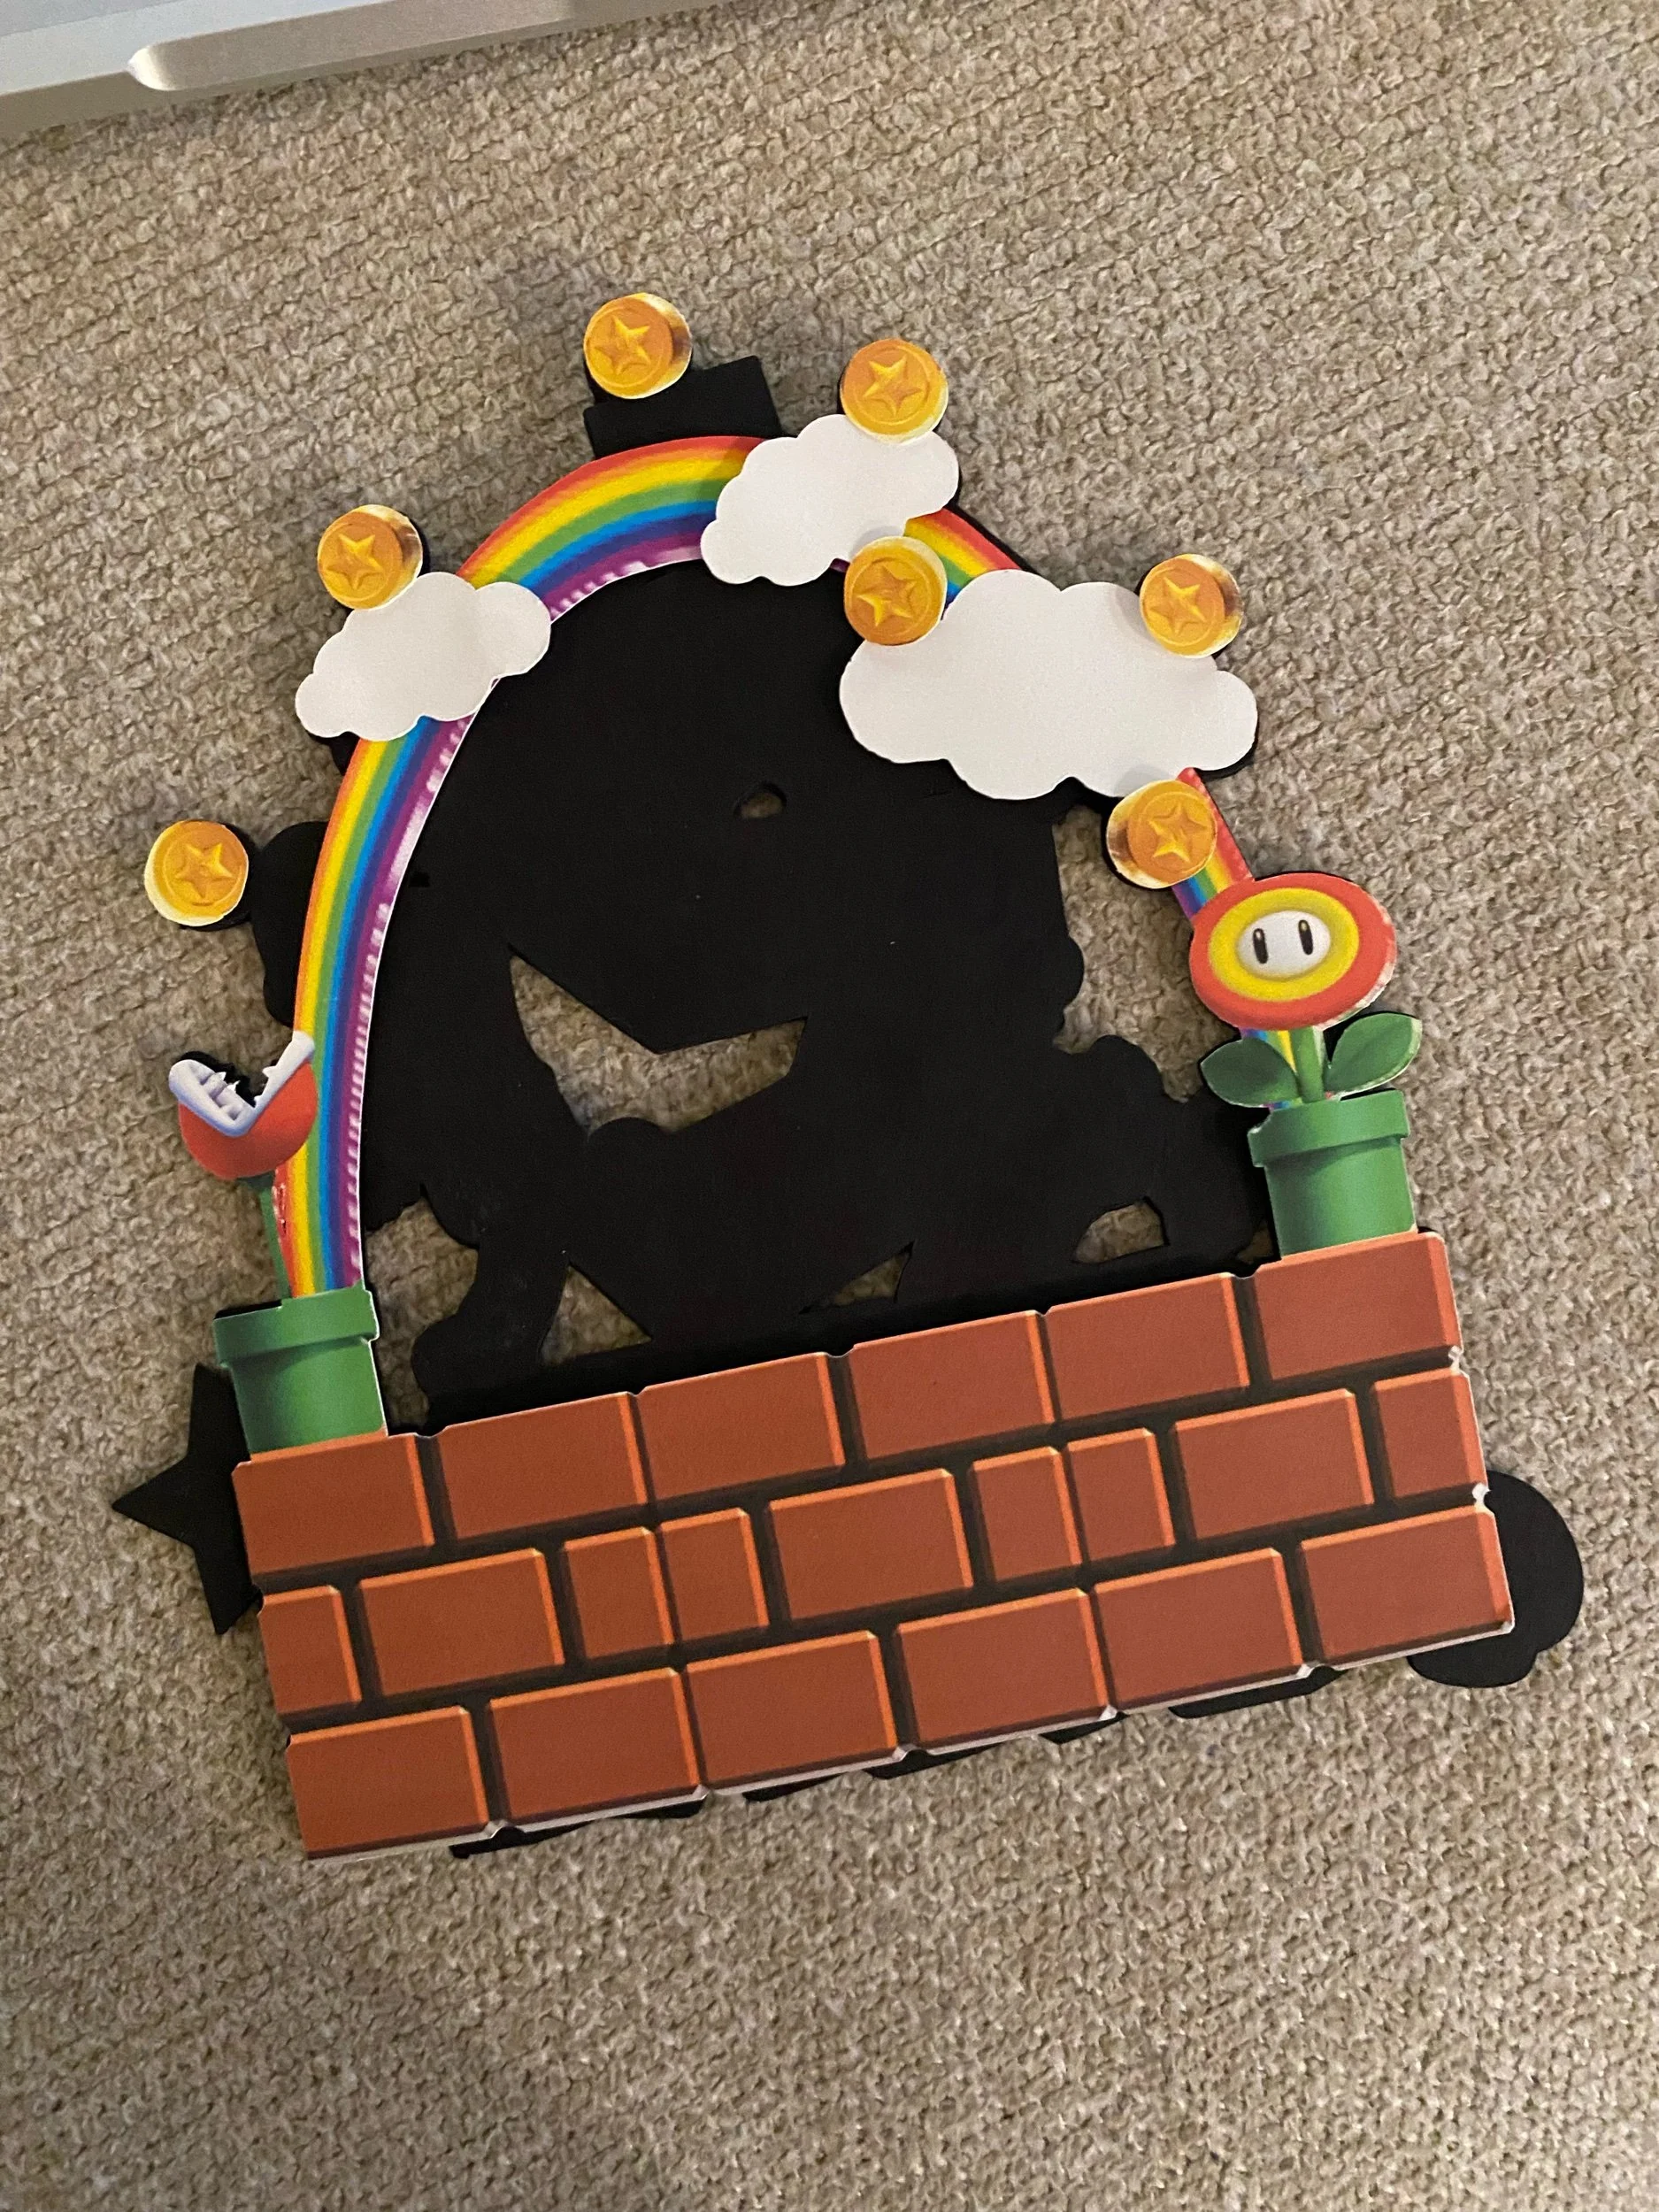
I like to use 5 - 6 layers of cardstock glued together as a solid base. Then, I use foam sticker dots to add the additional layers and depth to the design.
For this design, I began by placing the brick, pipes, and rainbow layer first. Then, I added the coins and clouds that were not visible in front of the 9. After adhering the 9, I placed the remaining coins and cube at the top. Mario and Luigi were next, followed by the Super Jacob text and finally, the star and mushroom.
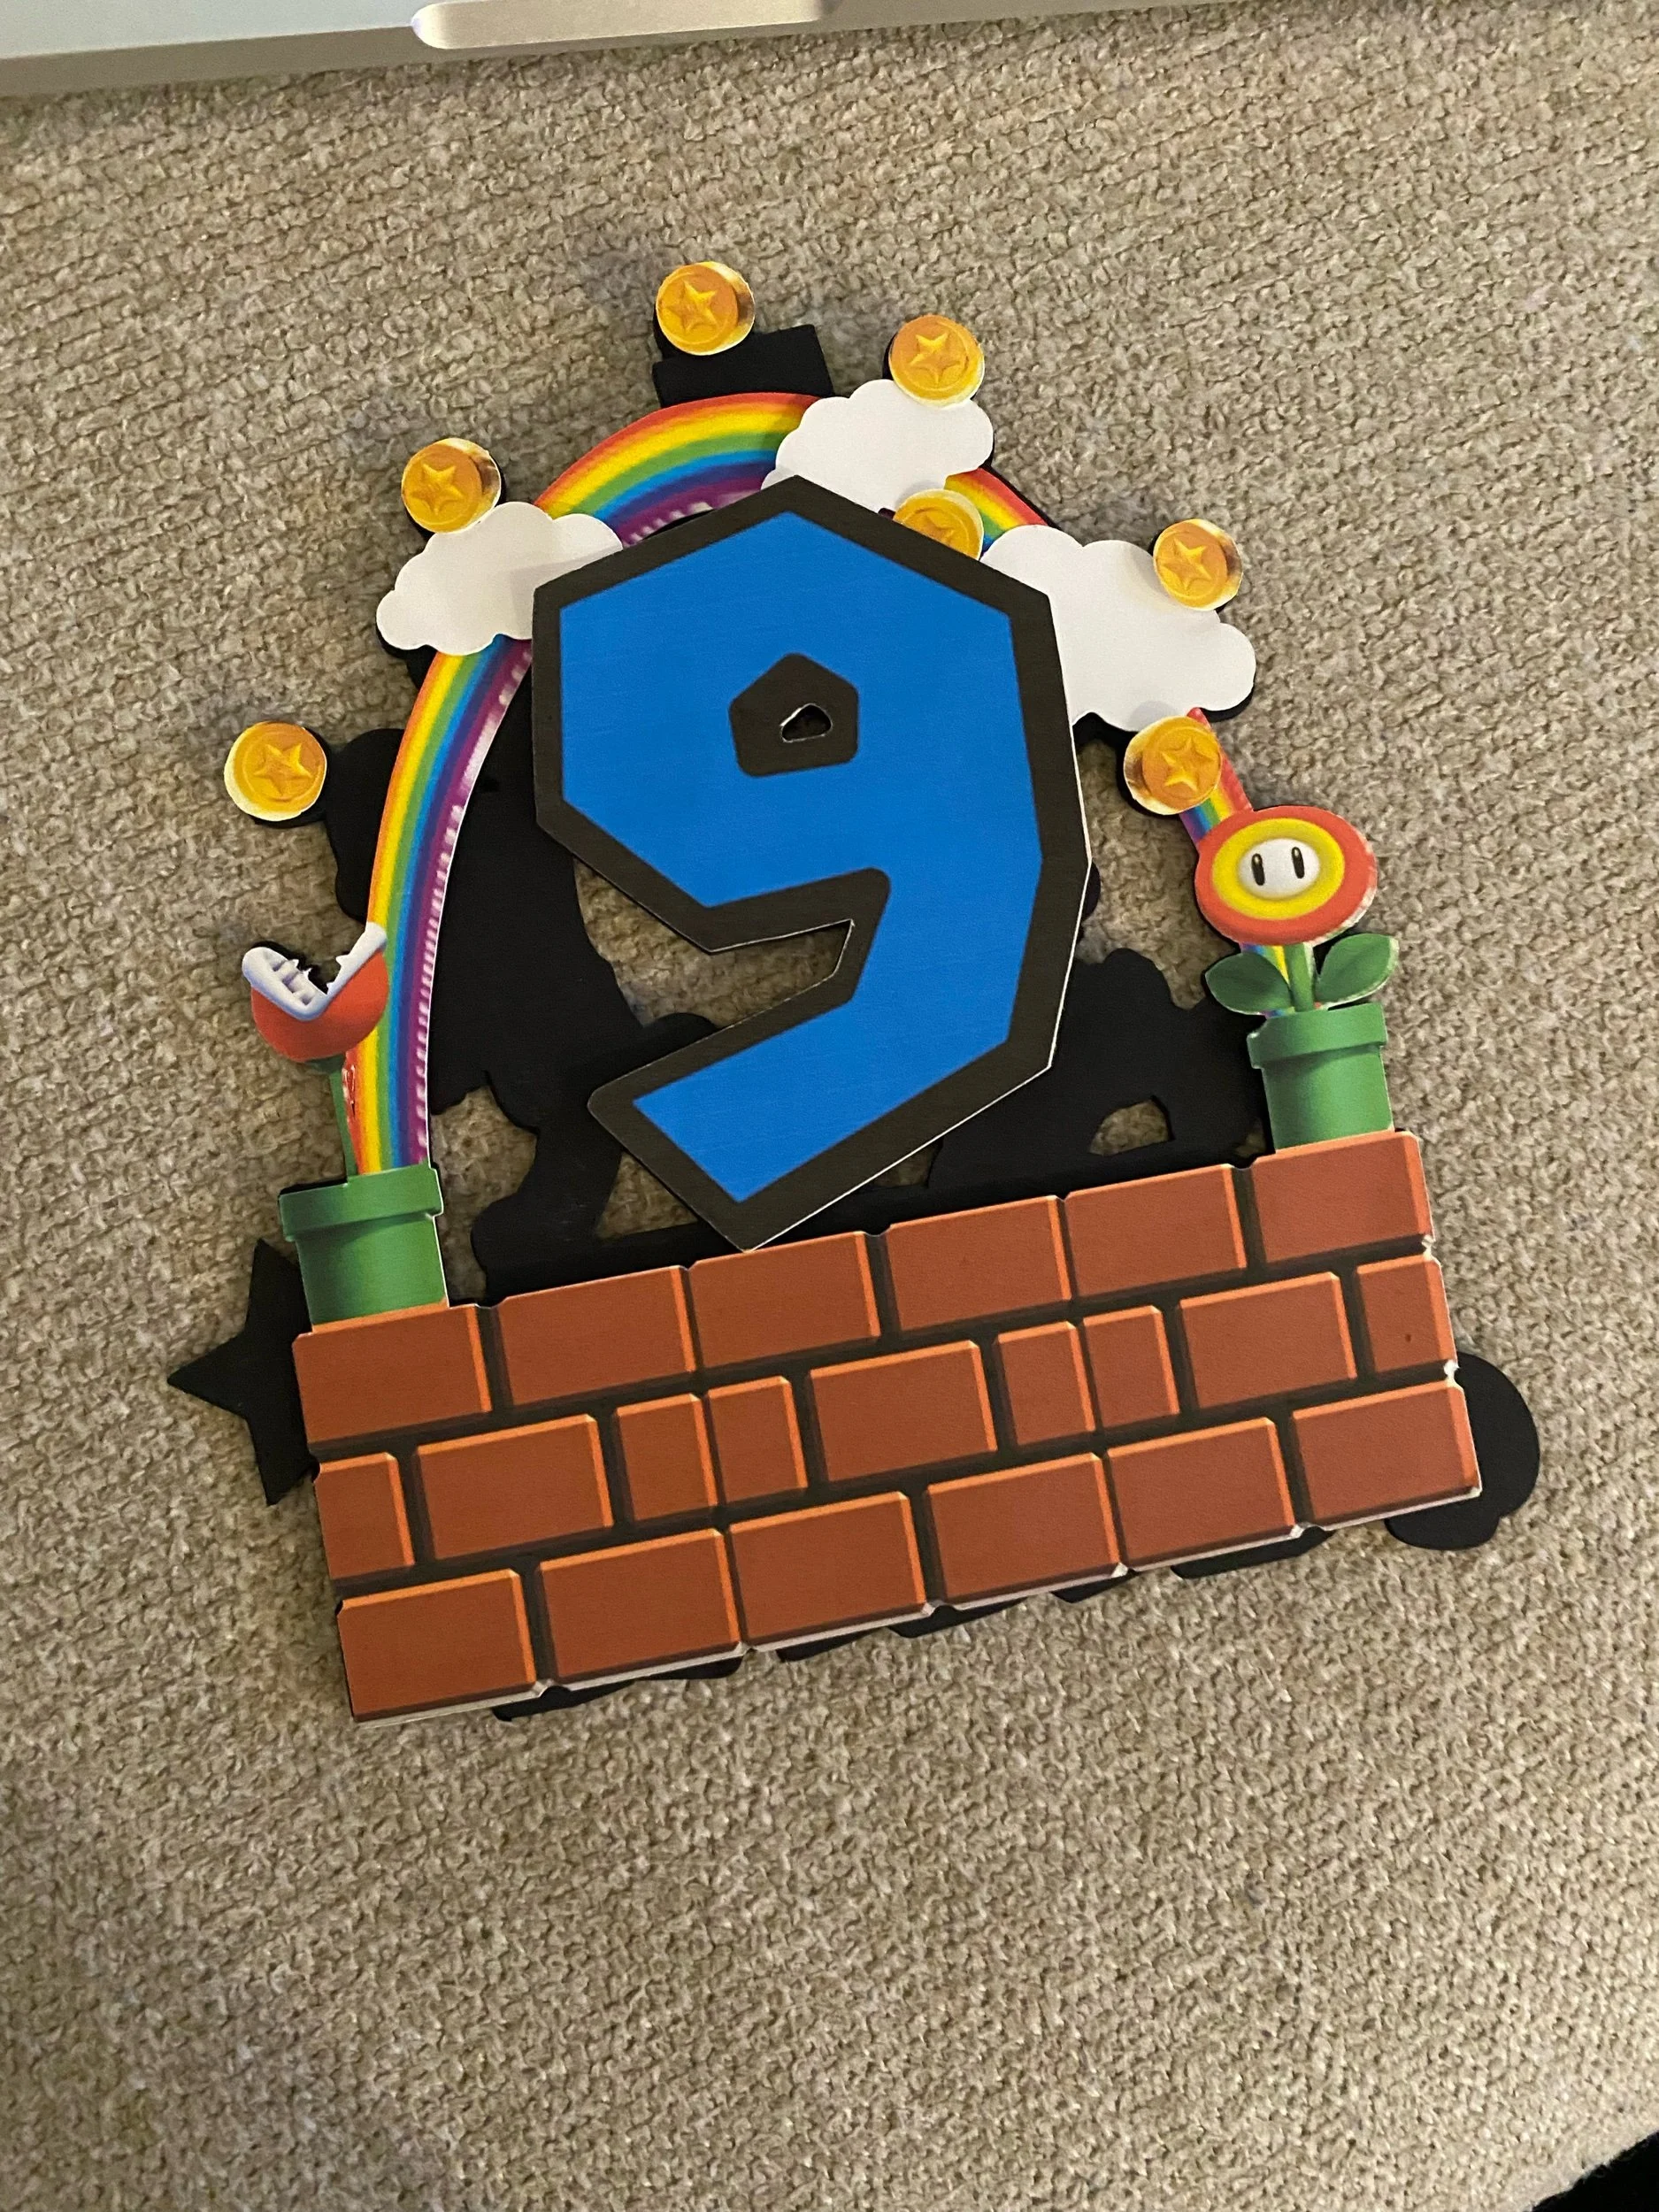
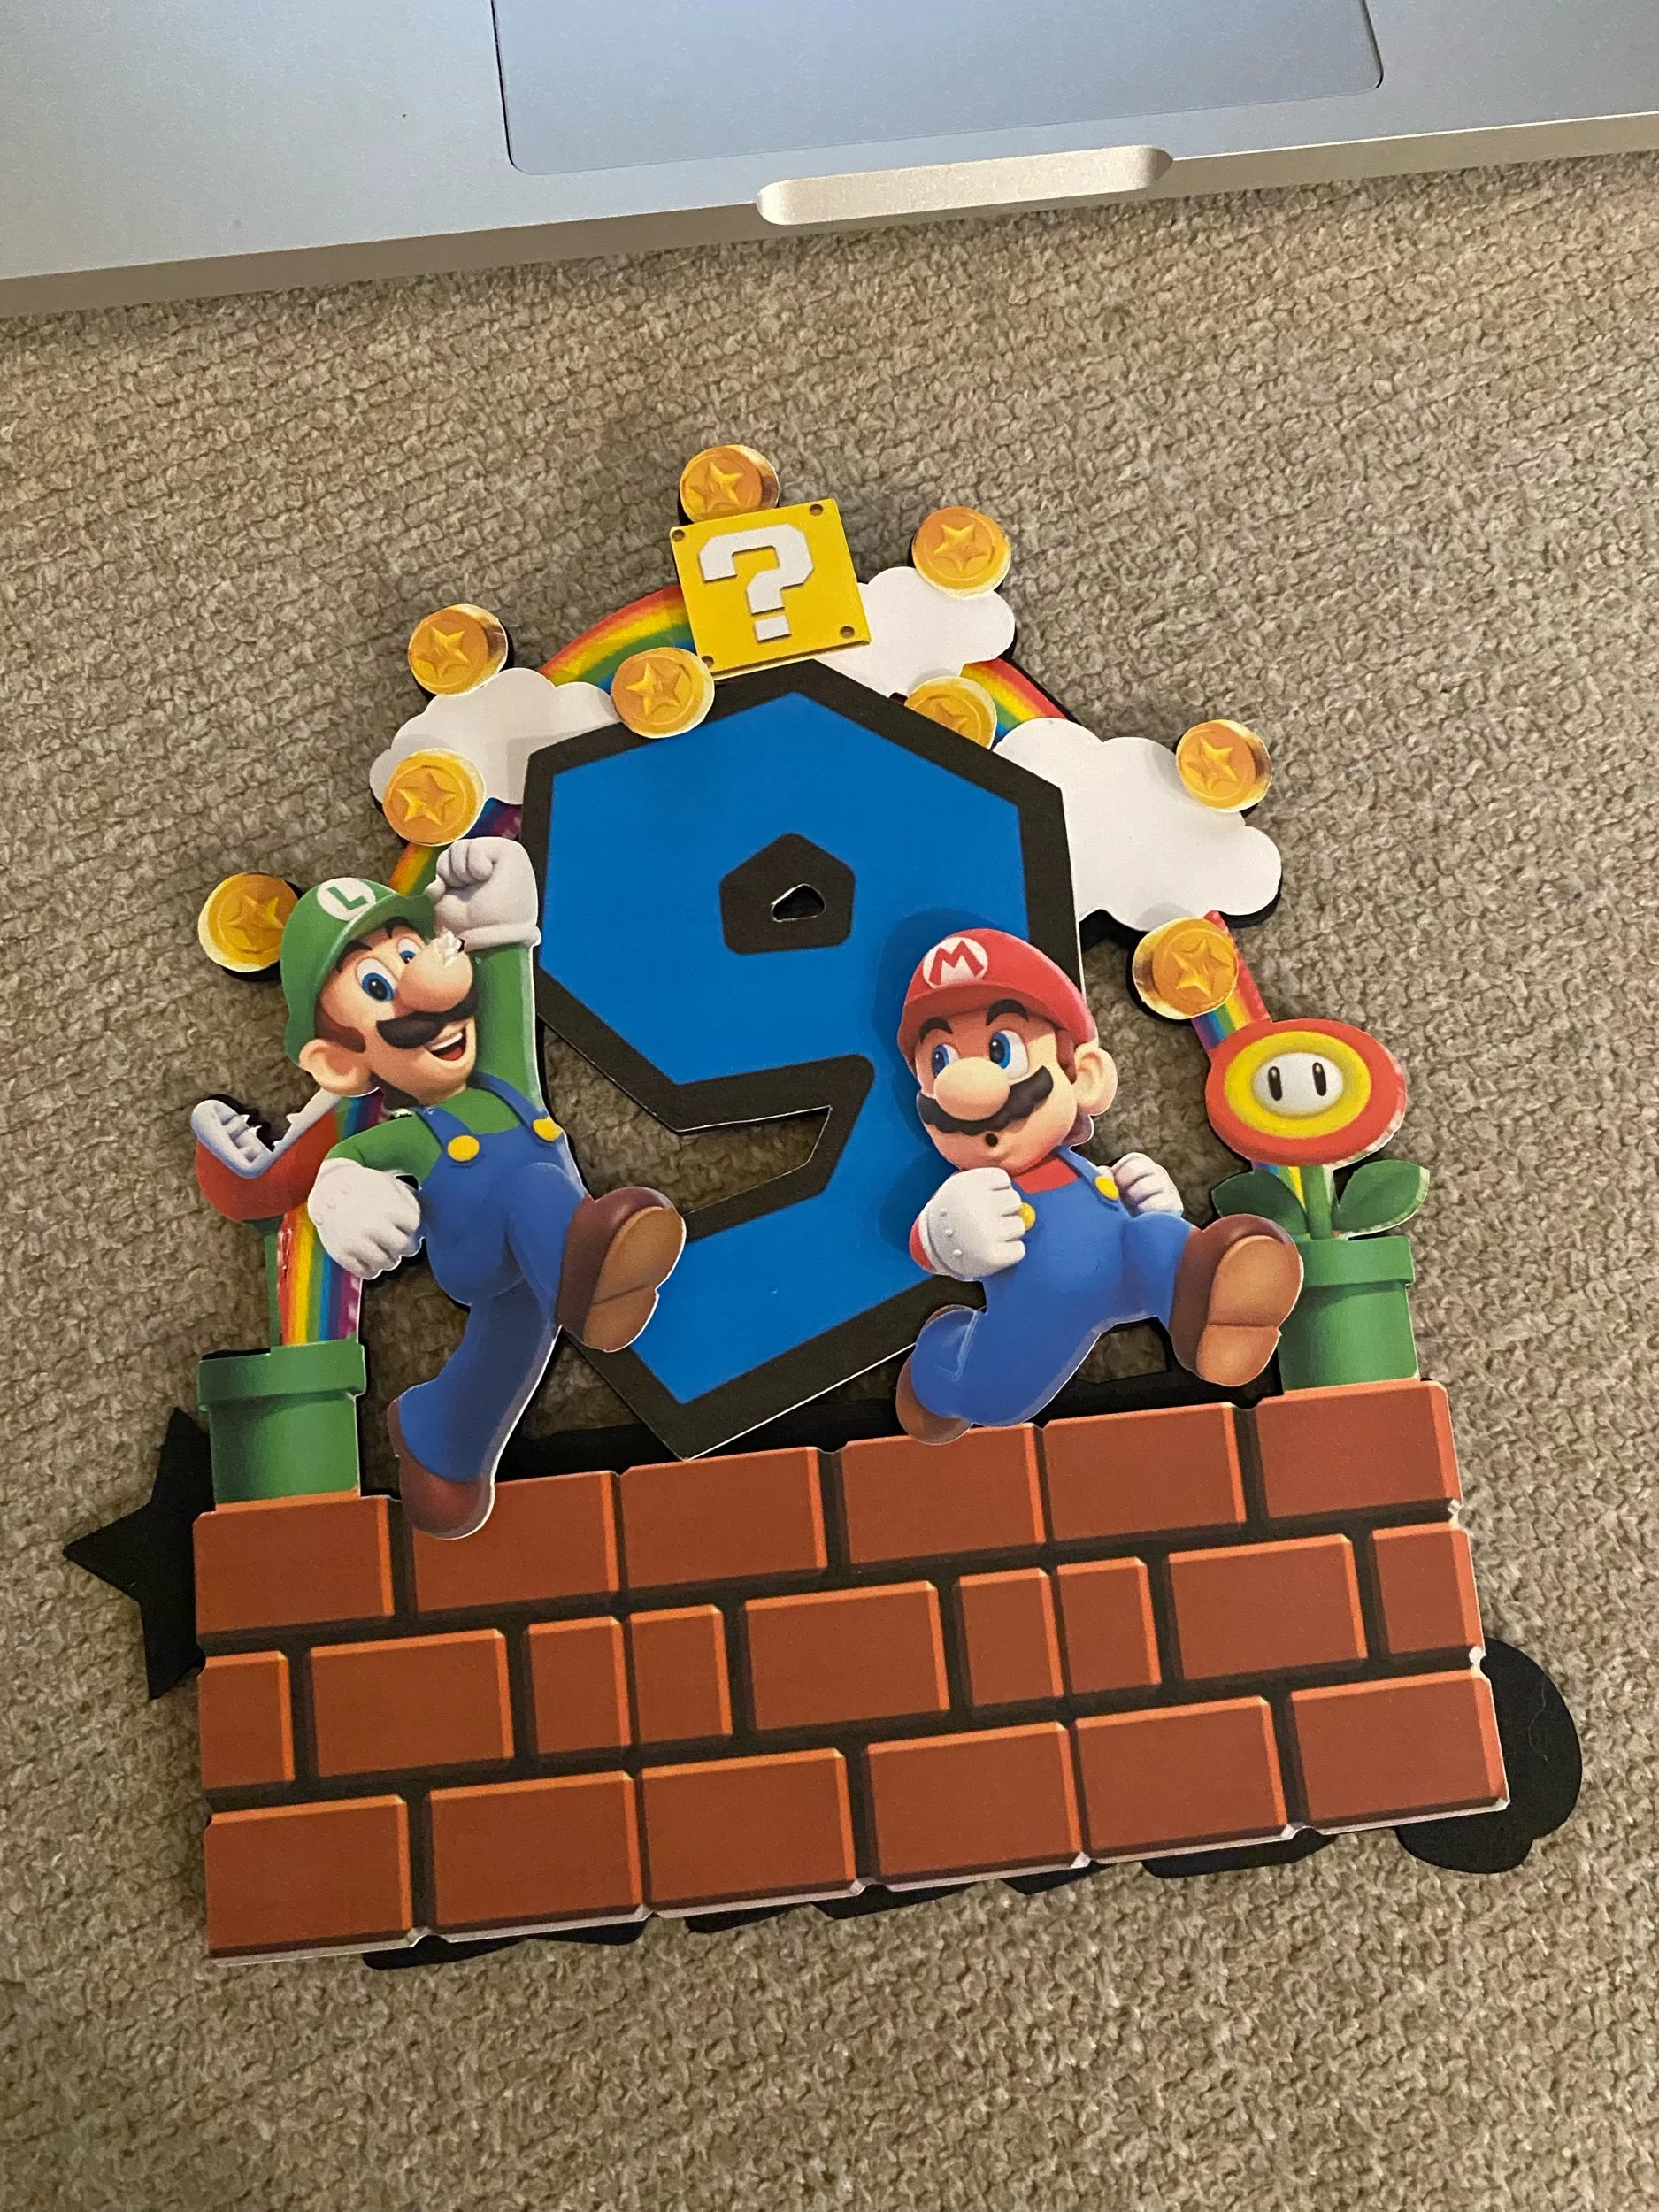

The last step to creating the cake topper is adding the lollipop sticks by hot gluing them to the back of the black cardstock. It is important to make sure these are glued on straight and align with the lowest portions of the design. This way the sticks aren’t visible and the cardstock does not need to go all the way into the icing.
The Favors
Amazon
Individual bags of chips

The Shirt
The day before the party, we decided we were missing a festive shirt. After unsuccessfully looking for a Super Mario shirt in stores, Jacob decided he wanted a shirt with a Nintendo Switch on it and the phrase, “Level 9 Unlocked.”
Here is the Cricut Design Space project link to the design we created.
Bonus: Class Cupcakes

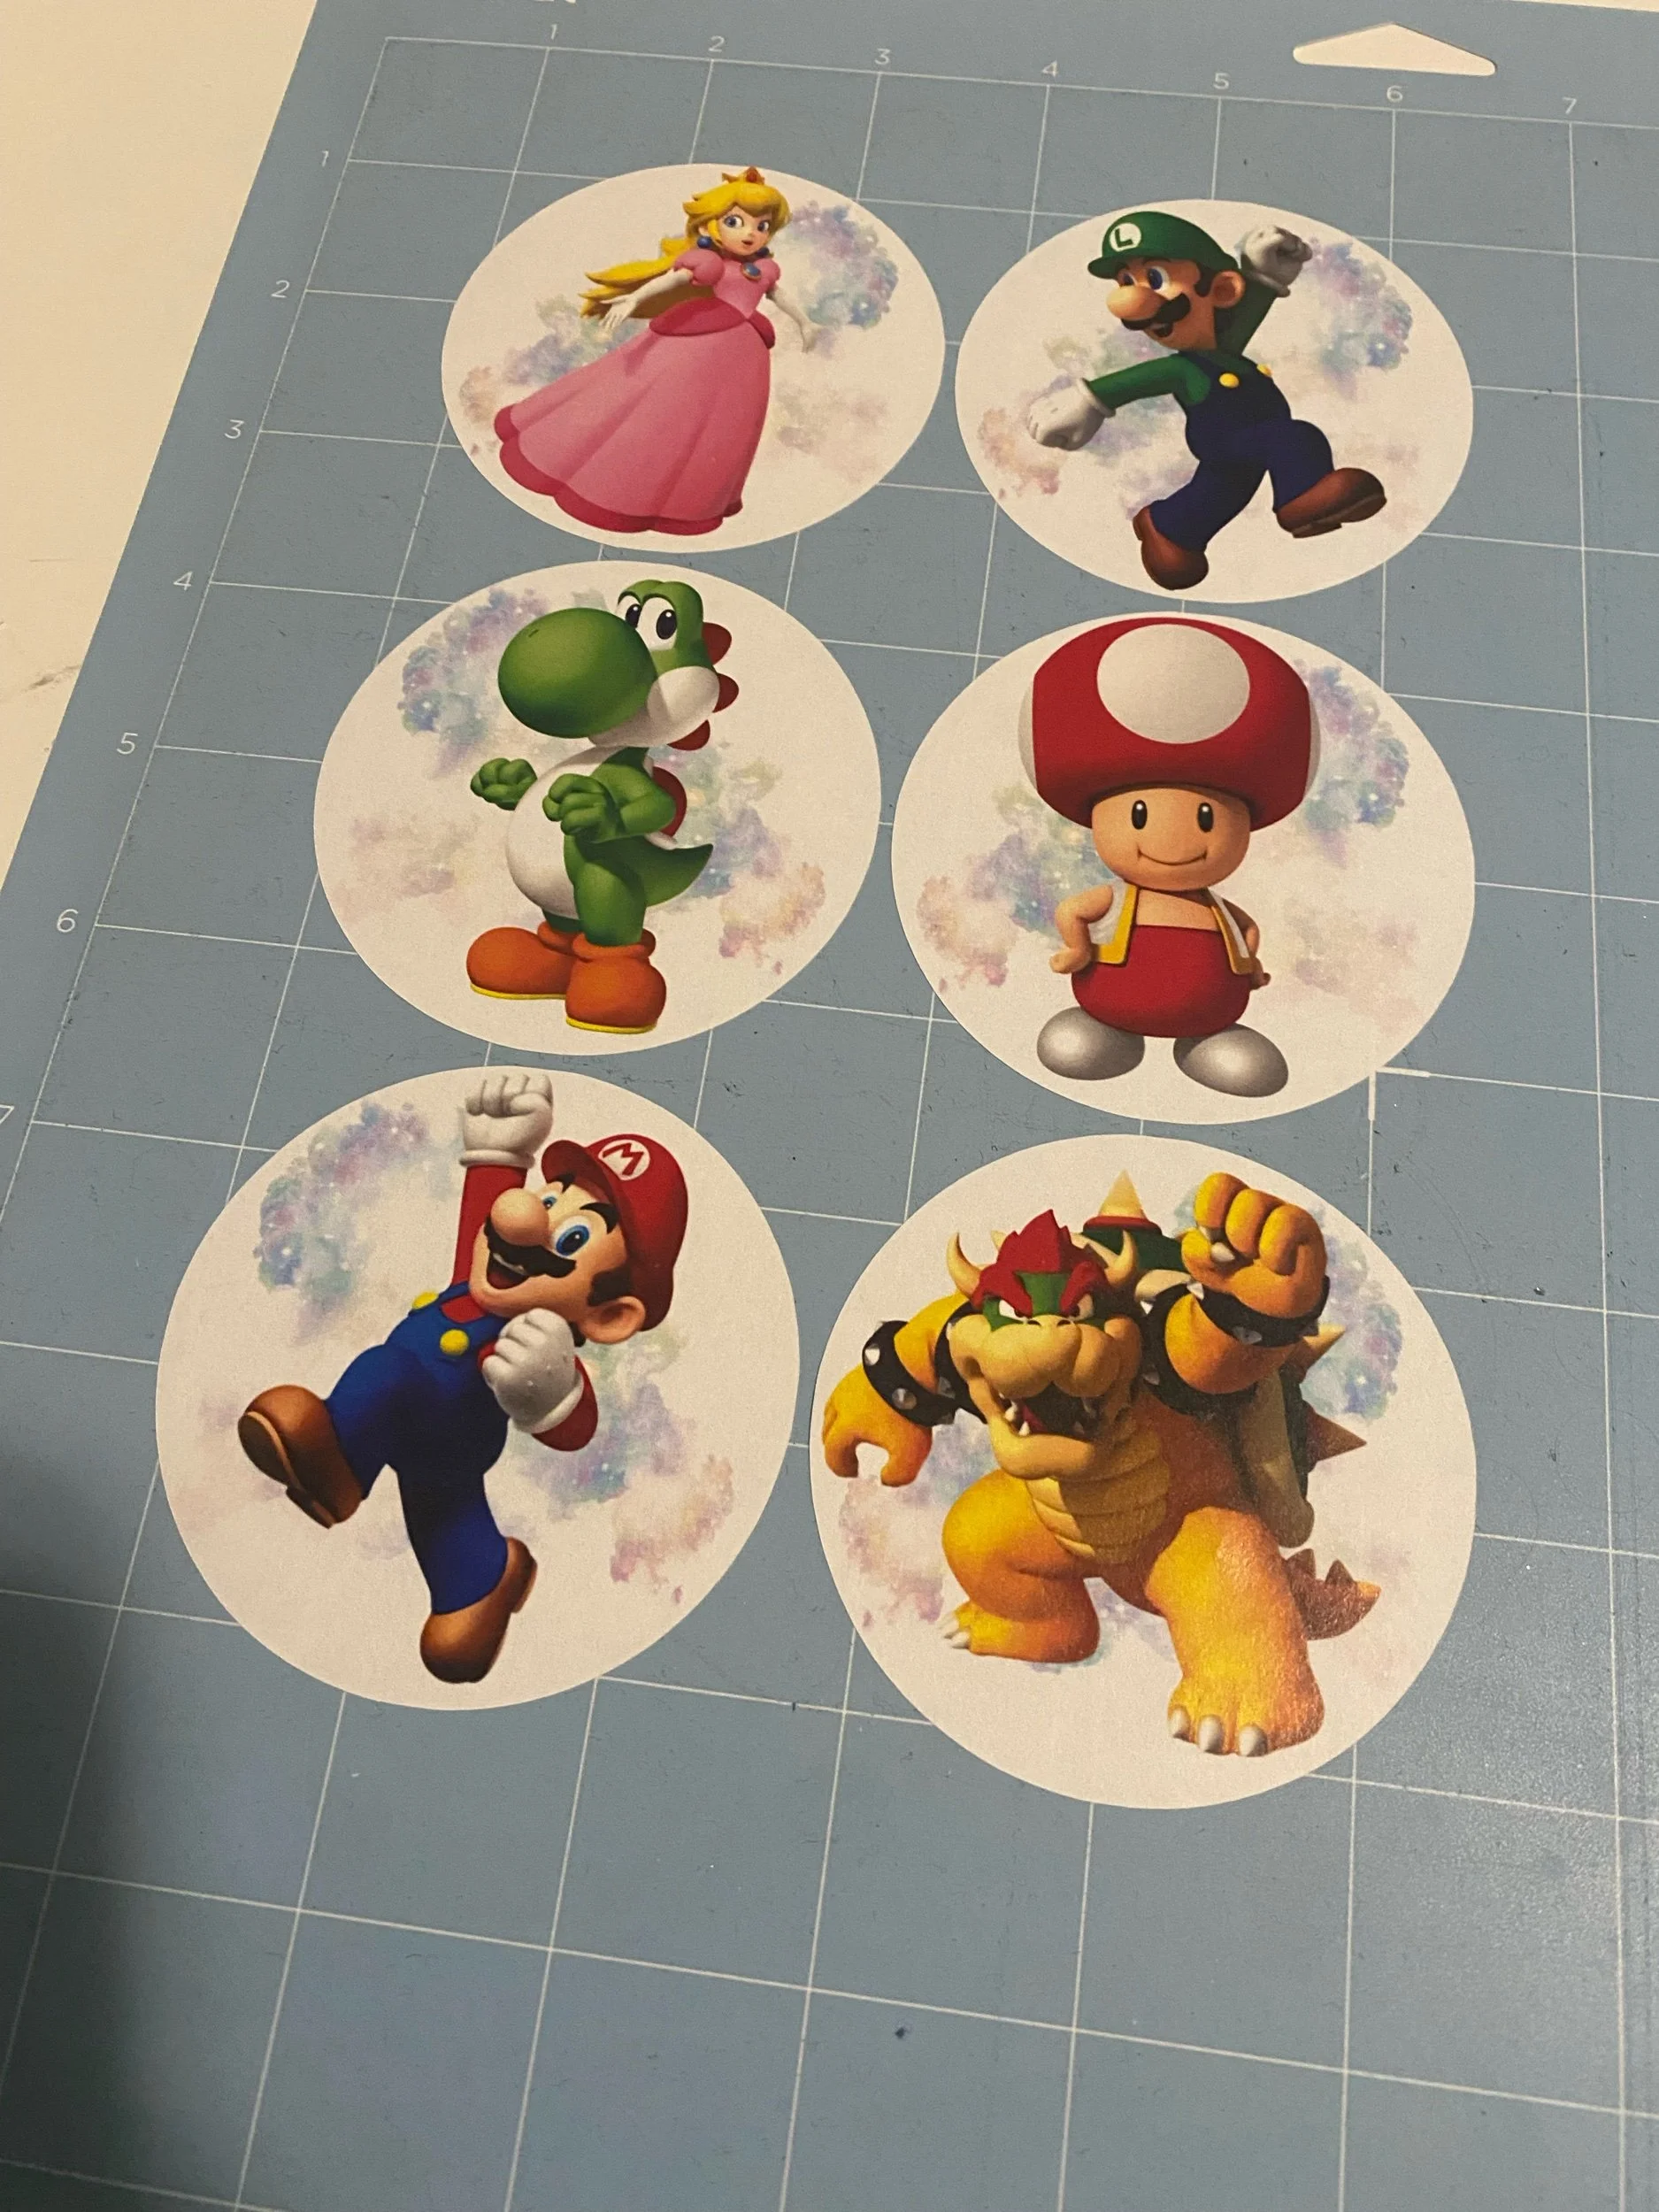
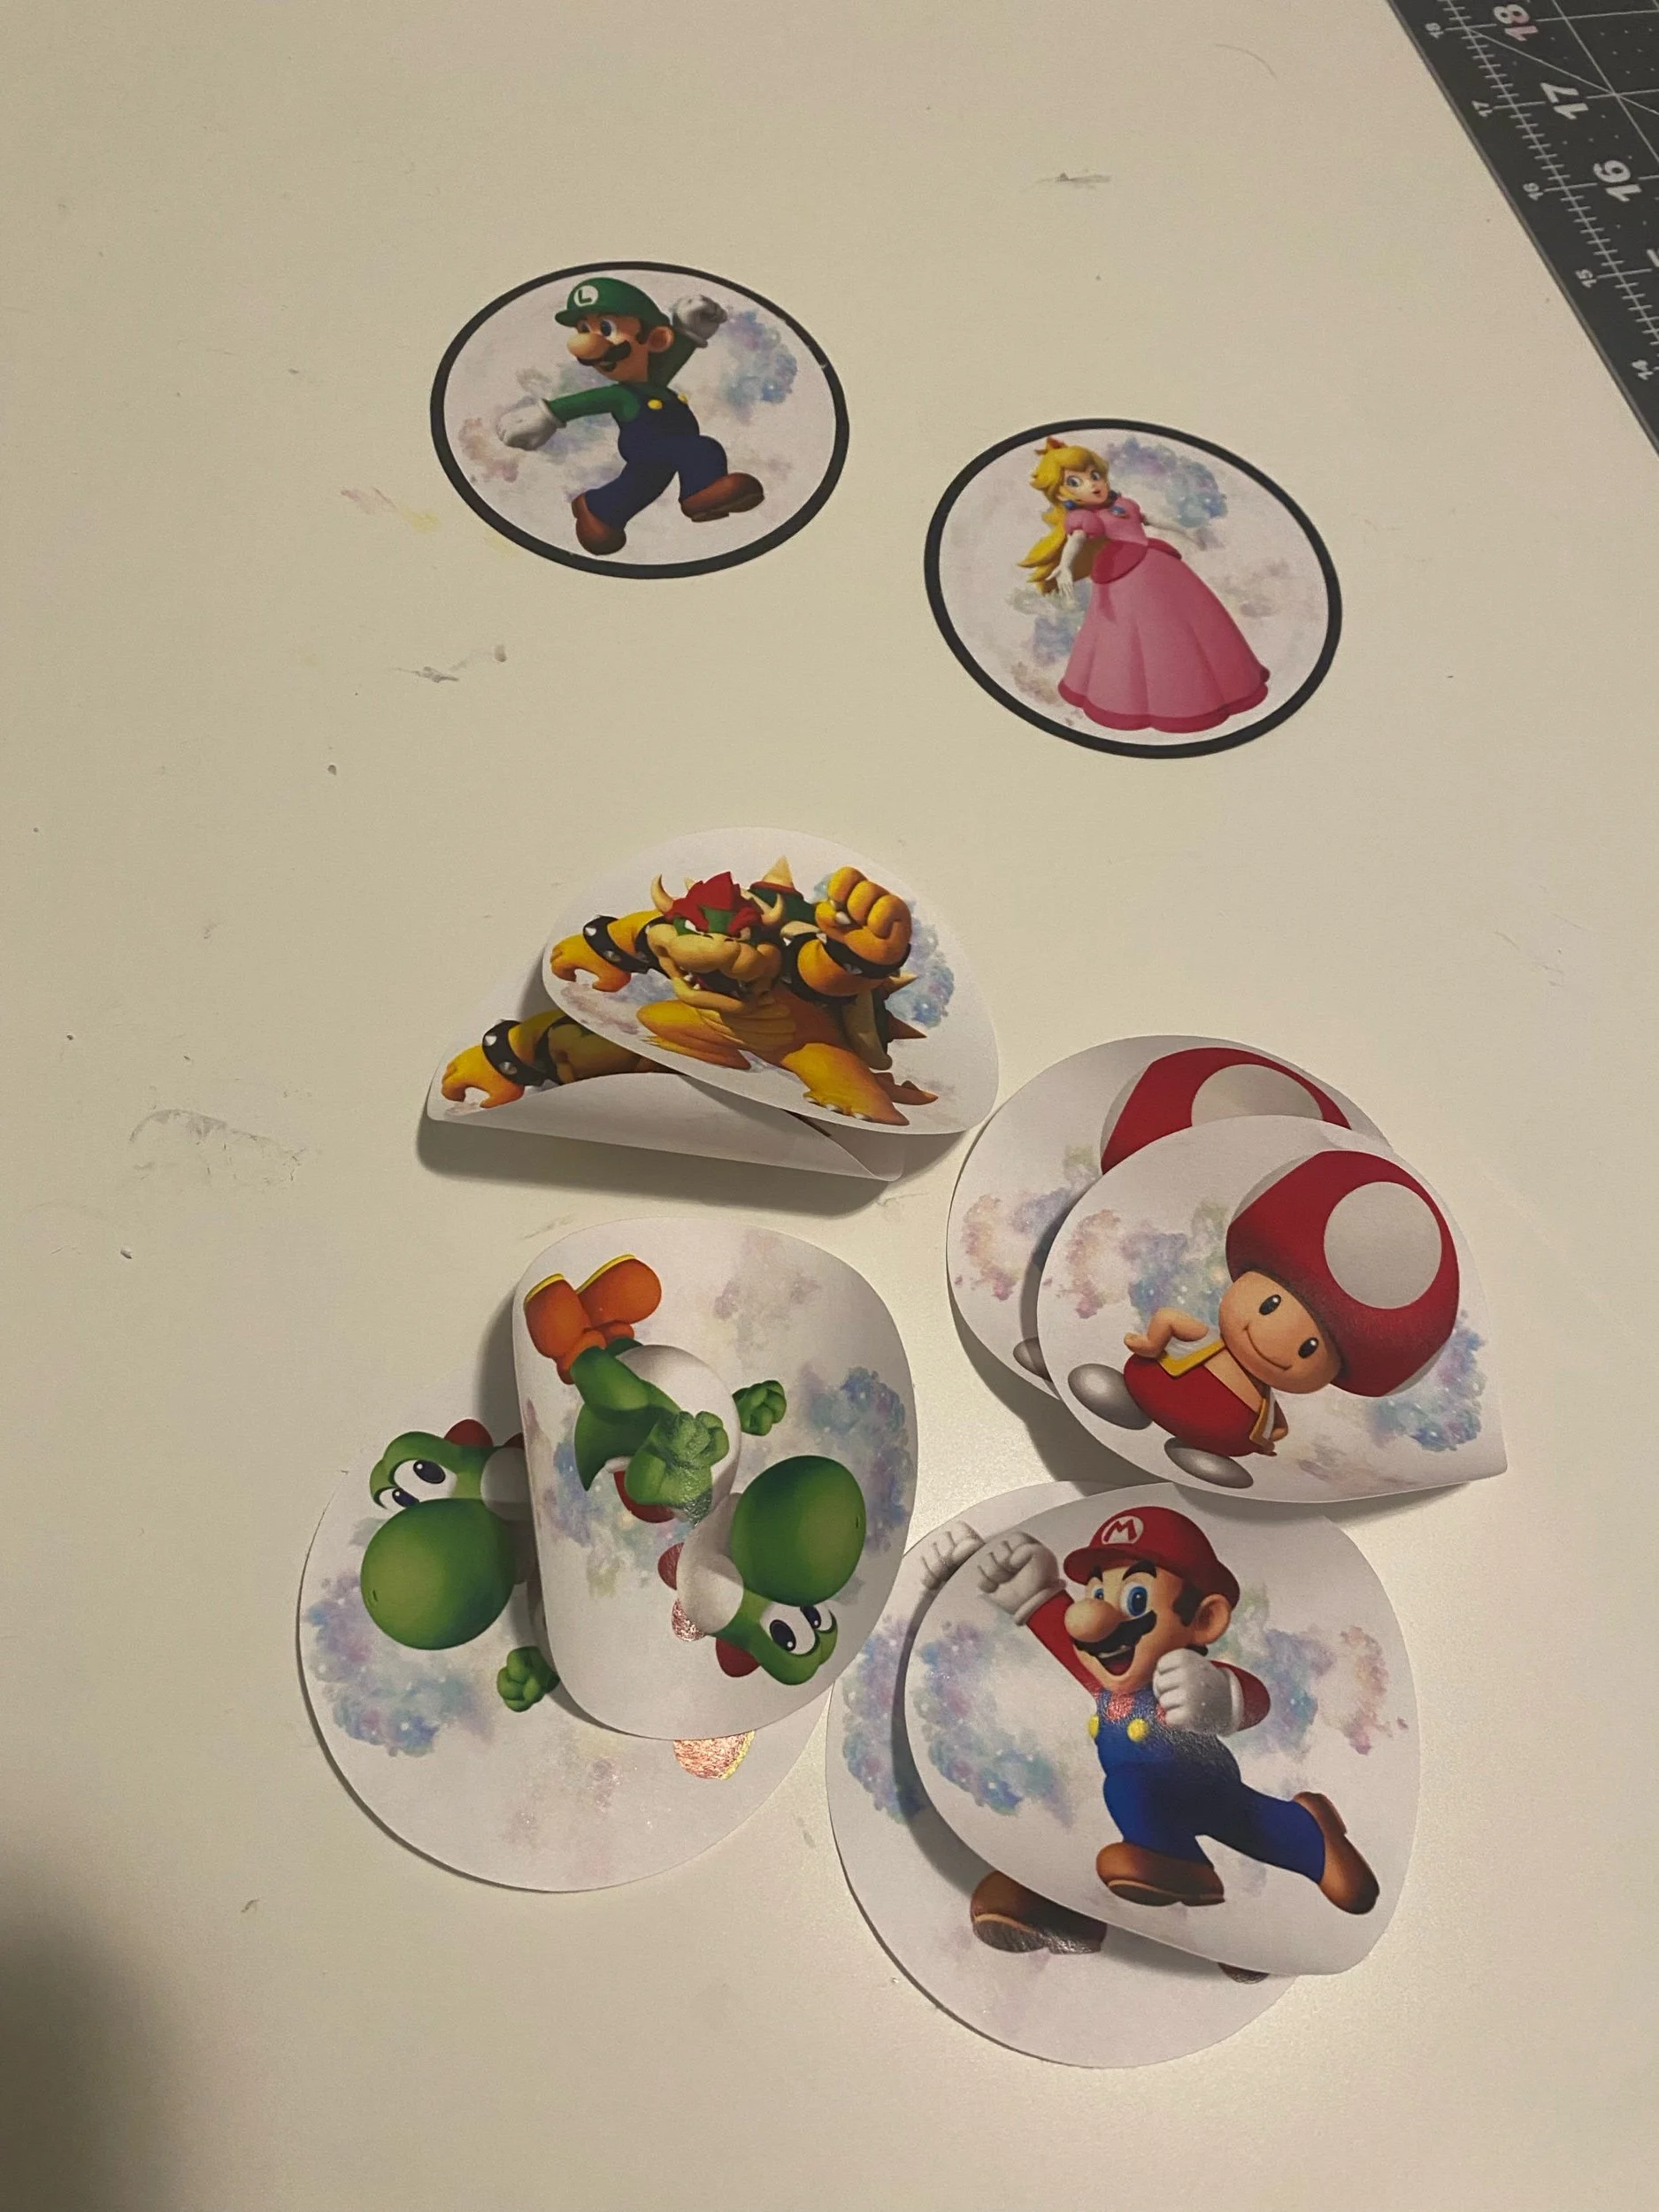
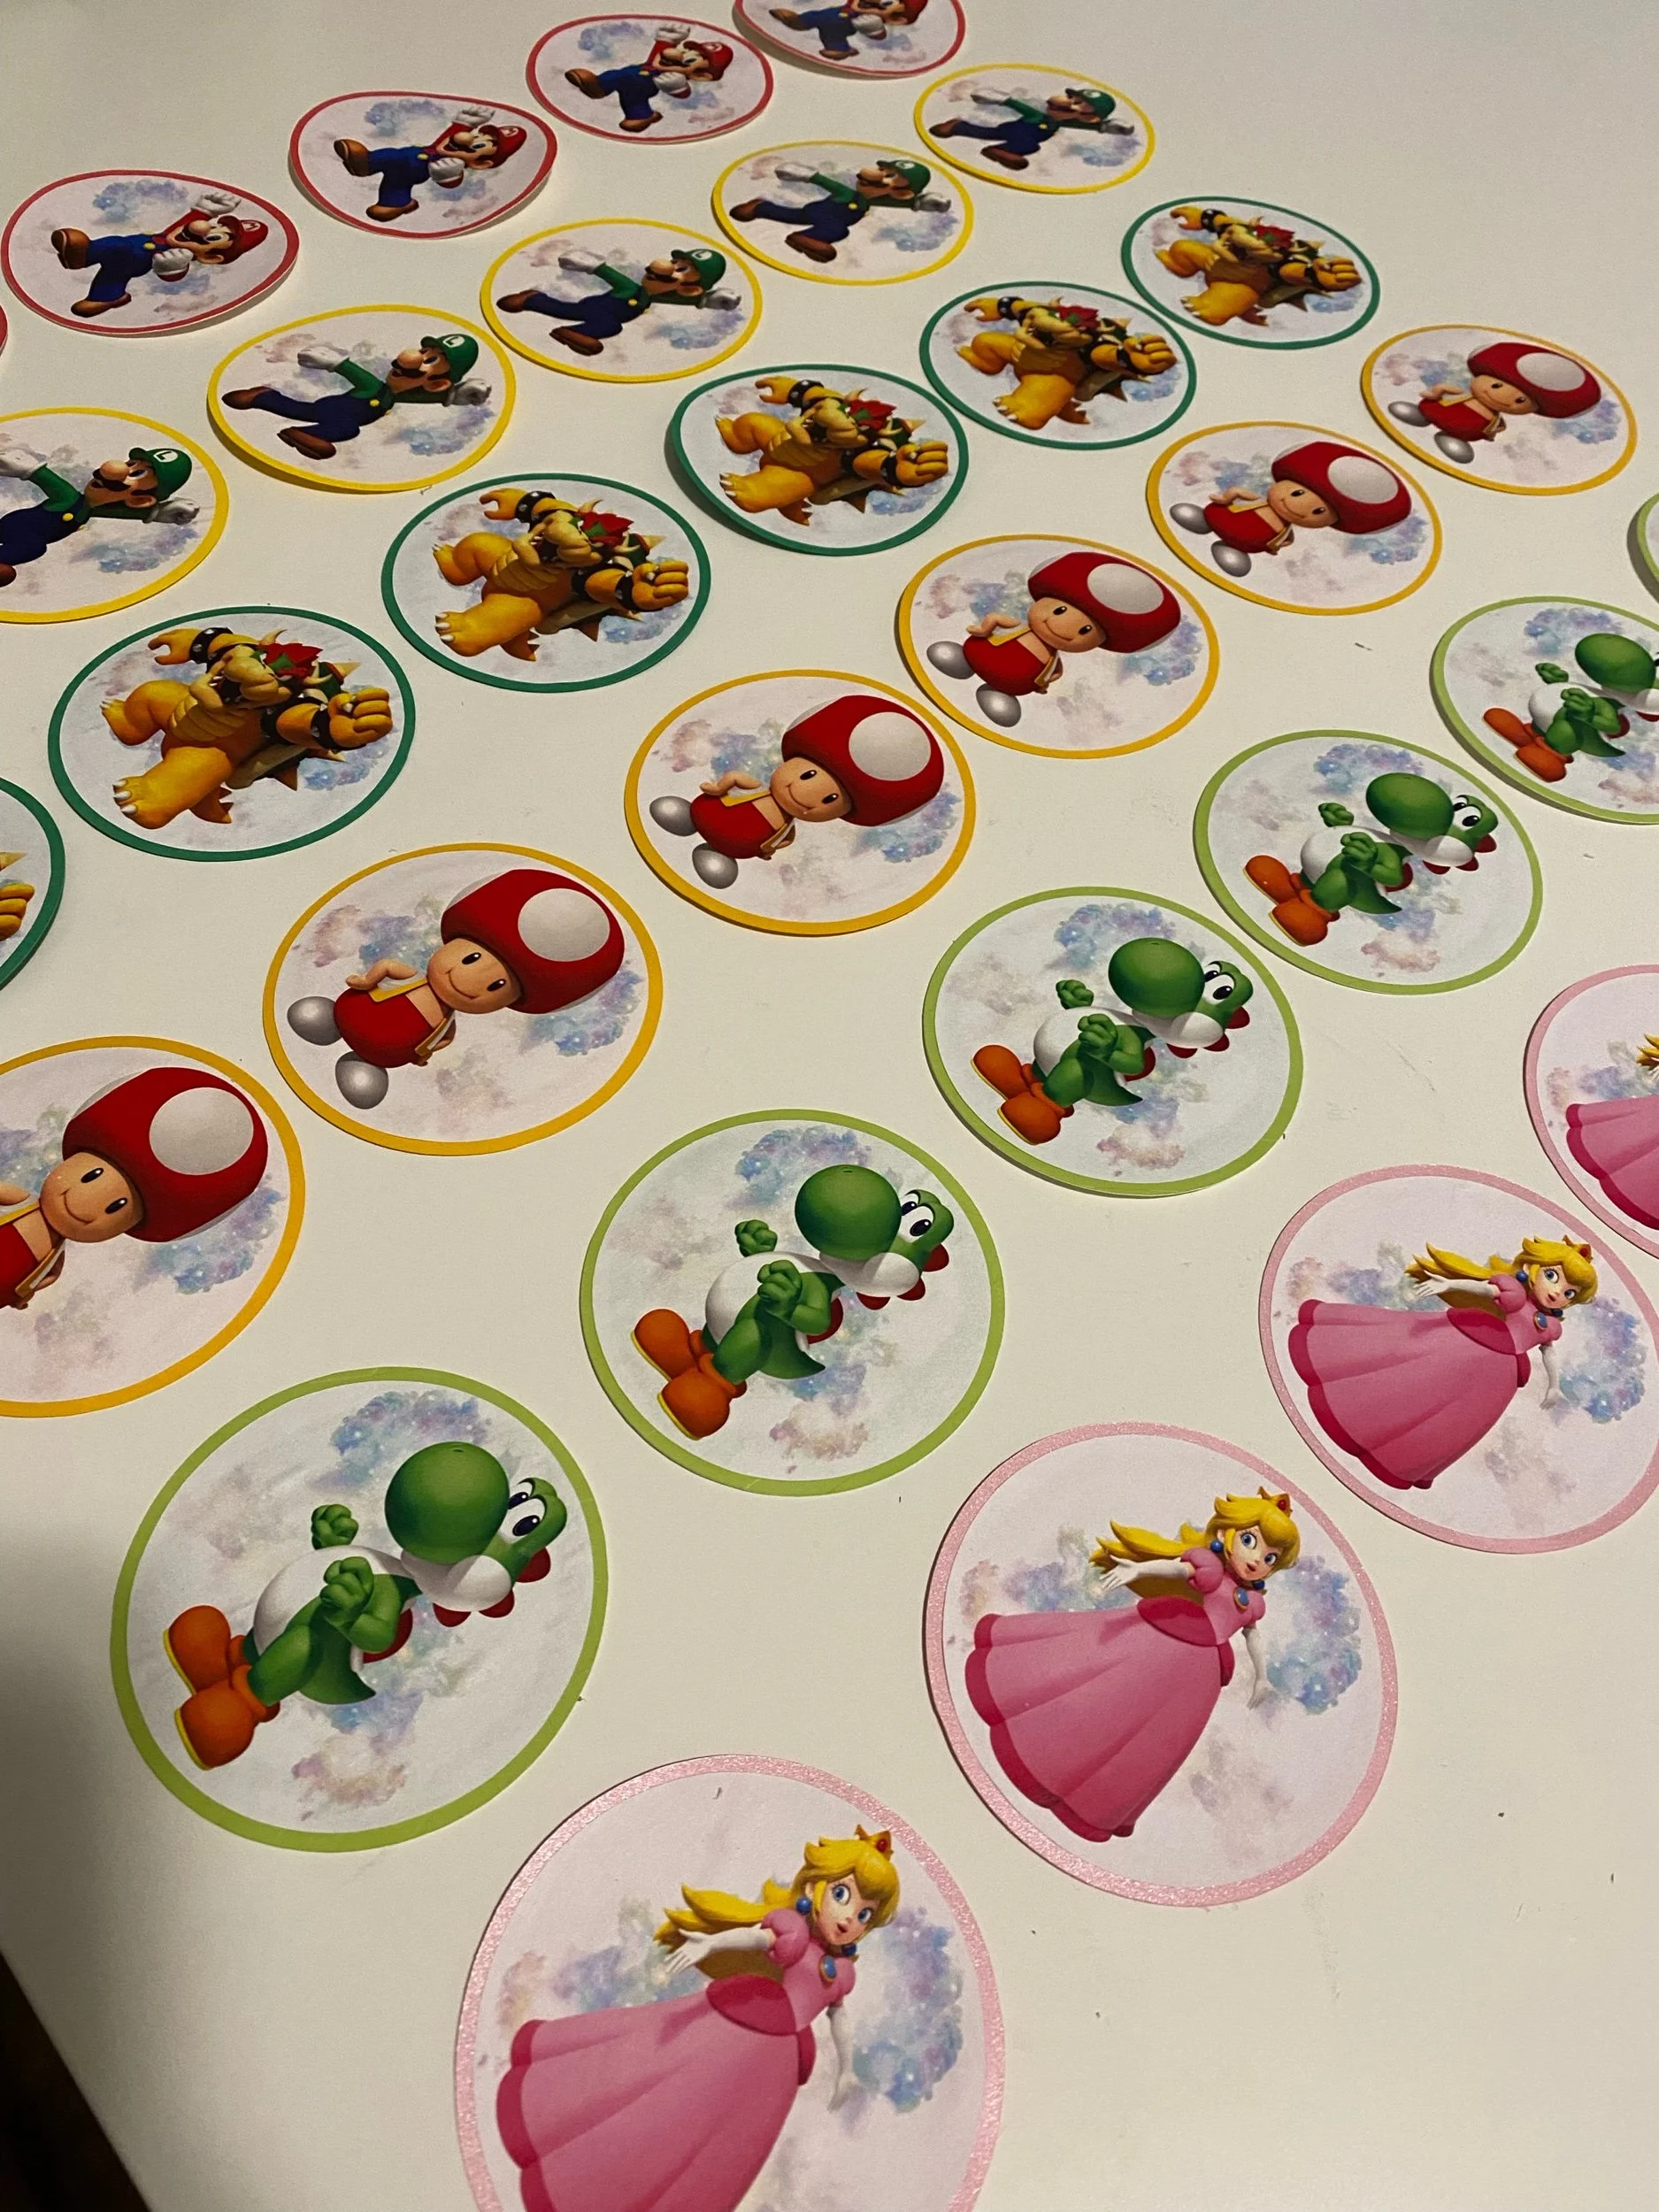
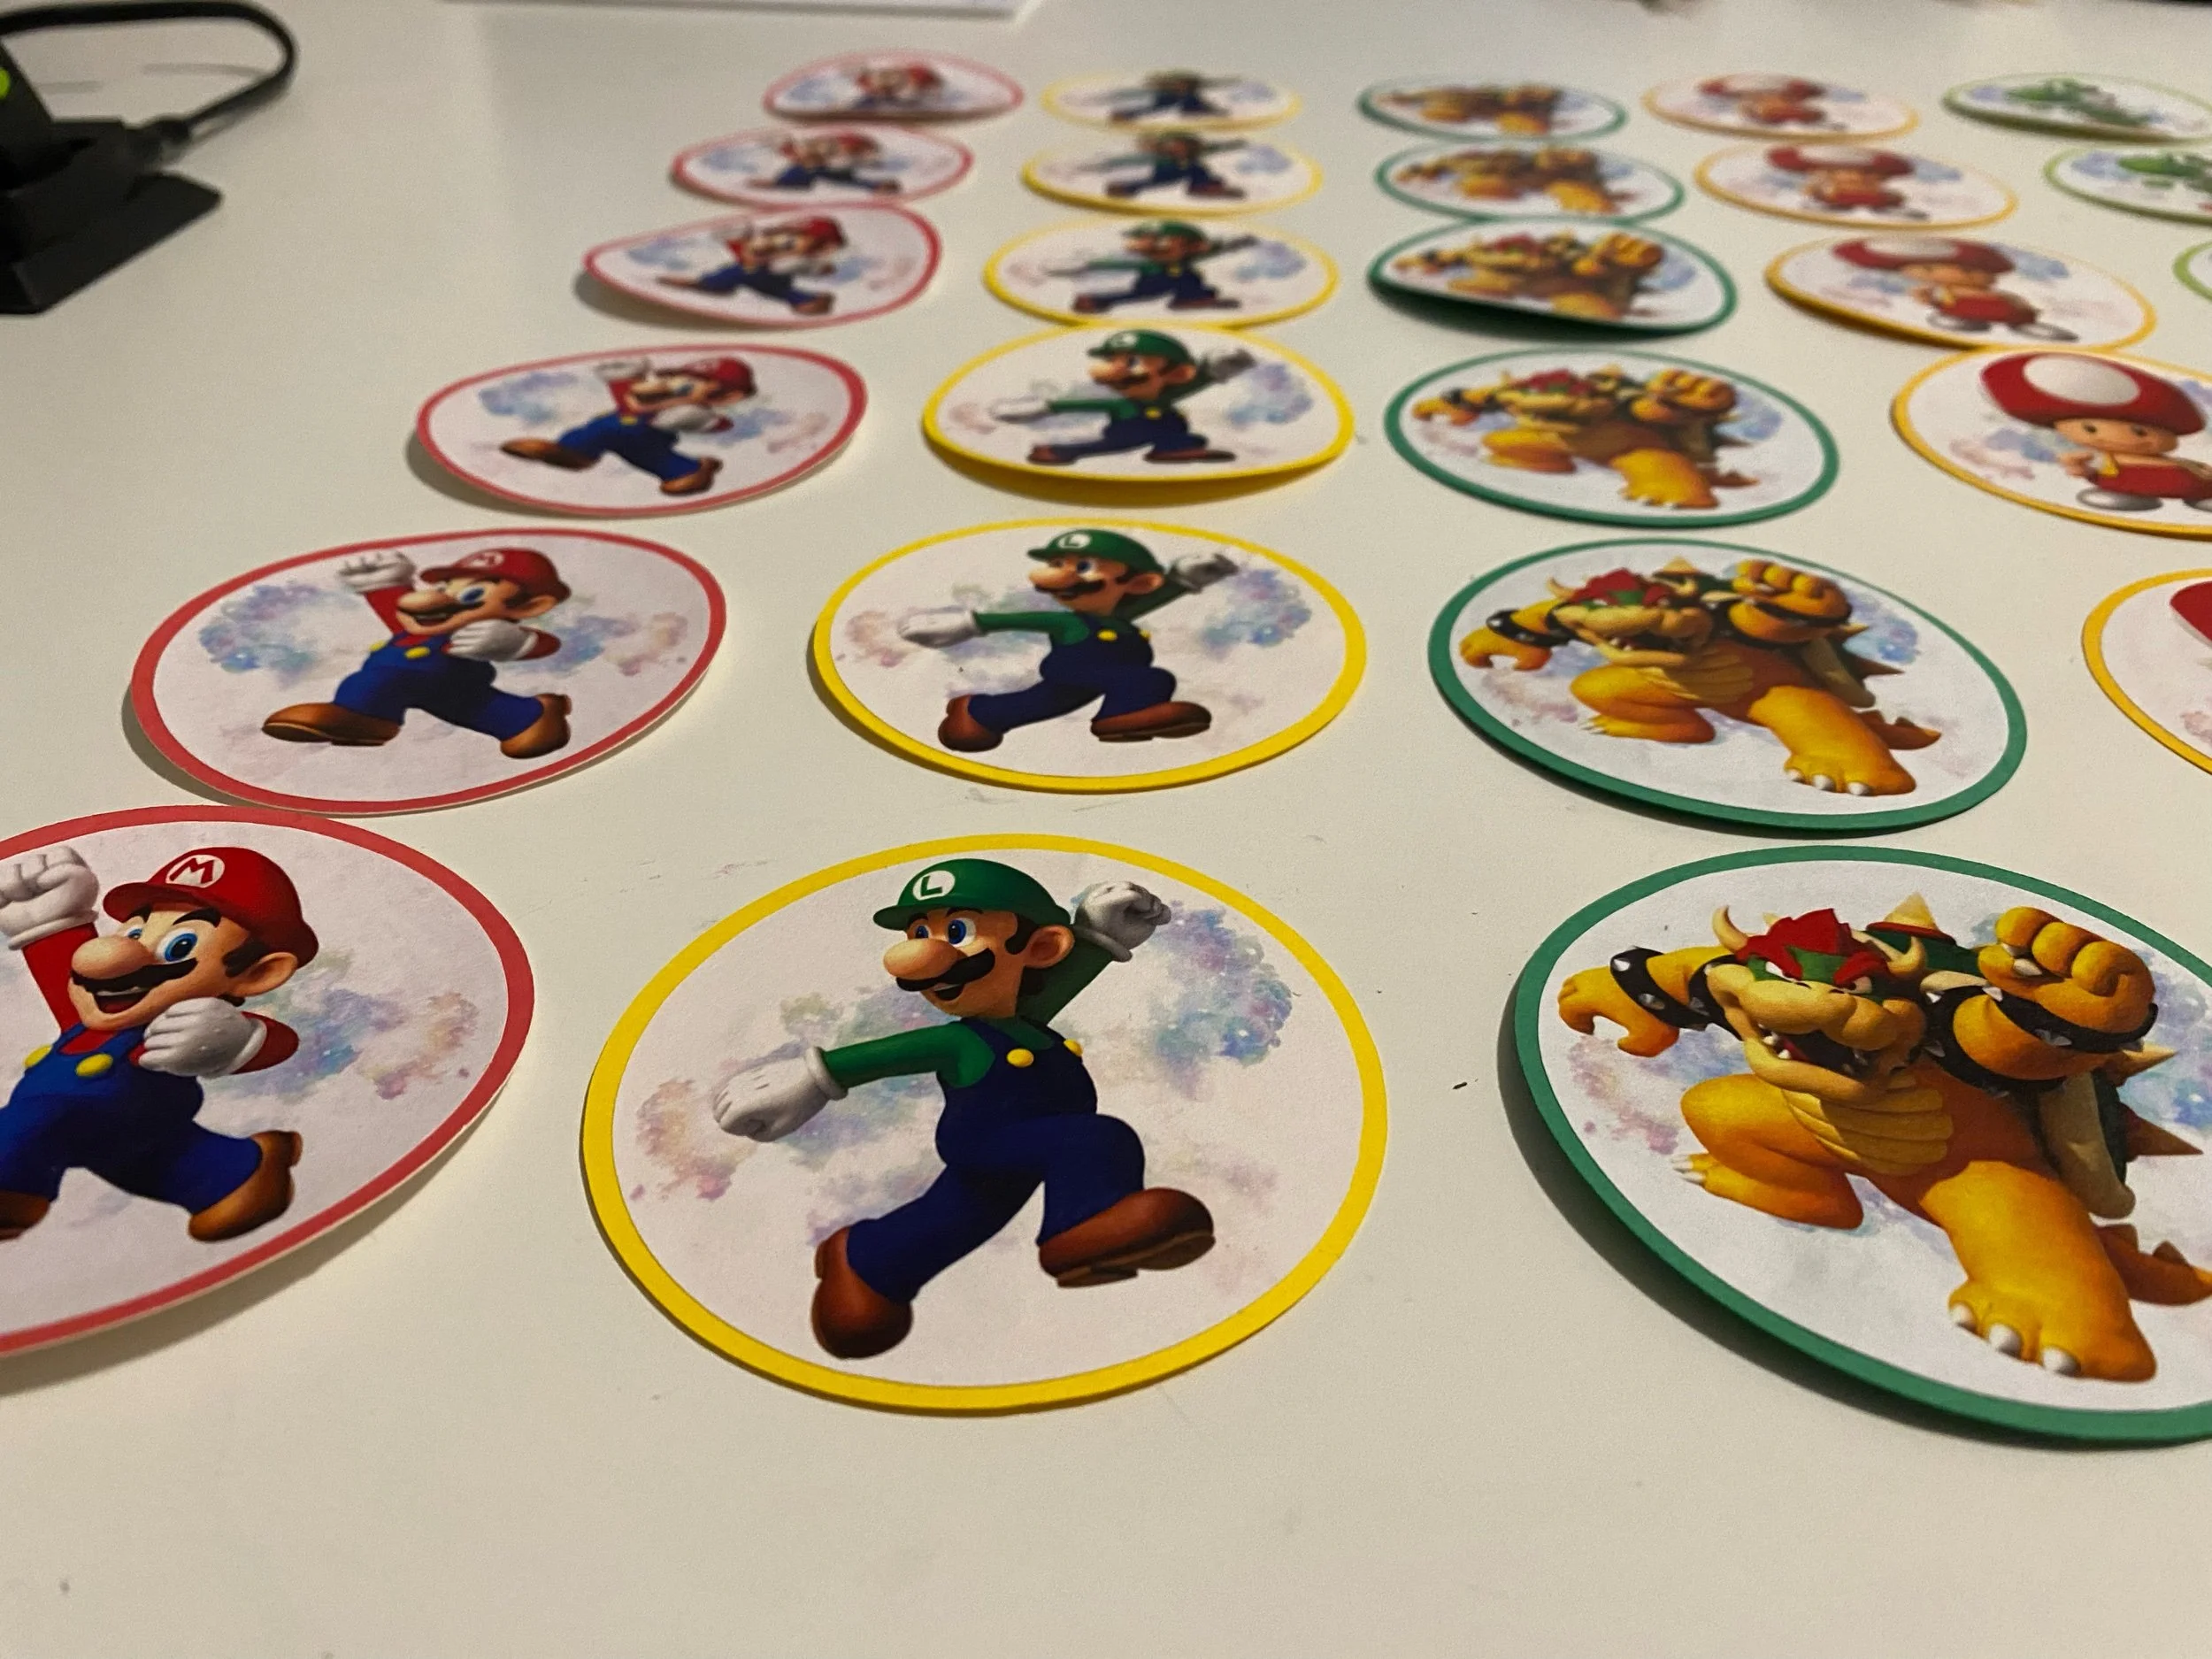
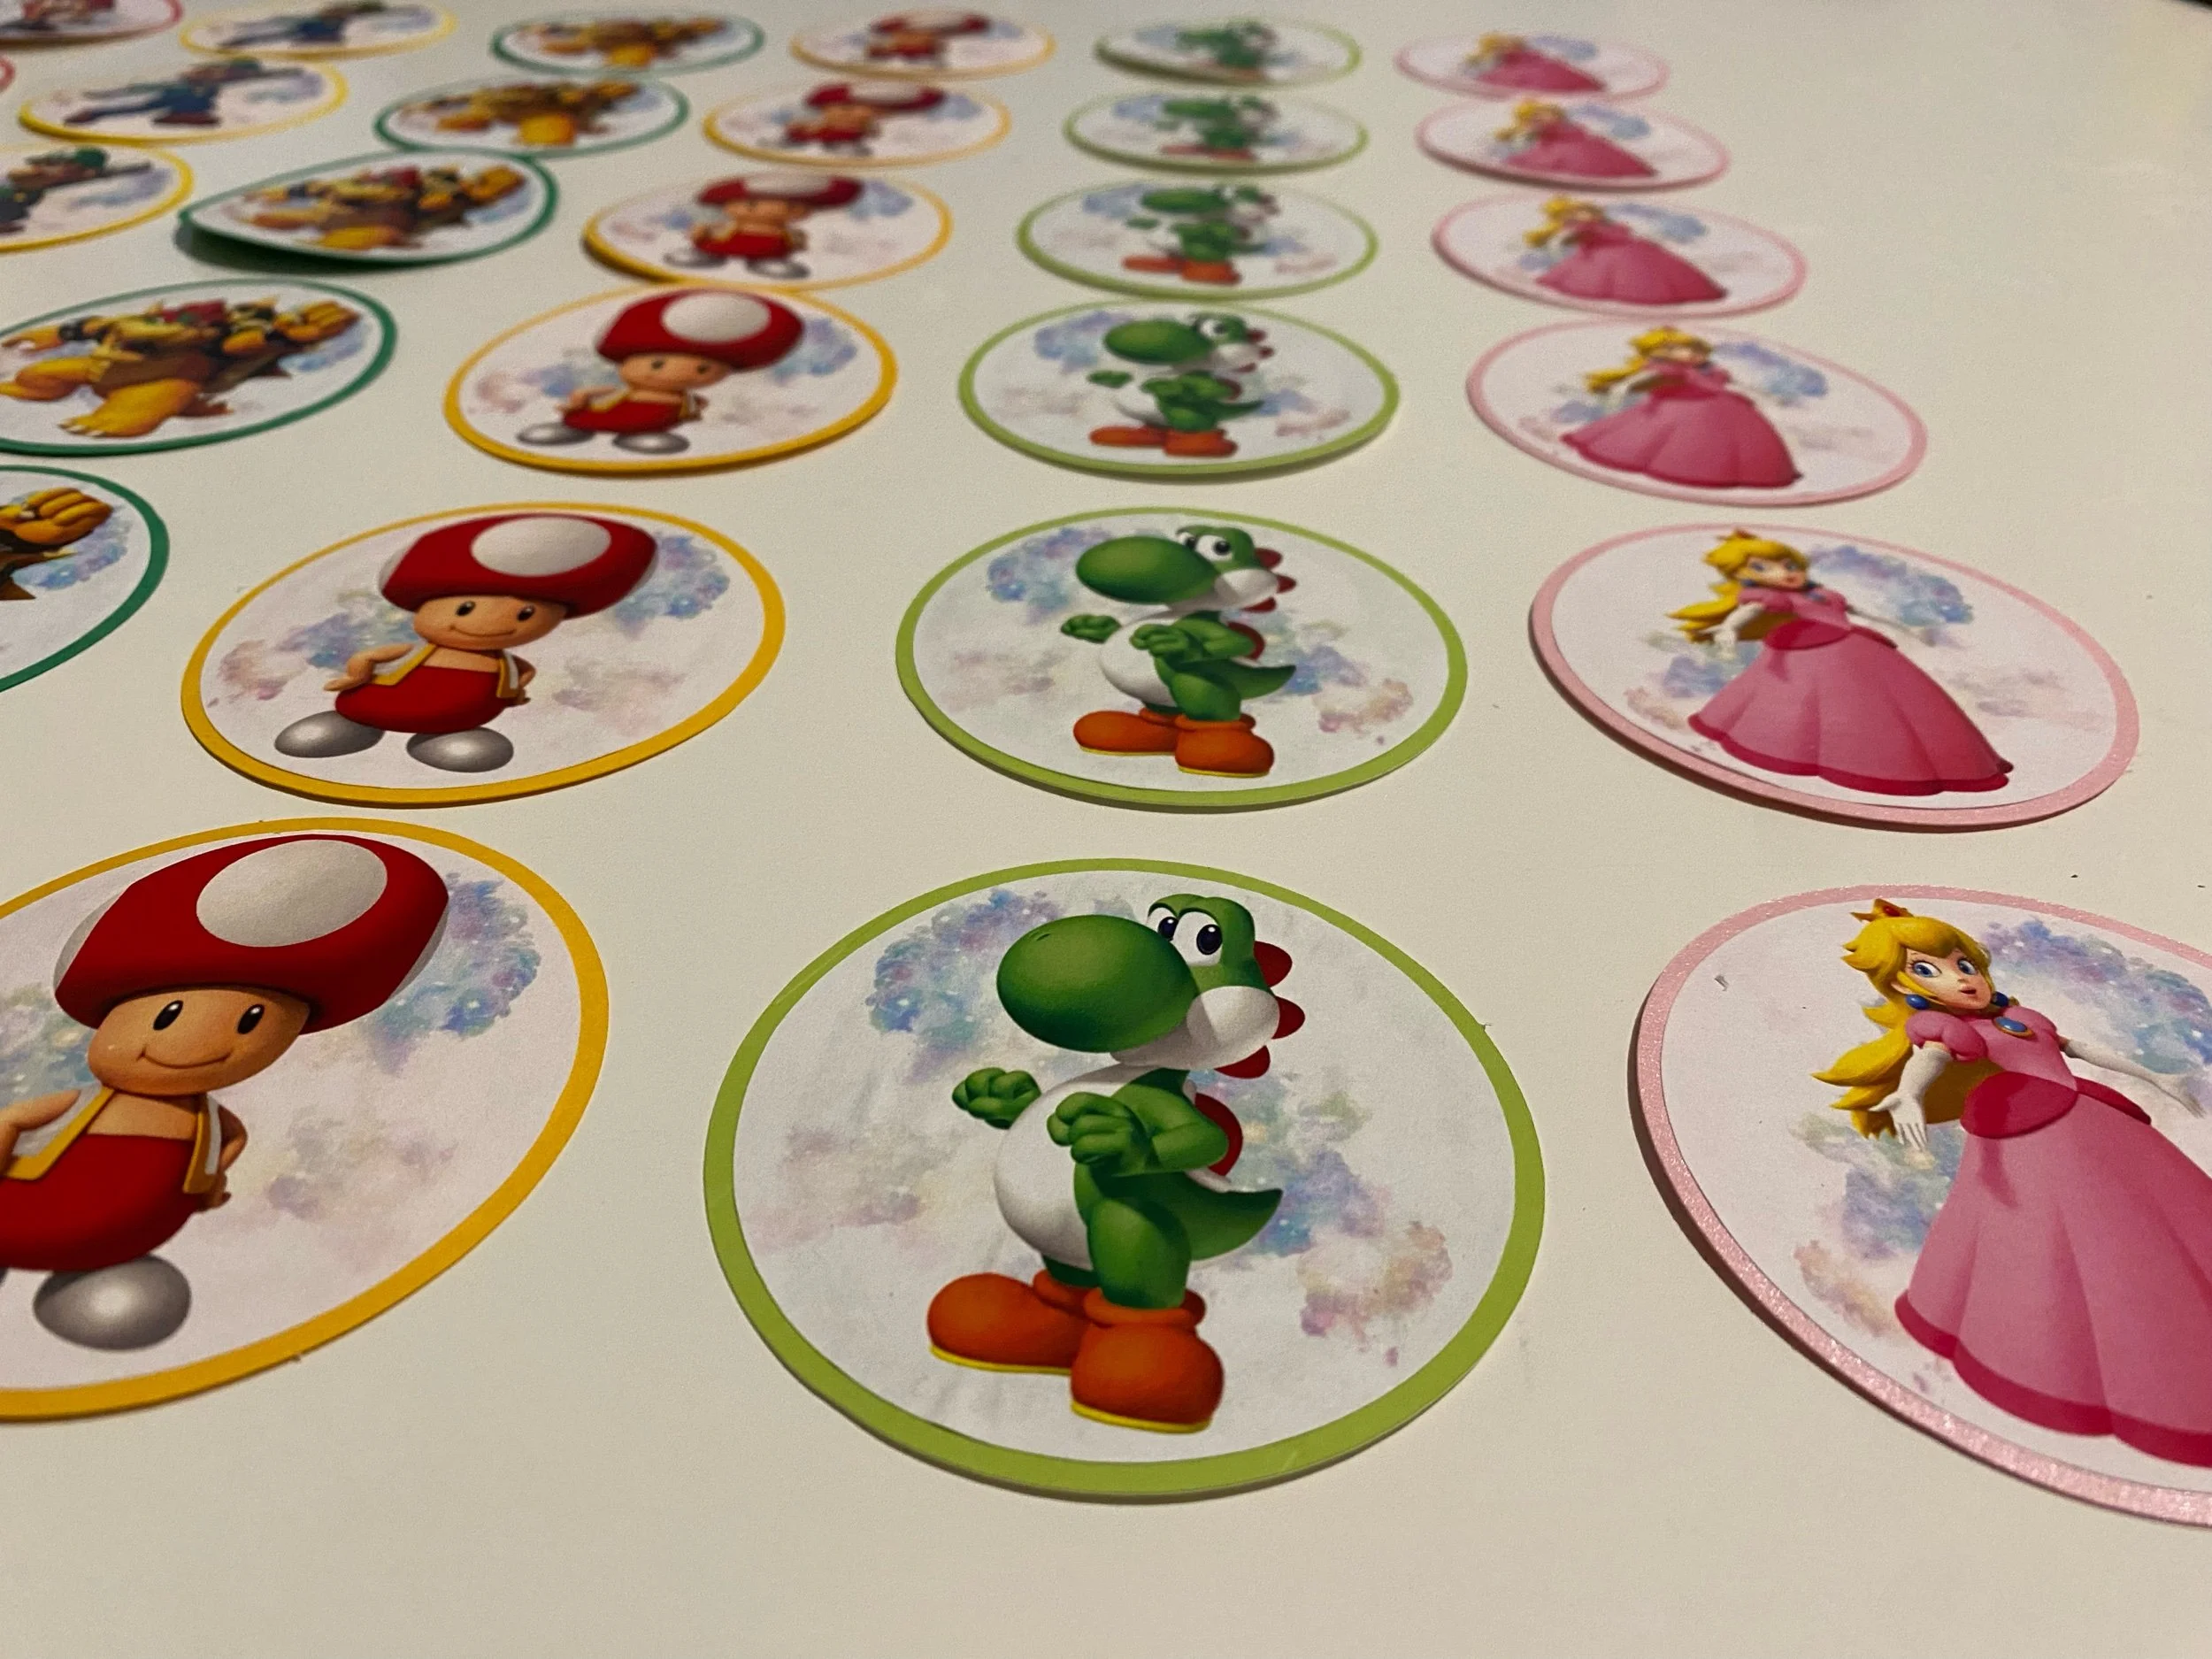
Making the Cupcake Toppers
To design the toppers, I created a 3” x 3” design in Canva, added a white circle shape, and uploaded individual images of each character. I used a fog image for the background and then exported the file with a transparent background.
Then, I uploaded the individual Canva images into Cricut Design Space using the complex option and then saving each as the Print then Cut file. I added each image to the Canvas and resized them to 2.75”. Finally, I used the offset setting to add a black cardstock background.
Here is the link to the public design.